Azure DevOps
Hands-on Lab Script - Part 3
TestPlans
Manual Testing
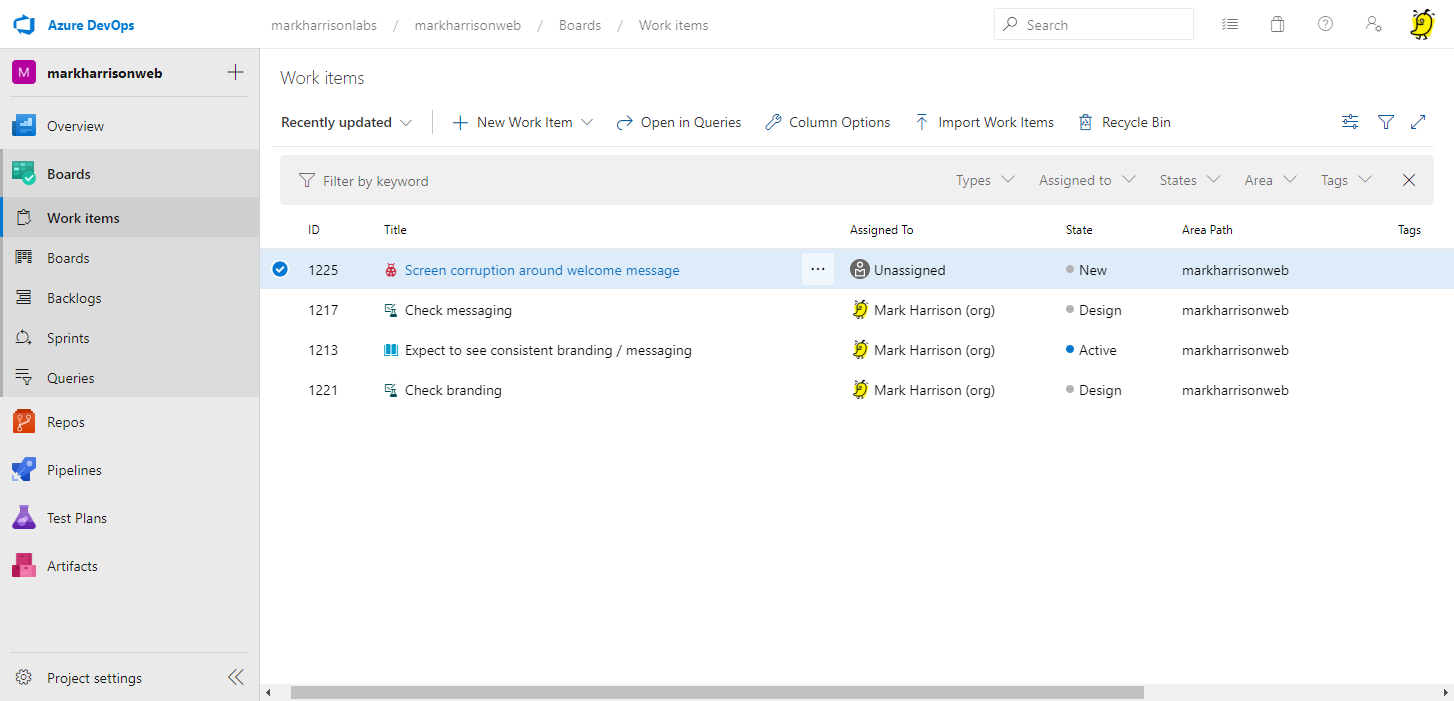
Manual testing has evolved with the software development process into a more agile-based approach. Azure DevOps integrate manual testing into your agile processes; the team can begin manual testing right from their Kanban boards in the Work hub. In Azure DevOps, you need just Basic access to use these features.
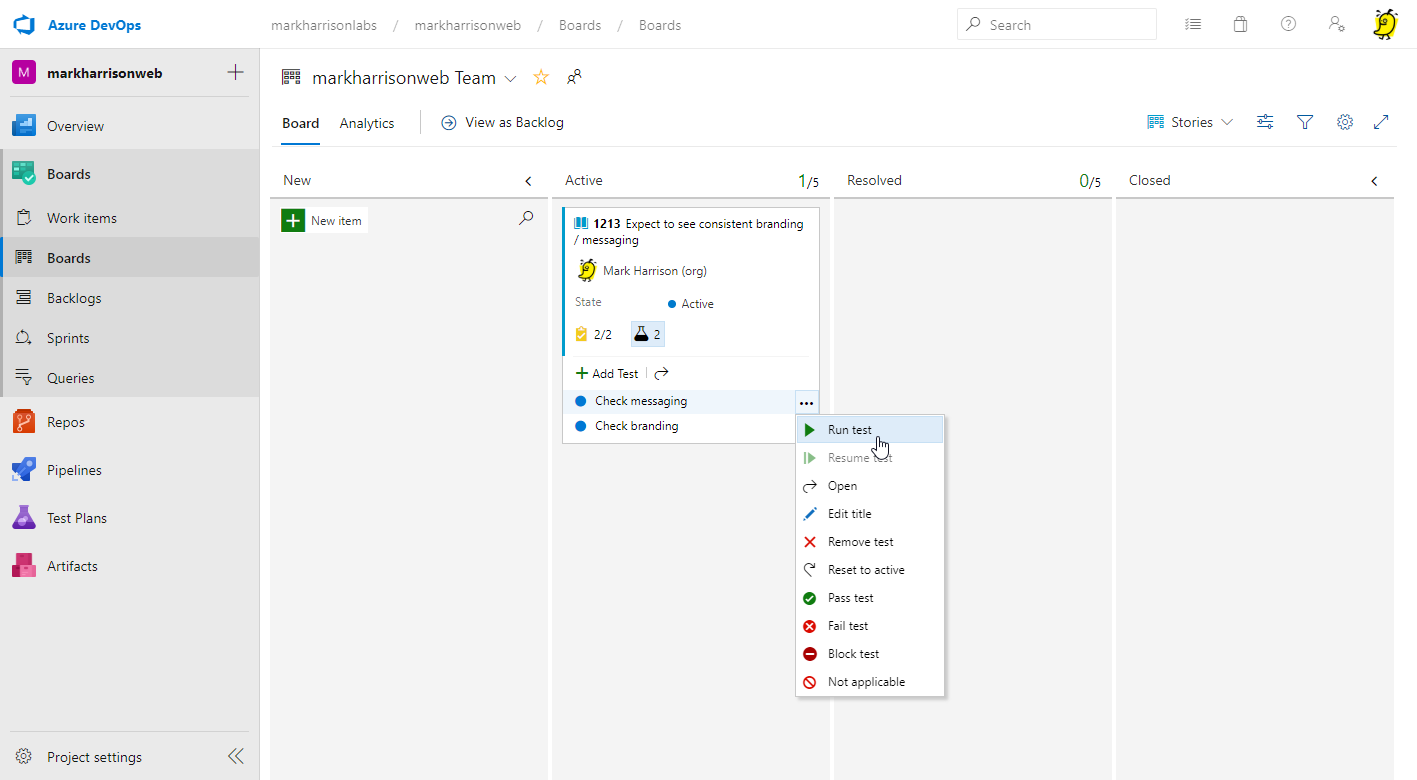
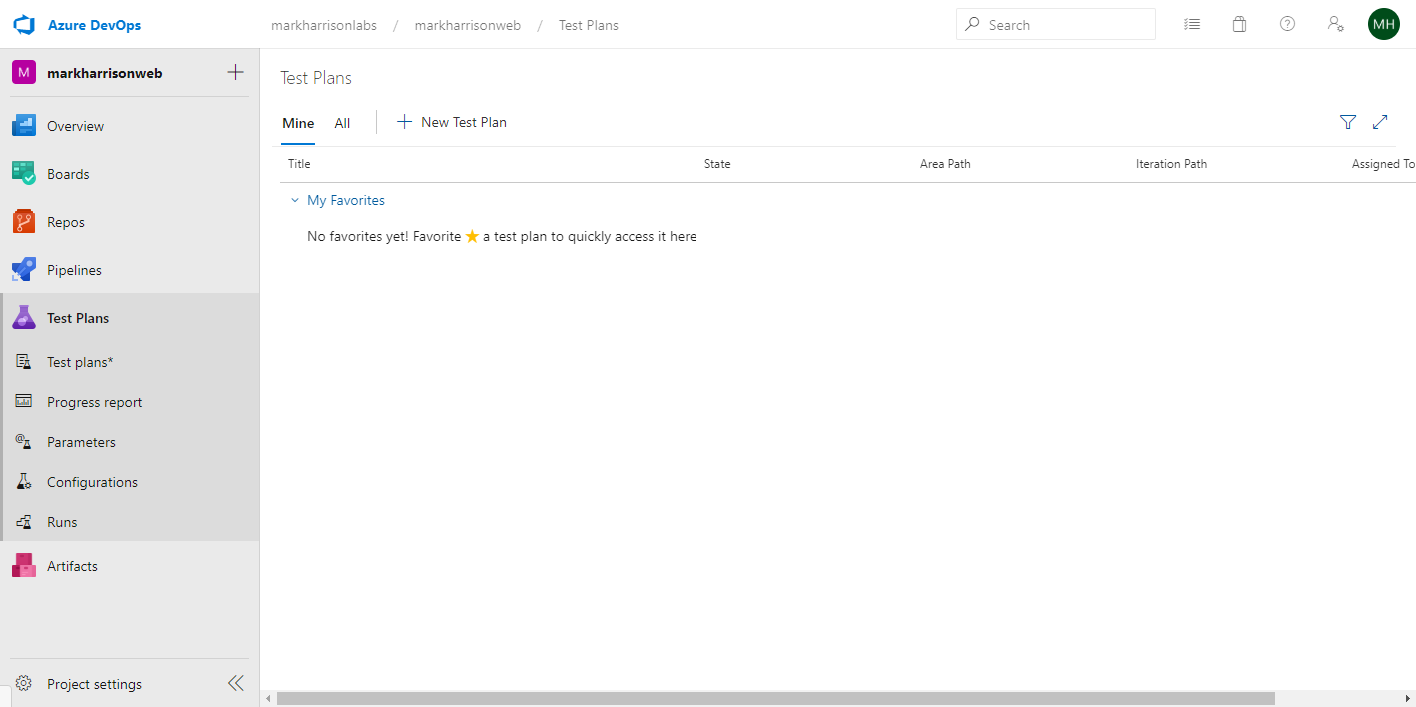
Teams that need more advanced capabilities can use the Test hub for all their test management needs. This enables organizing tests into test plans and test suites by designated testers and test leads.
Terminology
Test plans - group test suites and individual test cases together. Test plans include static test suites, requirement-based suites, and query-based suites.
Test suites - group test cases into separate testing scenarios within a single test plan. Grouping test cases makes it easier to see which scenarios are complete.
Test cases - validate individual parts of your code or app deployment. You can ensure your code works correctly, has no errors, and meets business and customer requirements. You can add individual test cases to a test plan without creating a test suite, if you wish. More than one test suite or test plan can refer to a test case. You can effectively reuse test cases without needing to copy or clone them for each suite or plan.
After you create your test plan, you assign test configurations and assign testers to cover the required test matrix. These testers run the tests and gauge the quality of the product. Testers continue testing until the product meets exit criteria. For the next development cycle and release, you can create a new test plan and reuse the same test cases. You repeat this development-test-release cycle by importing the same test cases into each new test plan.
Because test plans refer to test cases, updates to a test case automatically reflect in all the test plans and test suites that use it.
There are three types of Test Suites that can be created in our test plan
- Static suite - these are just containers for a number of test cases
- Requirement based suite - identifies relevant test cases related to one or more requirements (user stories)
- Query based suite - identifies advanced queries to pull relevant test cases related to work items identified by the query
Edit Test Case
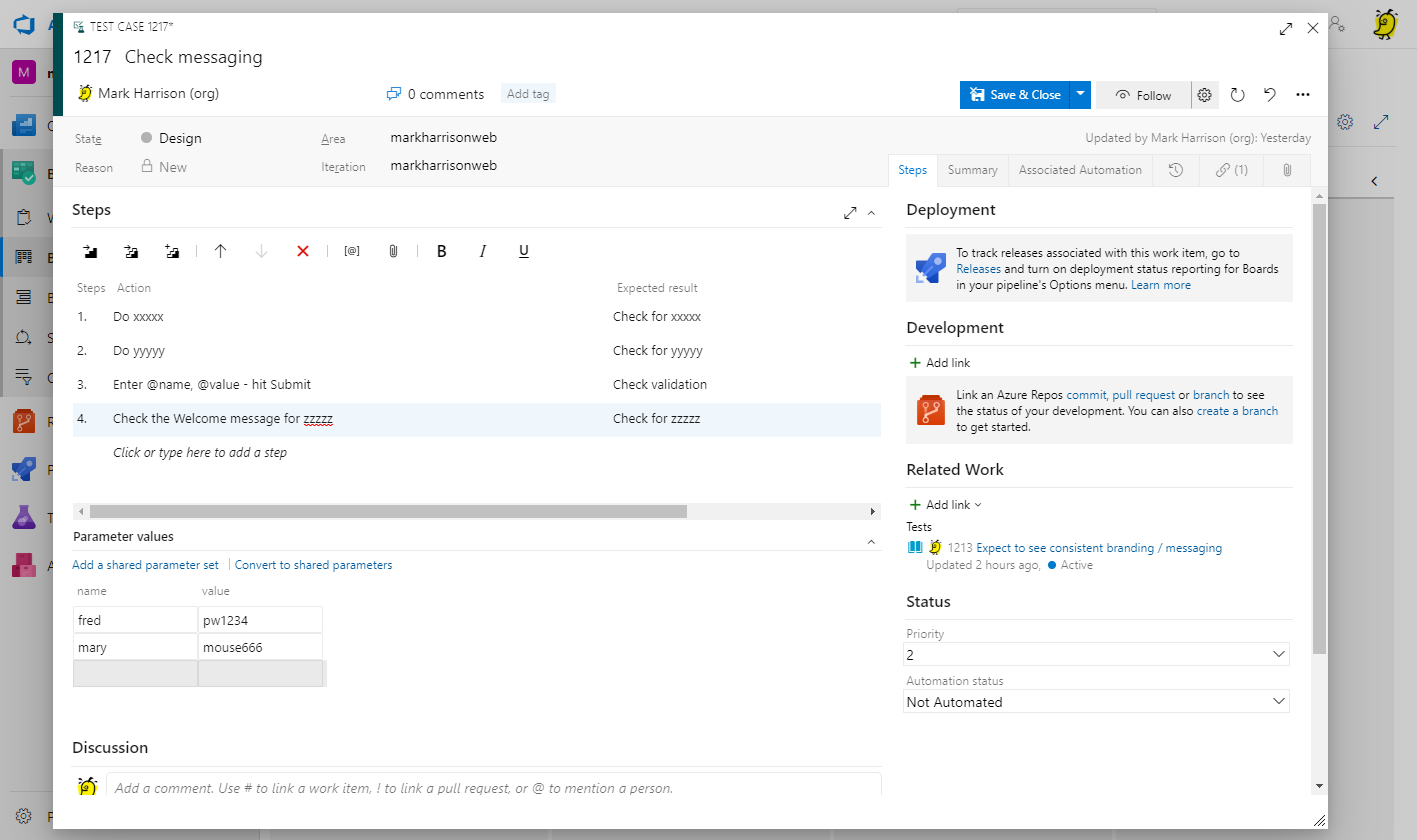
In part 1 of this lab, we created two test cases linked to the story - but we never filled any information about the test case.
- Open up one of the test cases
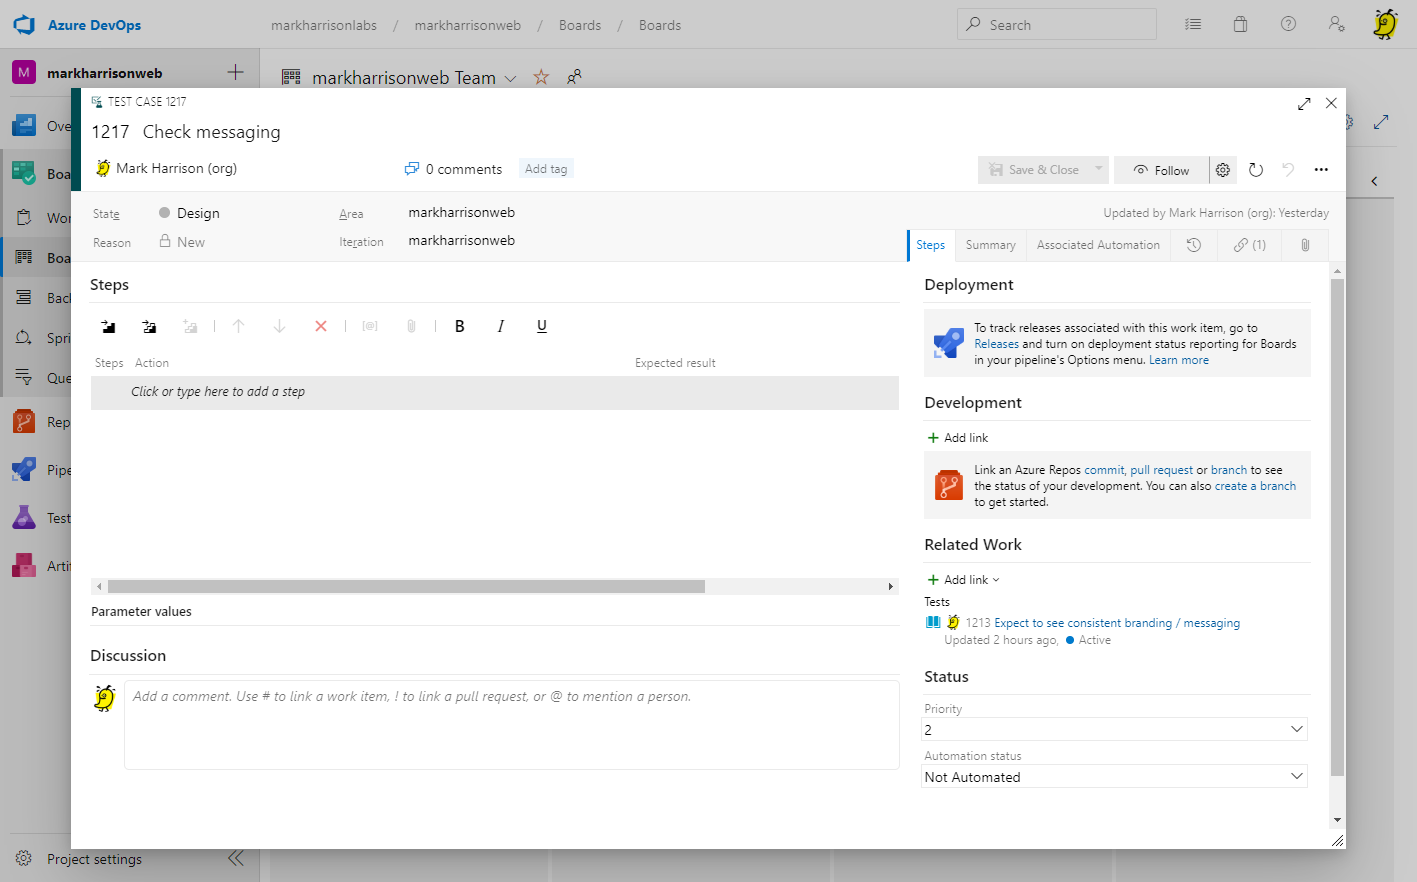
- enter a set of steps and what to be expected
- if values need to be entered use @xxxxx e.g. @name , @password
- then specify the values in parameter values ... each set will need a separate test interation
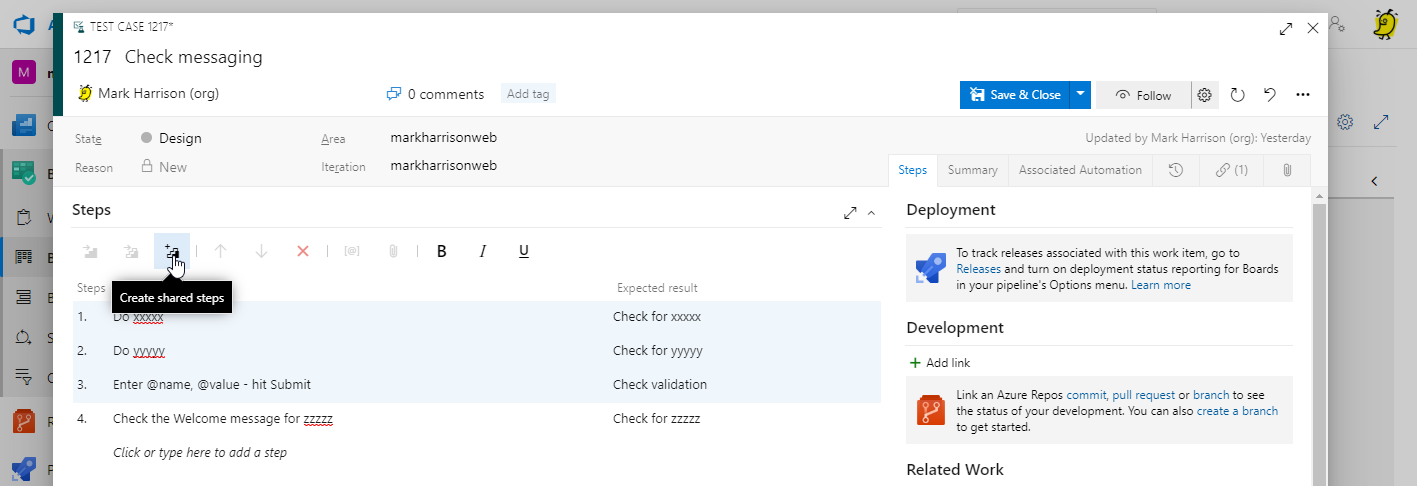
If a set of steps are going to be commong across a number of test cases, they can be selected and made a reusable "shared steps". For example, an initial logon sequence most likely would be the same for all test cases.
- [Save and Close] the test case
Manage Test Plans and Test Suites
To manage test plans and test suites, the user must have Test Manager license. Basic users can execute test cases.
- Go to the Test Plans hub - and select [+New Test Plan]
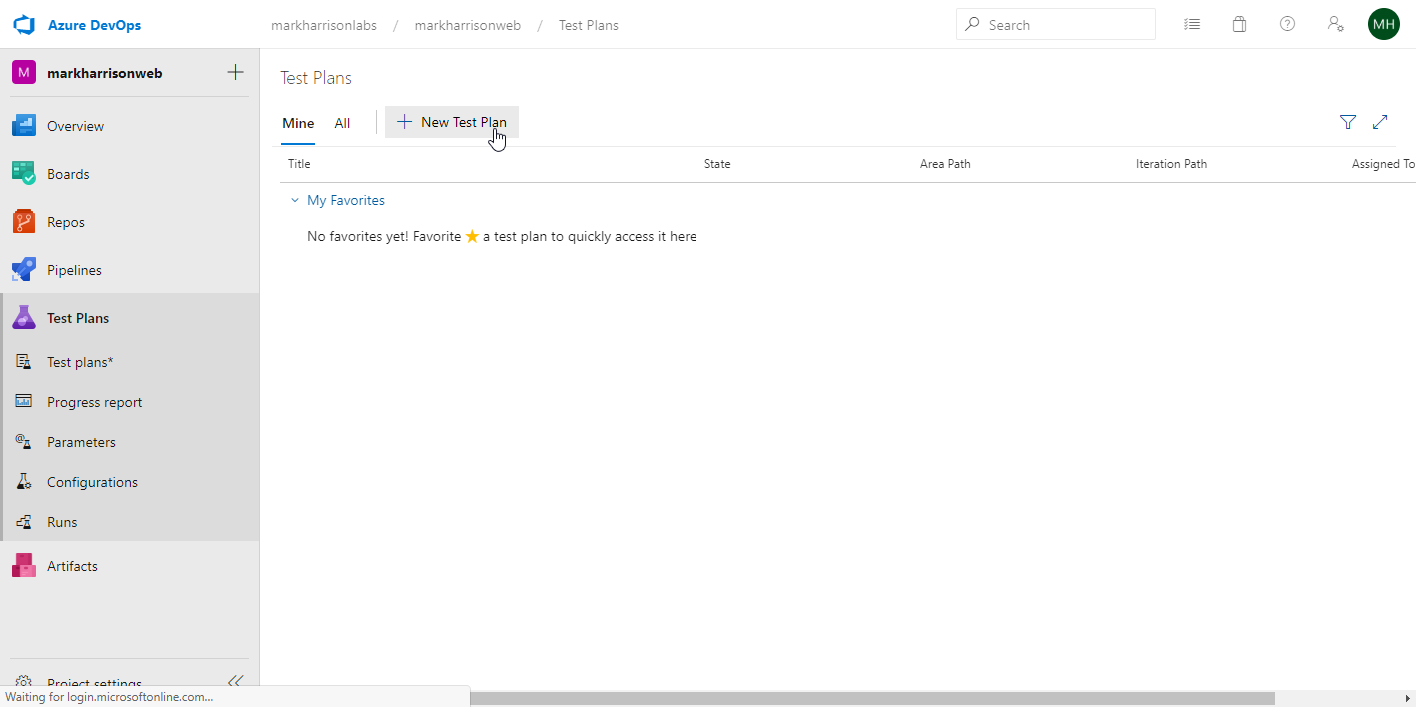
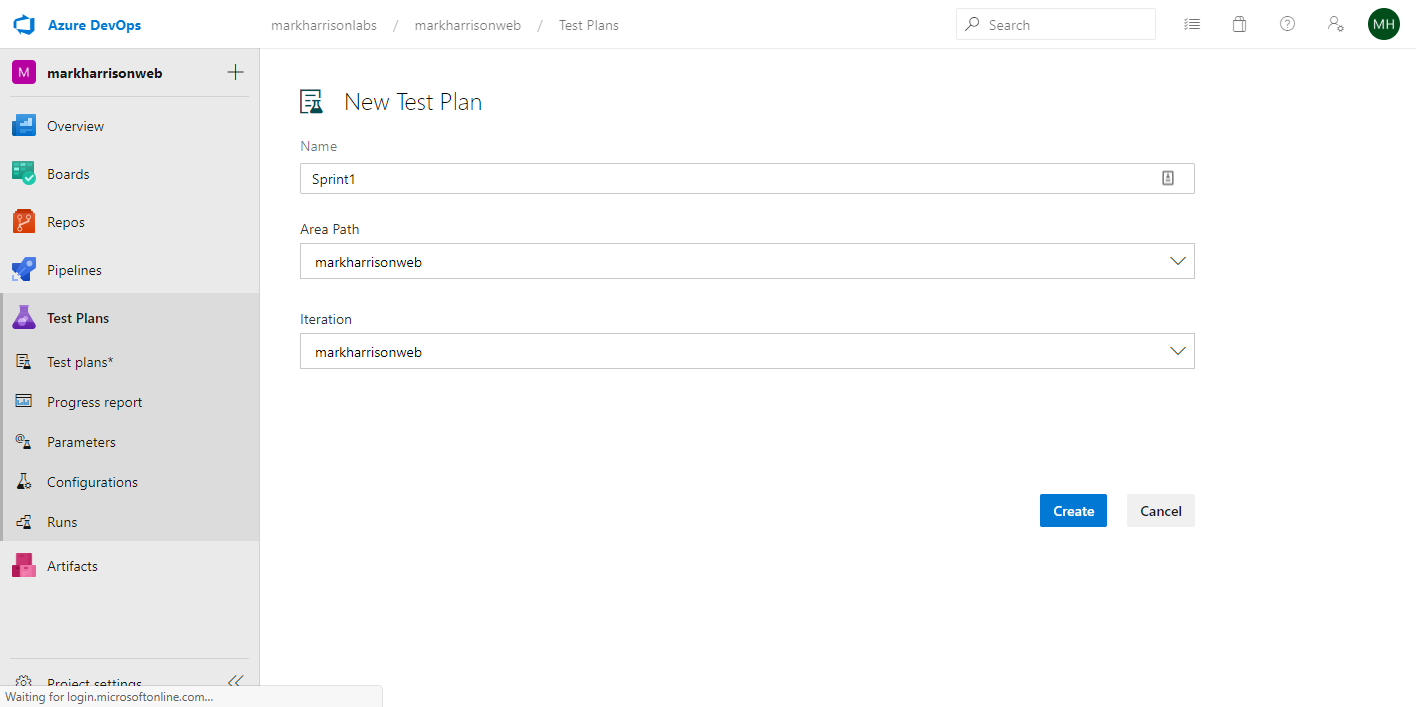
- The test plan will be a container for our test cases for Sprint1
In the test plan, create a [New Suite] - and specify [Requirements based suite]
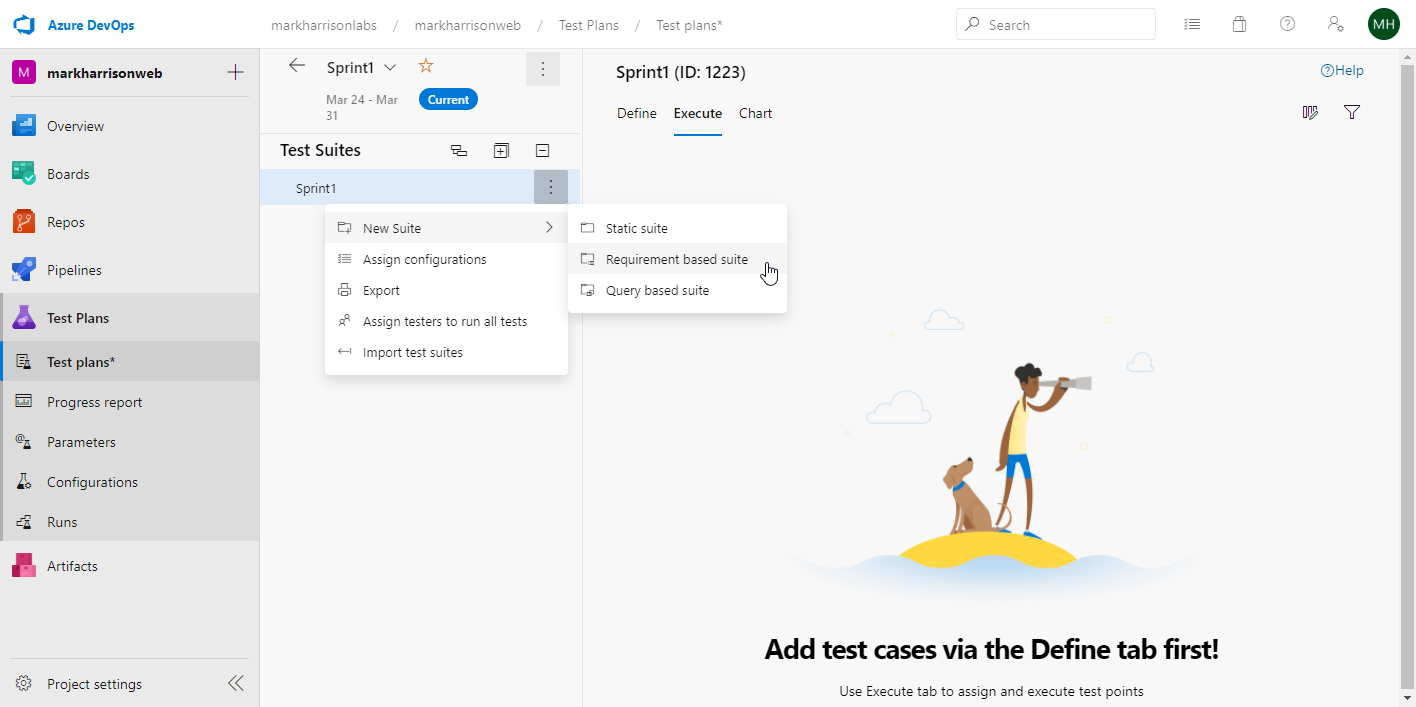
In the query, add a new clause to specify interaction 1
Run query
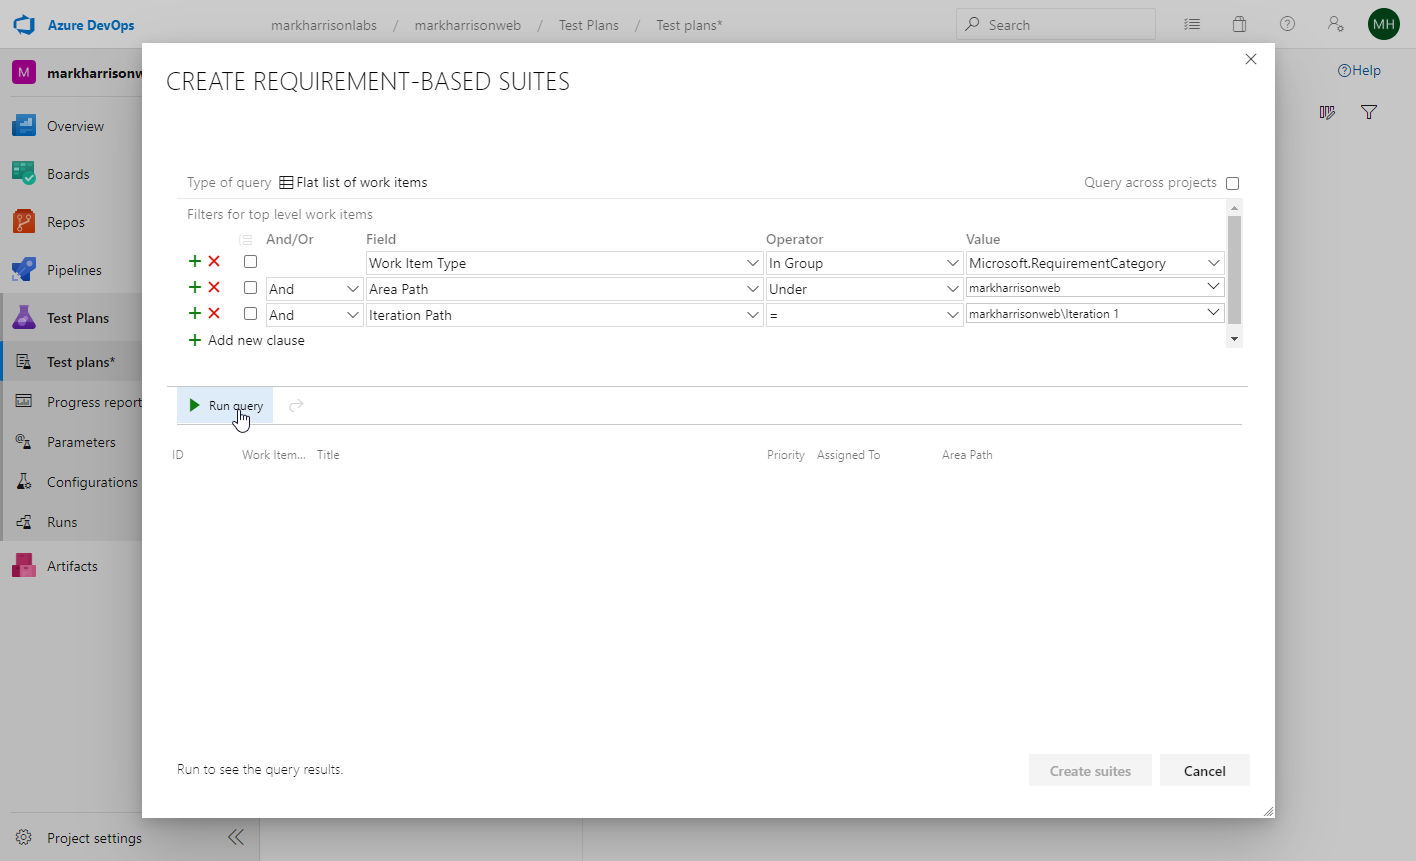
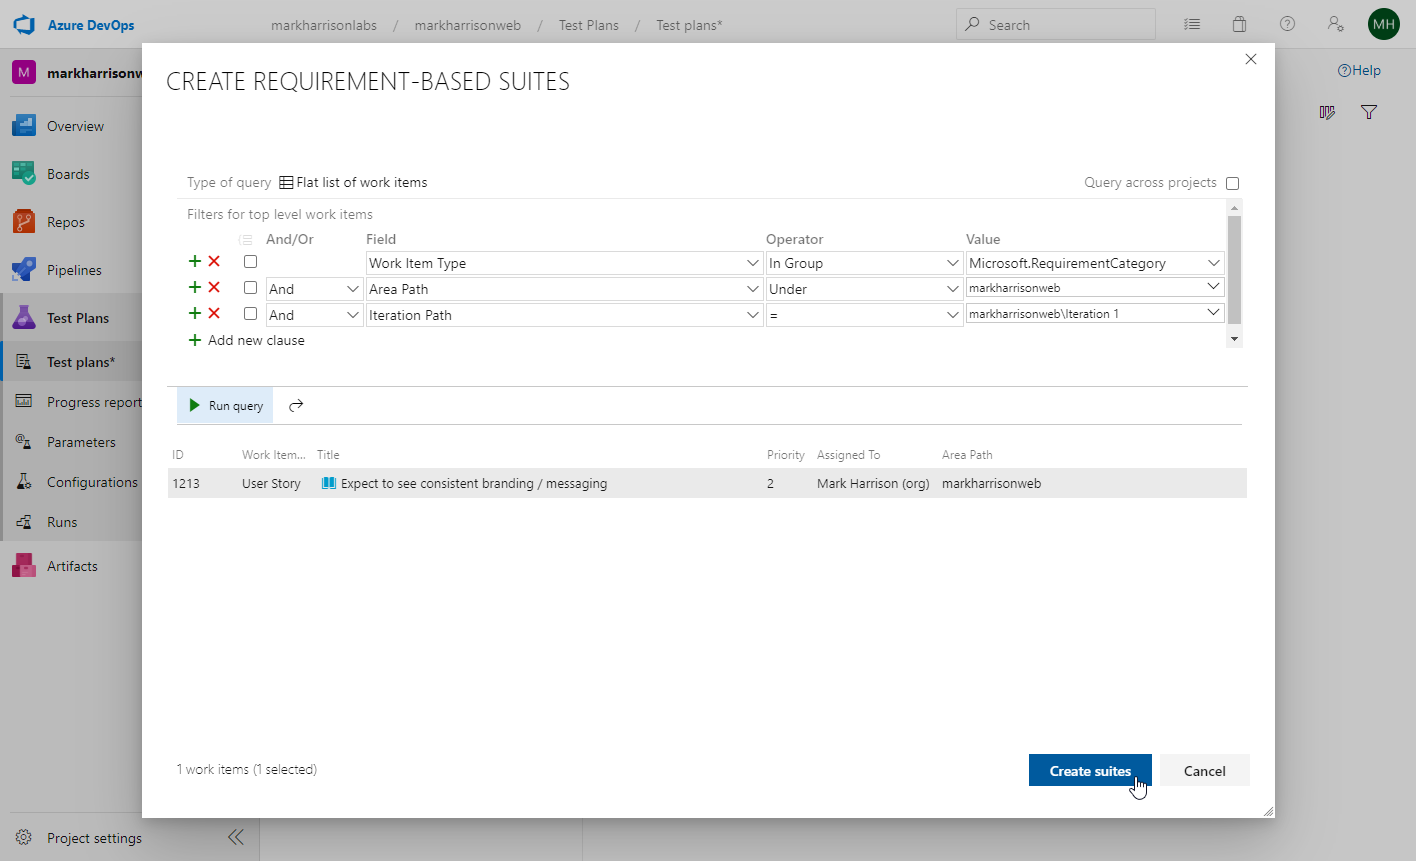
- This identifies our user story
- Select [Create Suite]
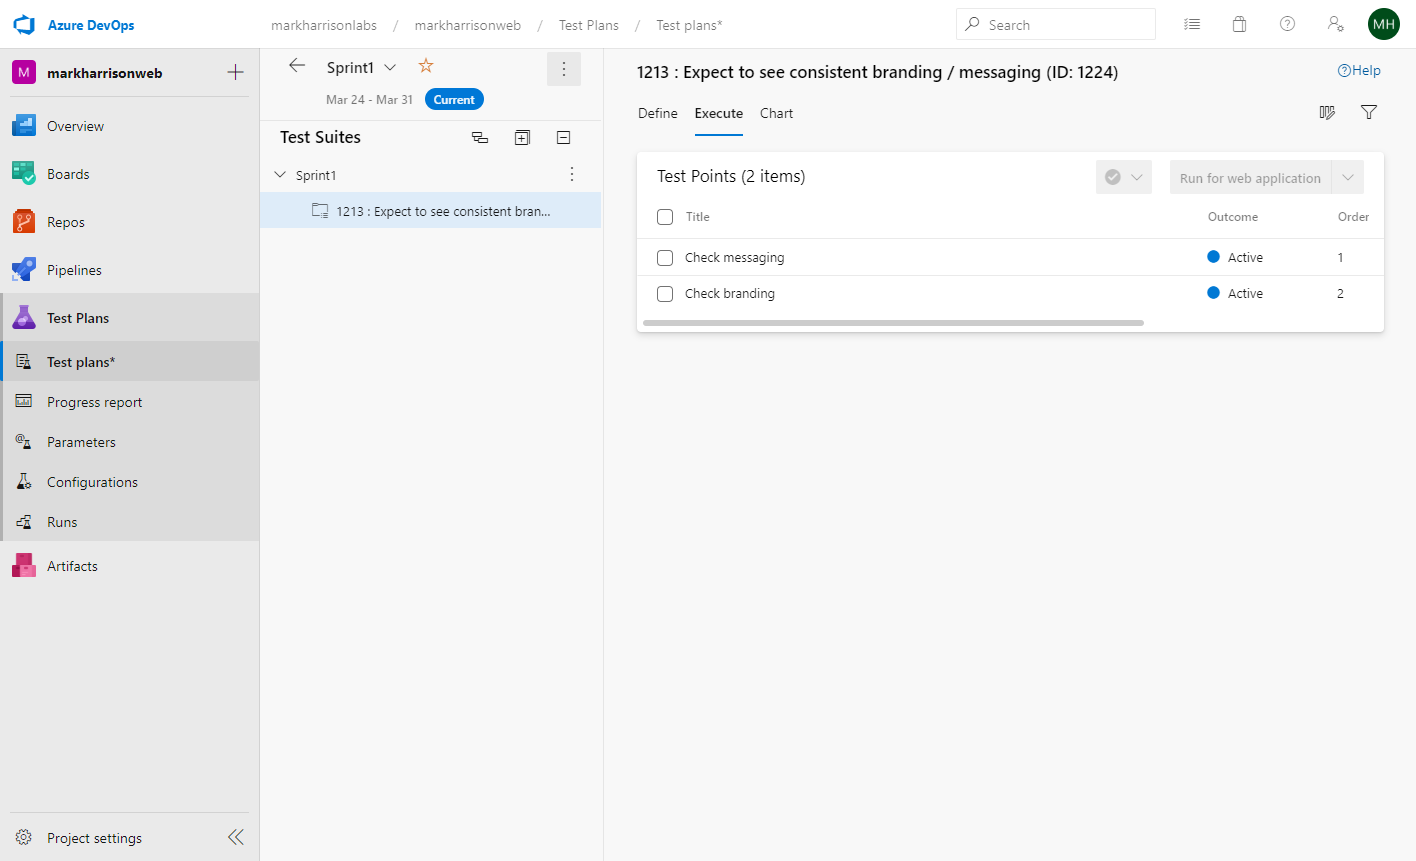
This then shows our test cases, to test our user story.
Configuration
Configuration enables us to define the environment required to run a test. By default it shows Windows 10.
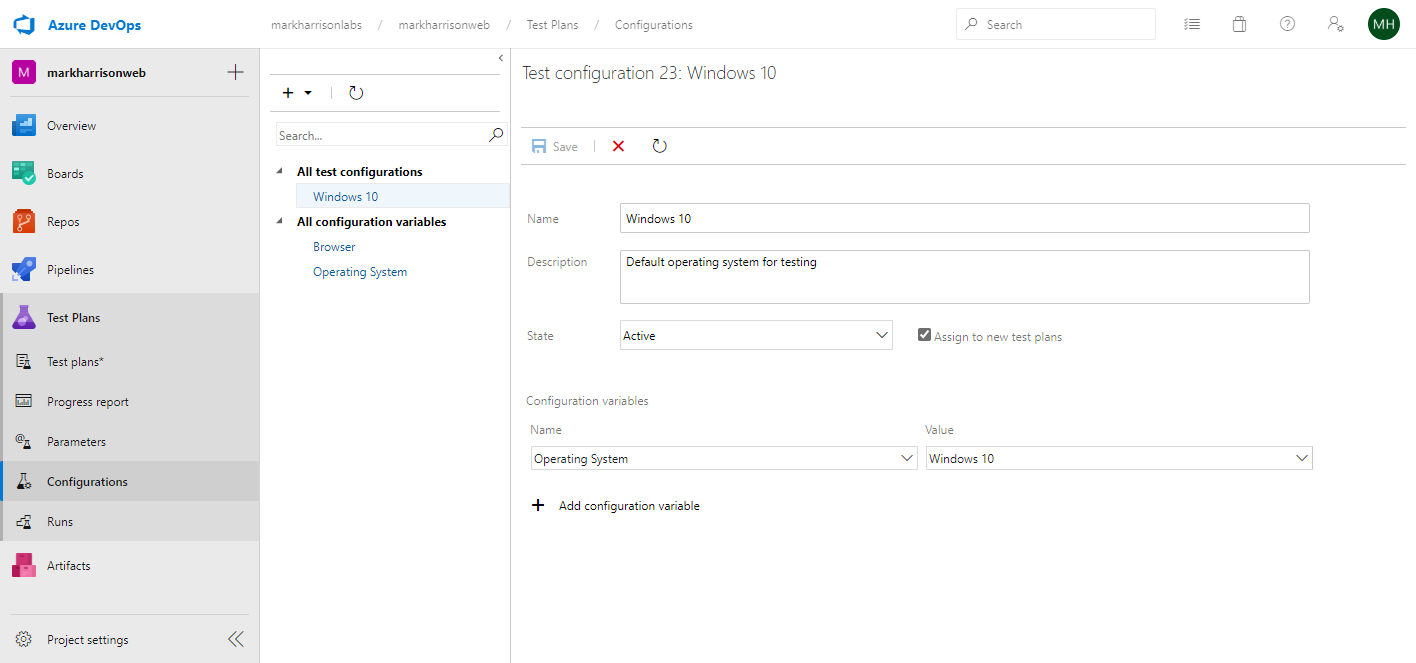
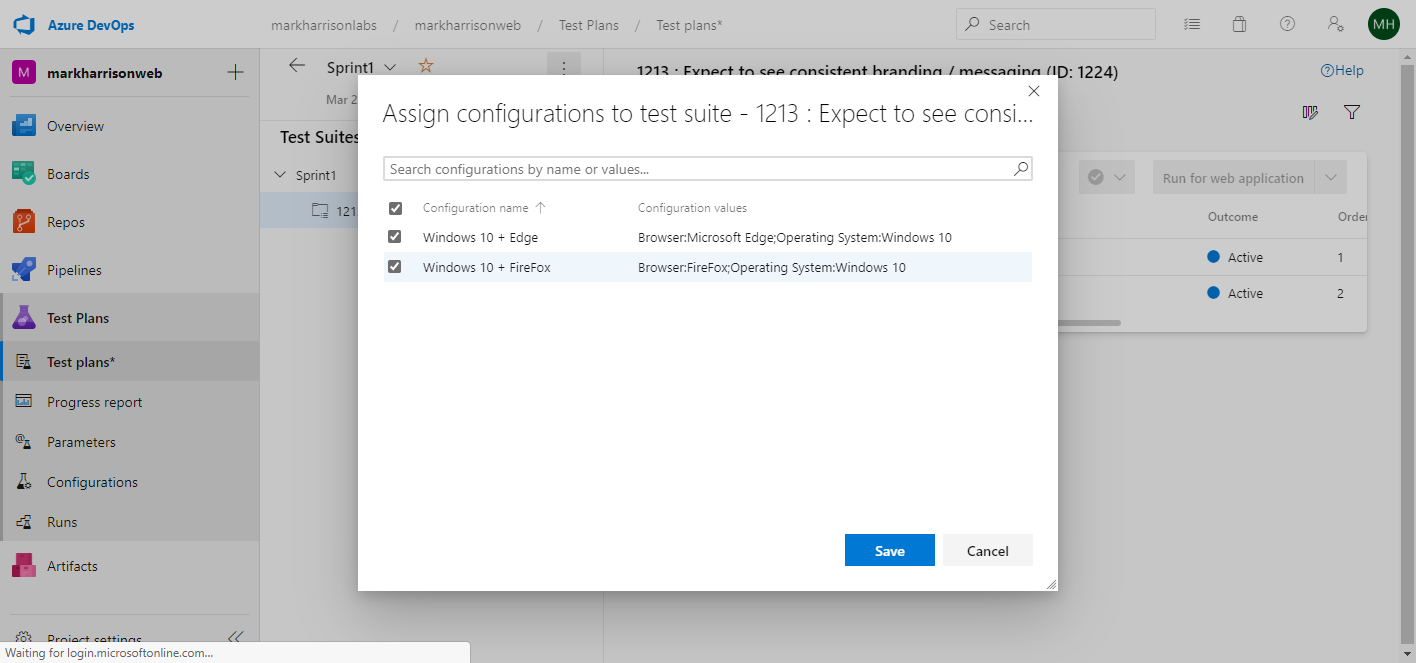
We could for example set up separate test config for Windows10+Edge, Windows10+FireFox, etc
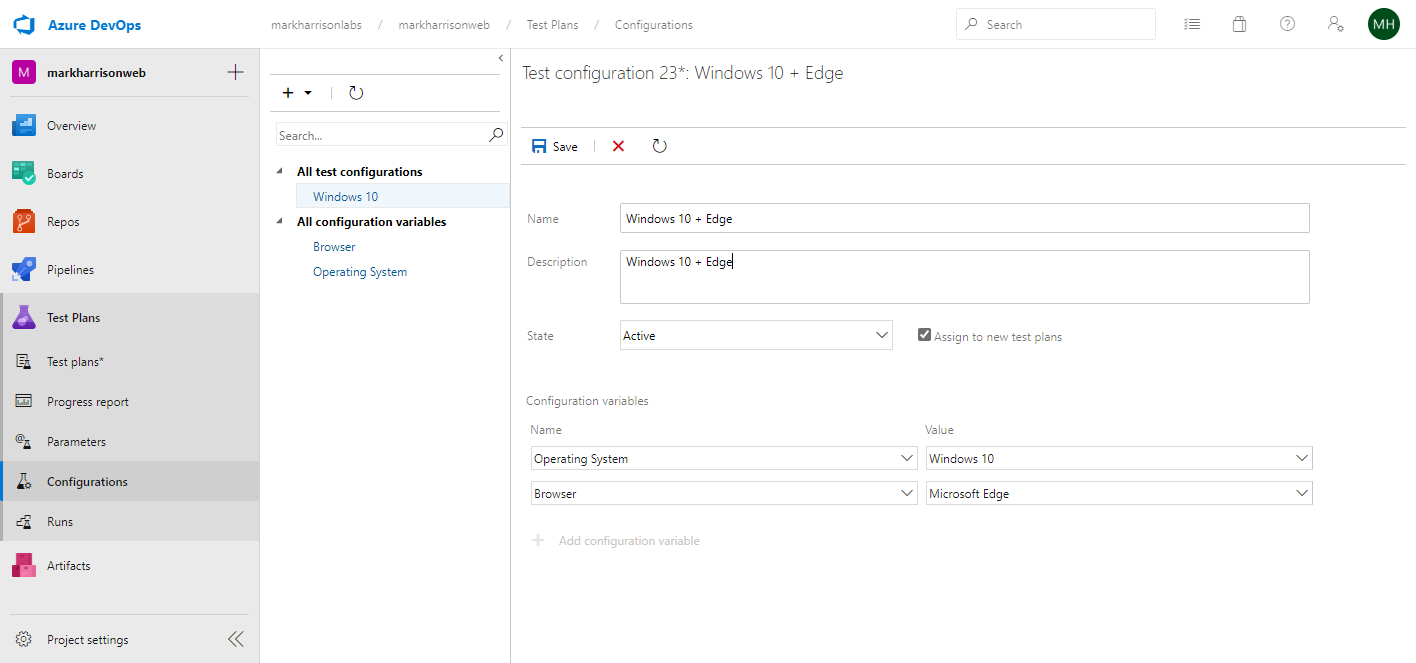
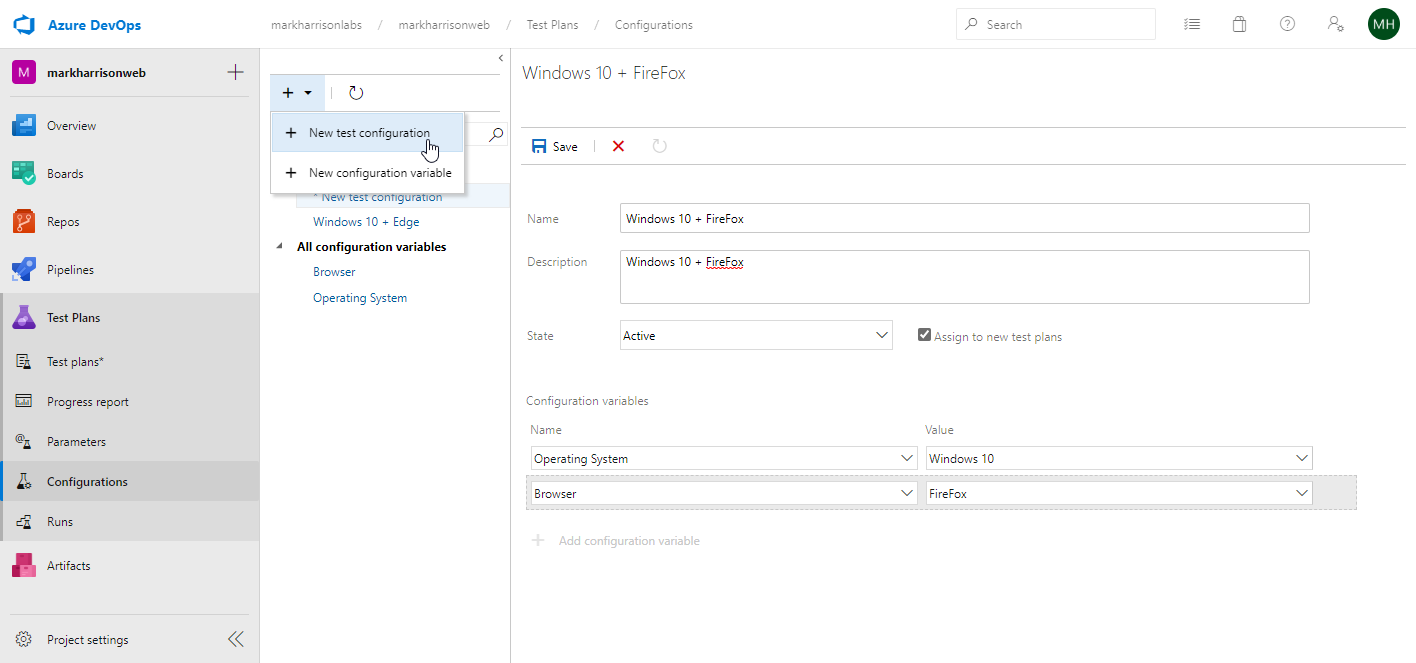
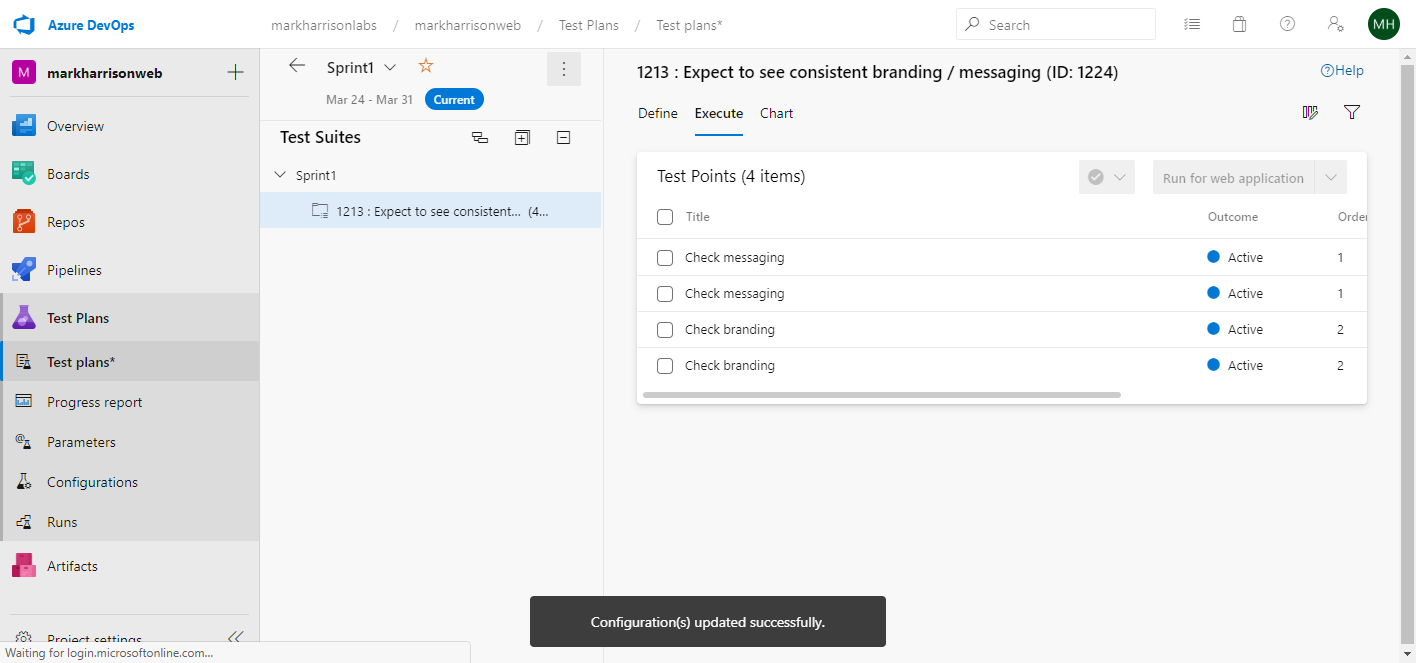
Go back to the test plan and assign the configurations to our test cases
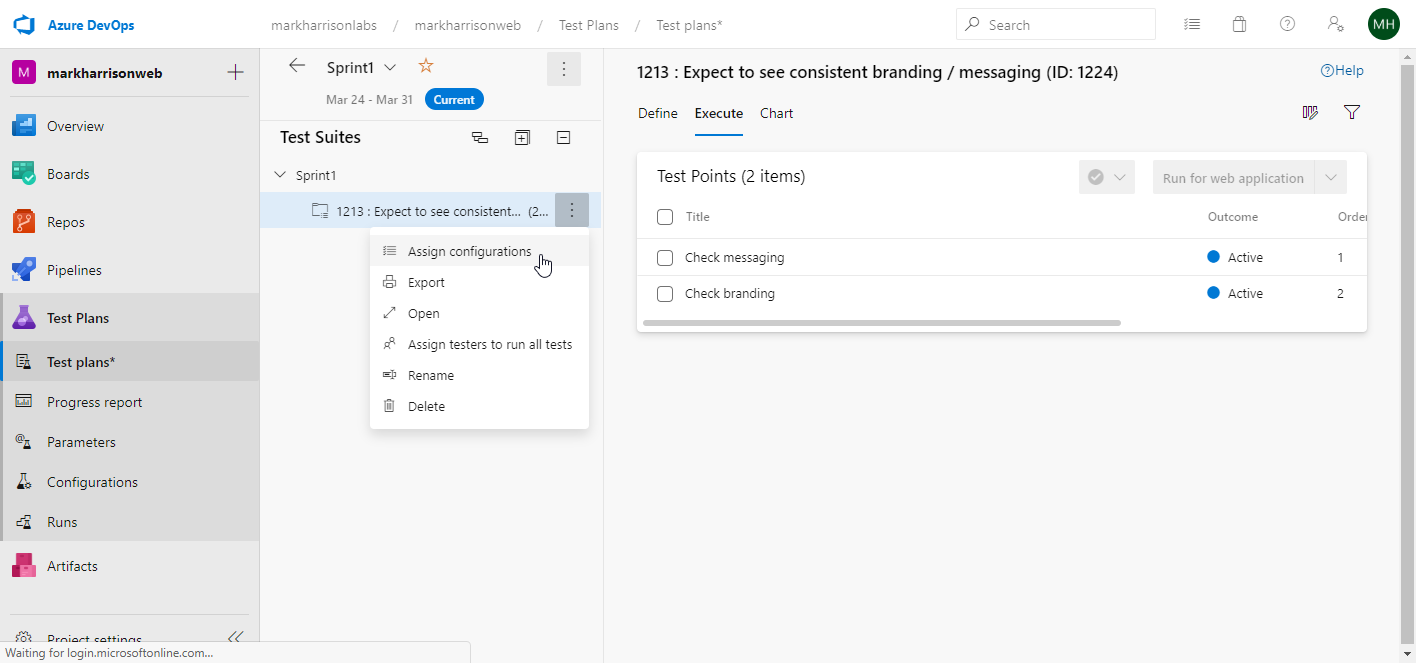
Note that additional test cases are created, to create a matrix - each test case for each configuration
Testers
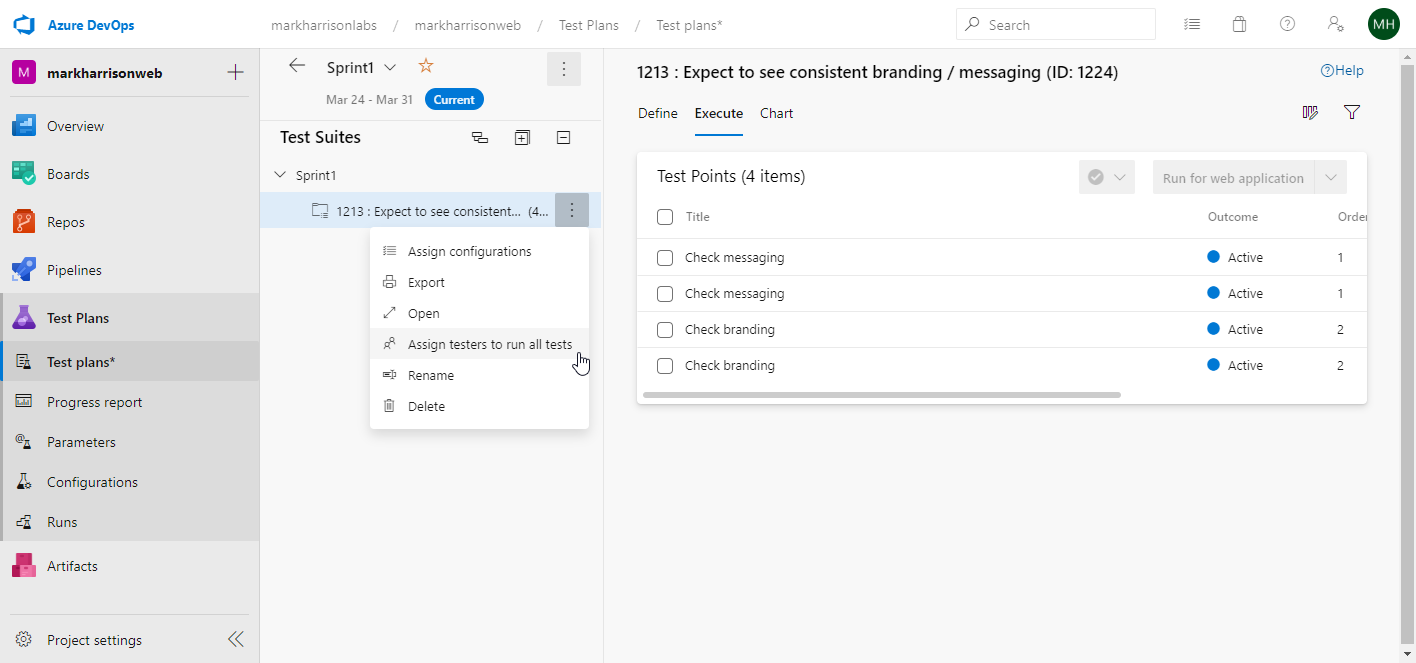
Next assign the Testers for each test case
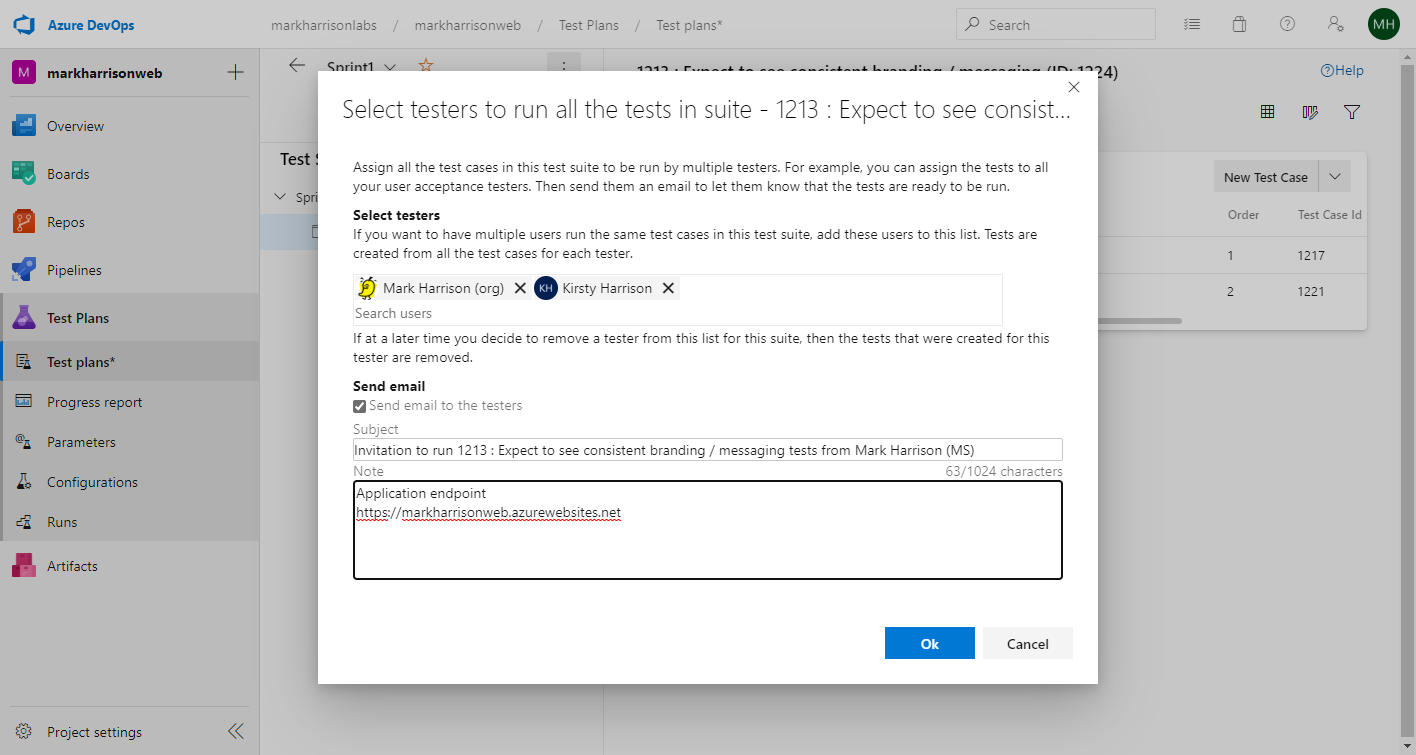
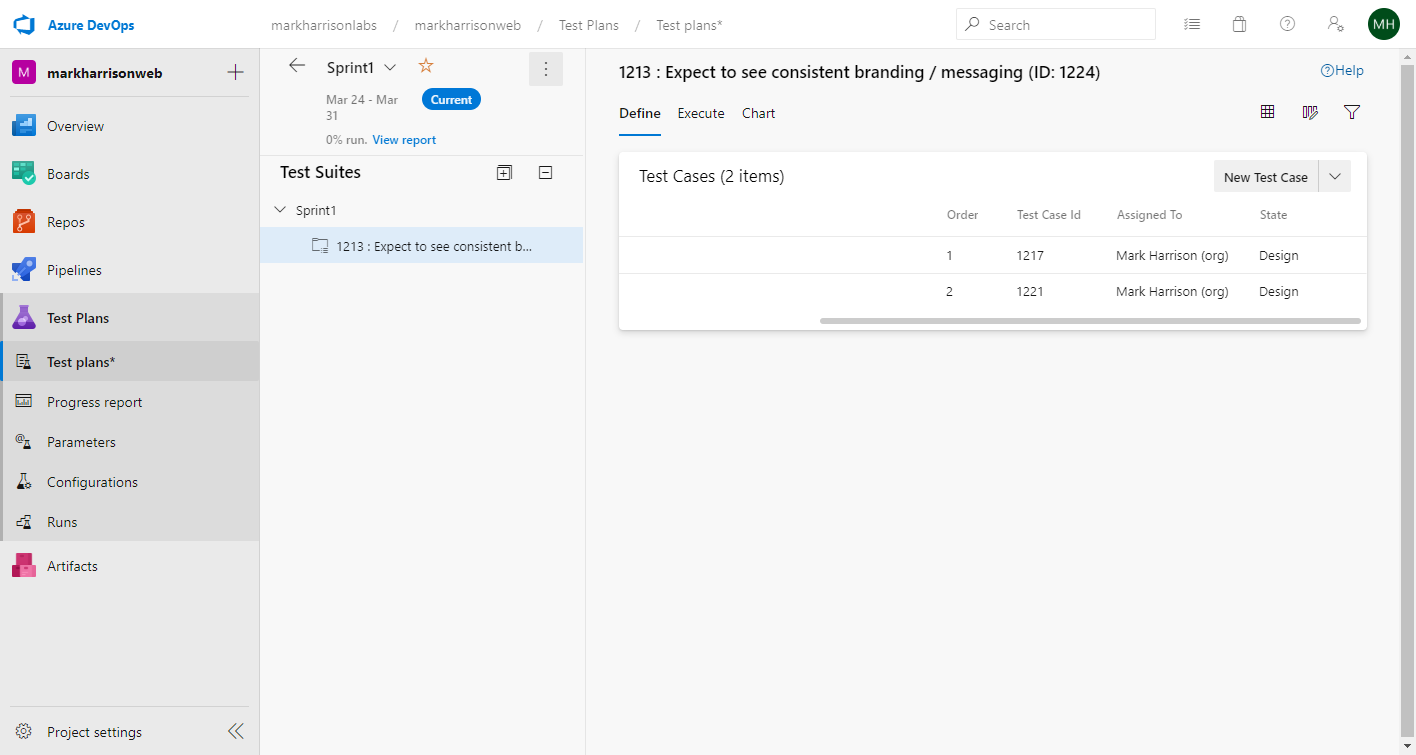
Email received:
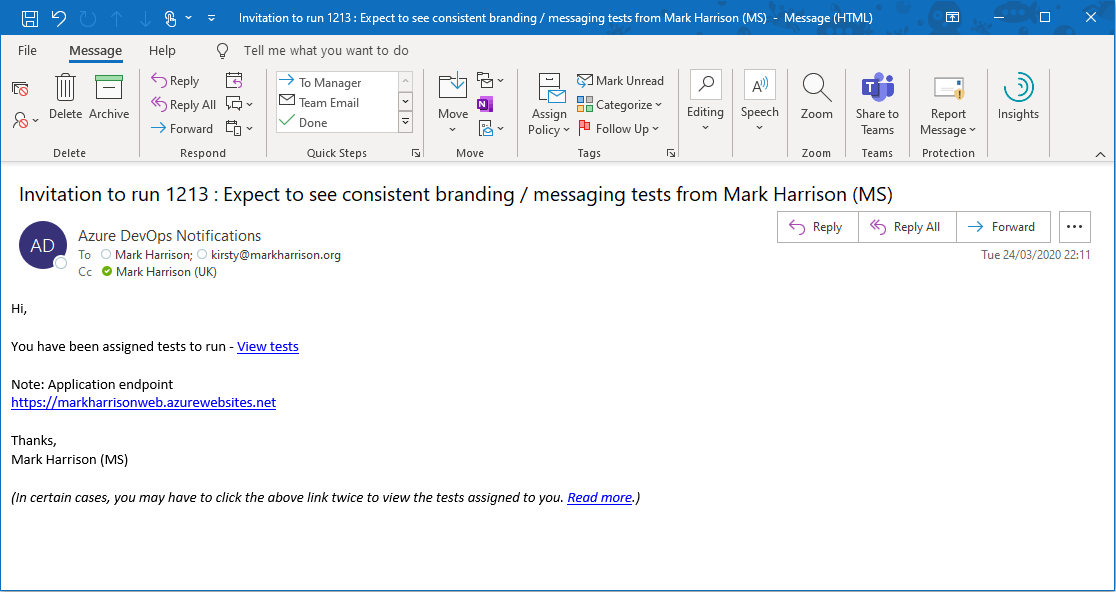
Test & Feedback Browser Extension
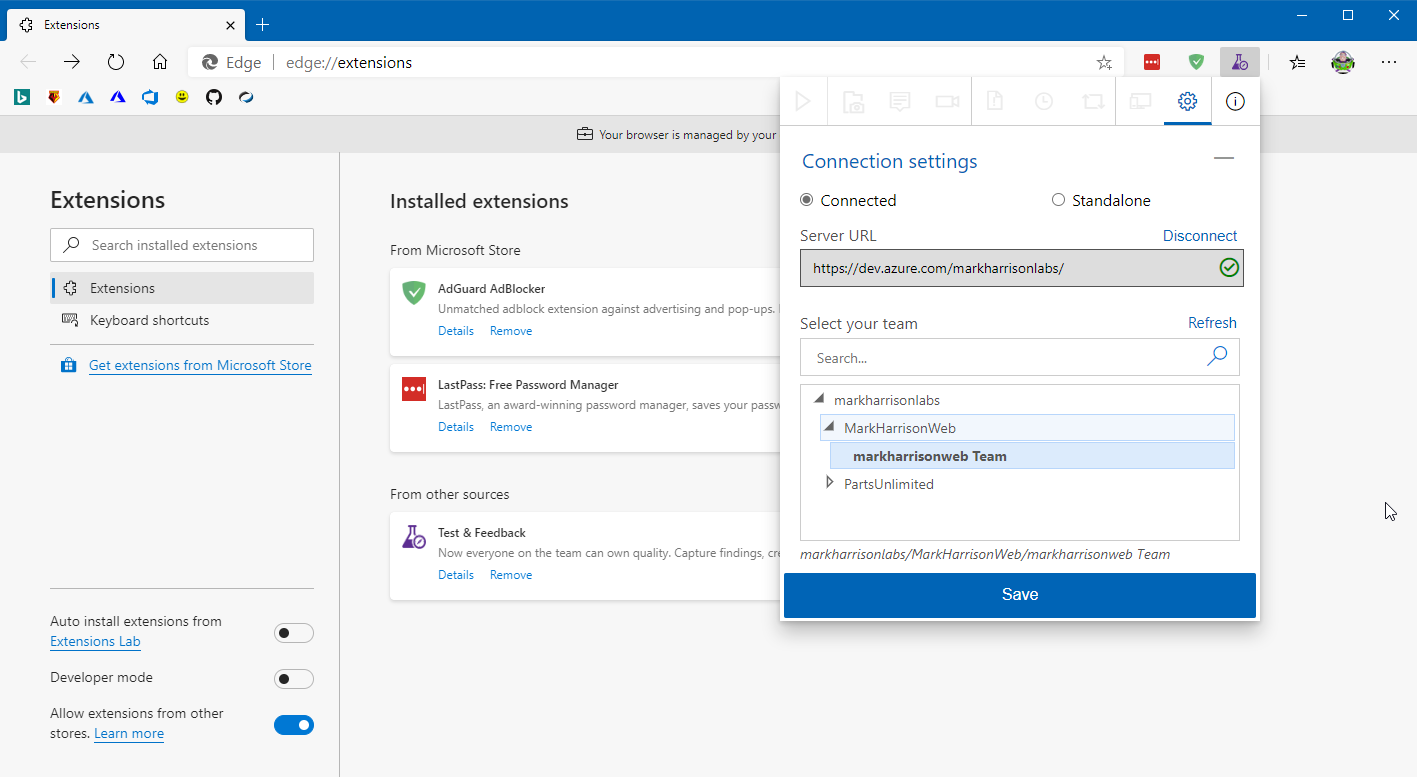
The following Chrome / Edge (Chromium) / Firefox browser extension is required to execute the test cases.
https://marketplace.visualstudio.com/items?itemName=ms.vss-exploratorytesting-web
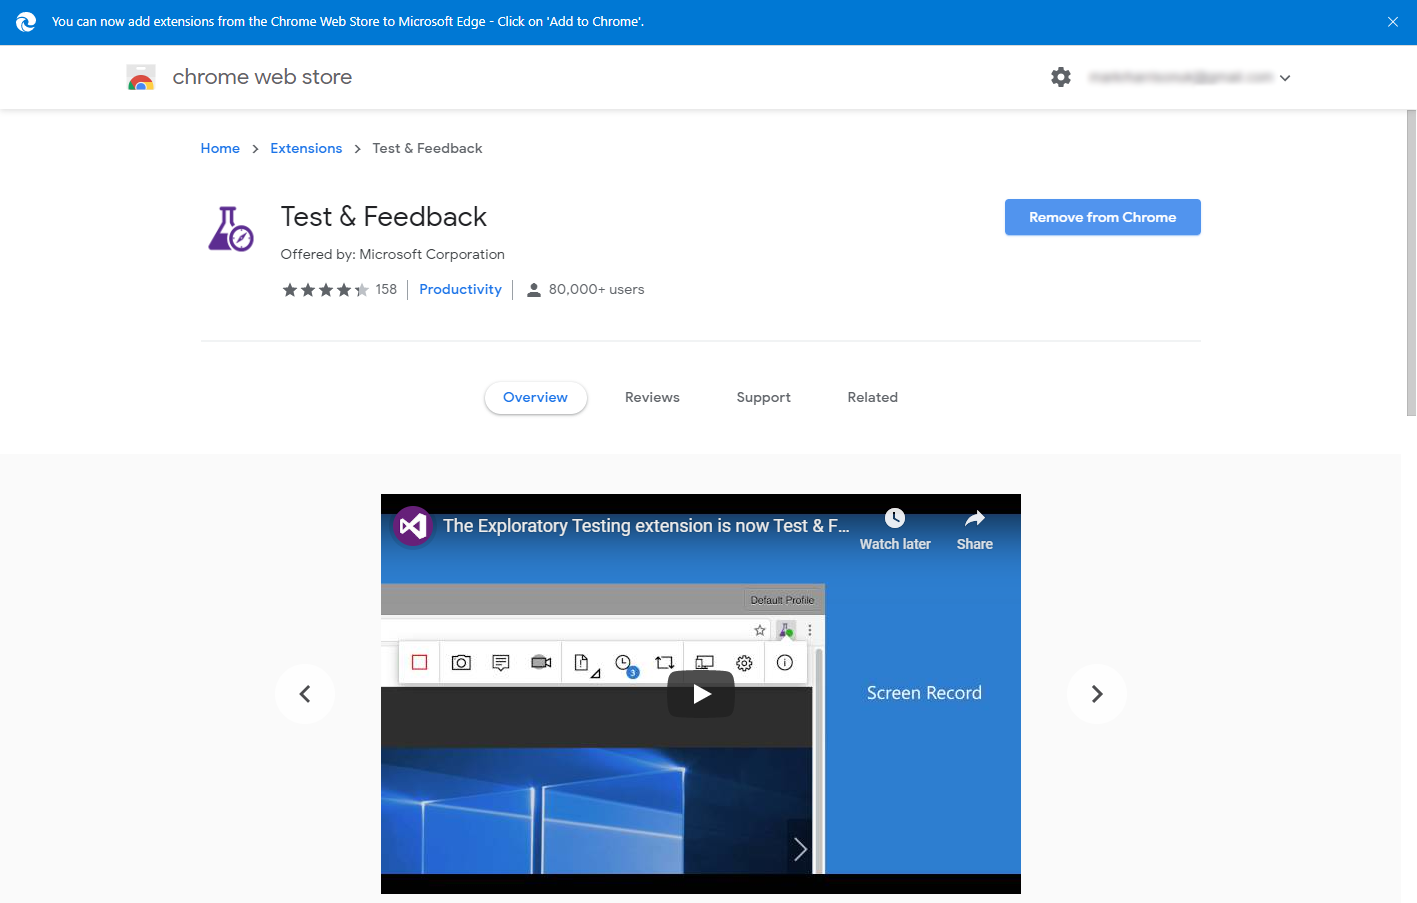
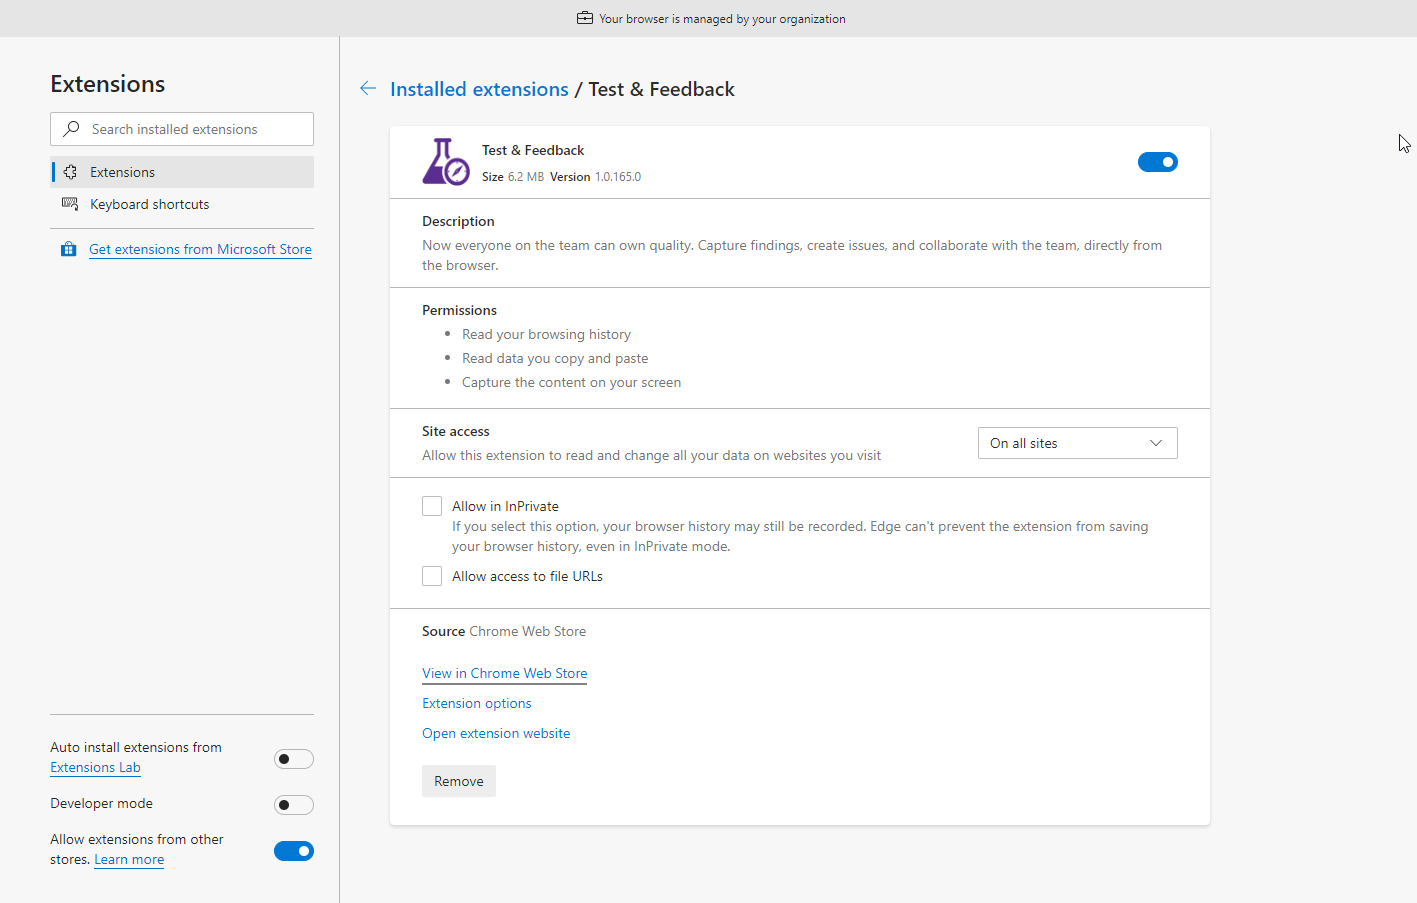
When enabled - appears as a button in the top right menu of browser. Use the CogWheel button to config and make sure it is connected to the Azure DevOps Project
Execute Test
As the tester
- select the test case and [Run for web application]

The Test Runner is then displayed. It displays each step that the tester must perform and what expected result to check for.
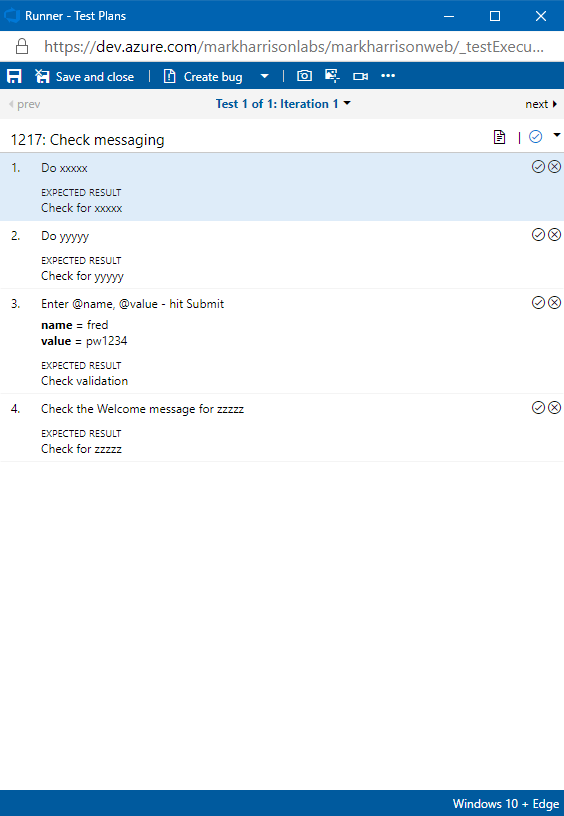
Because we set up two sets of test data - the test runner has 2 interactions.
For each step, the tester must click the tick or cross to indicate iof the expected result did happen.
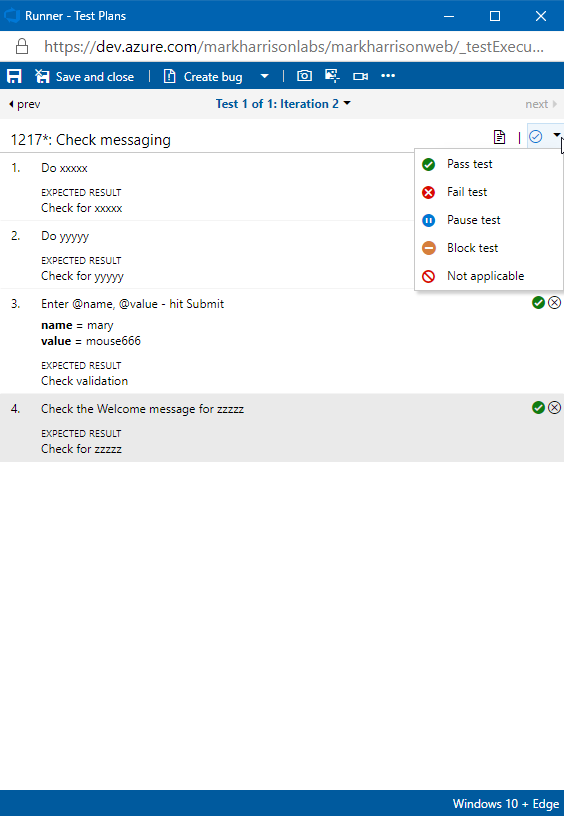
Once the test is complete - select [Save and close]
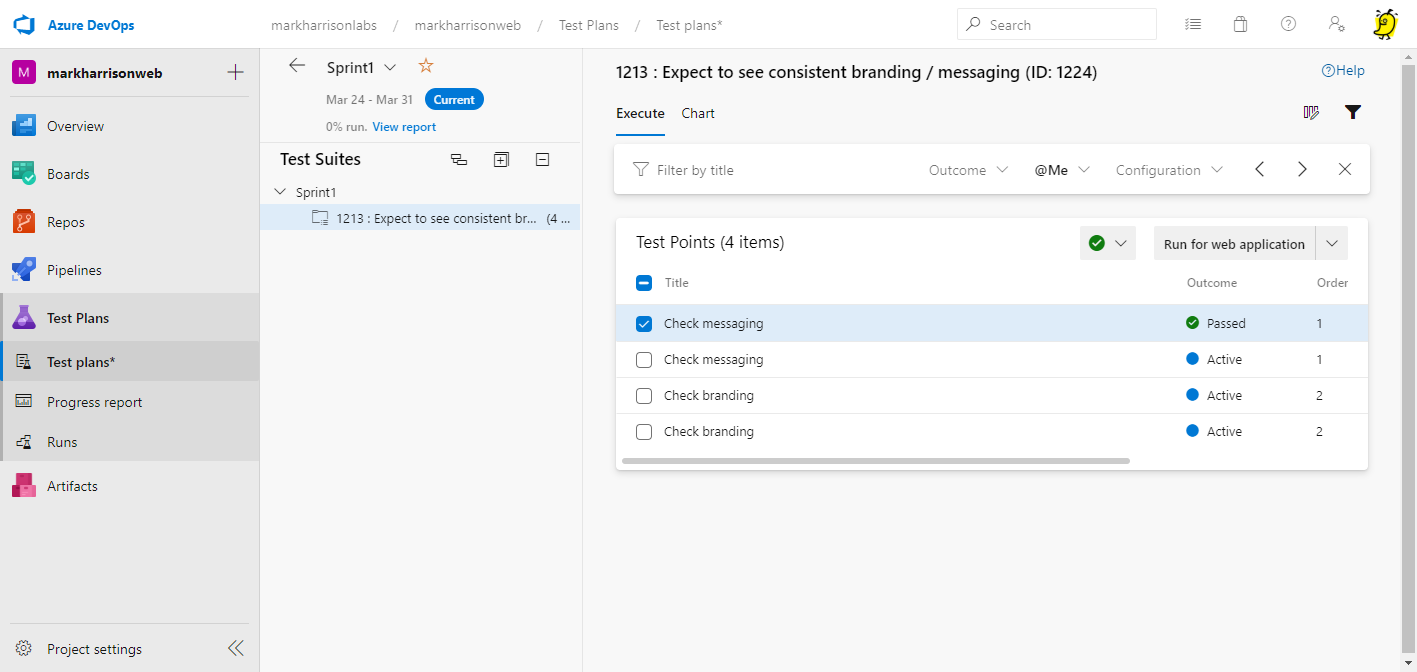
The outcome of the test is then displayed in the list of test cases.
Test History and Monitoring
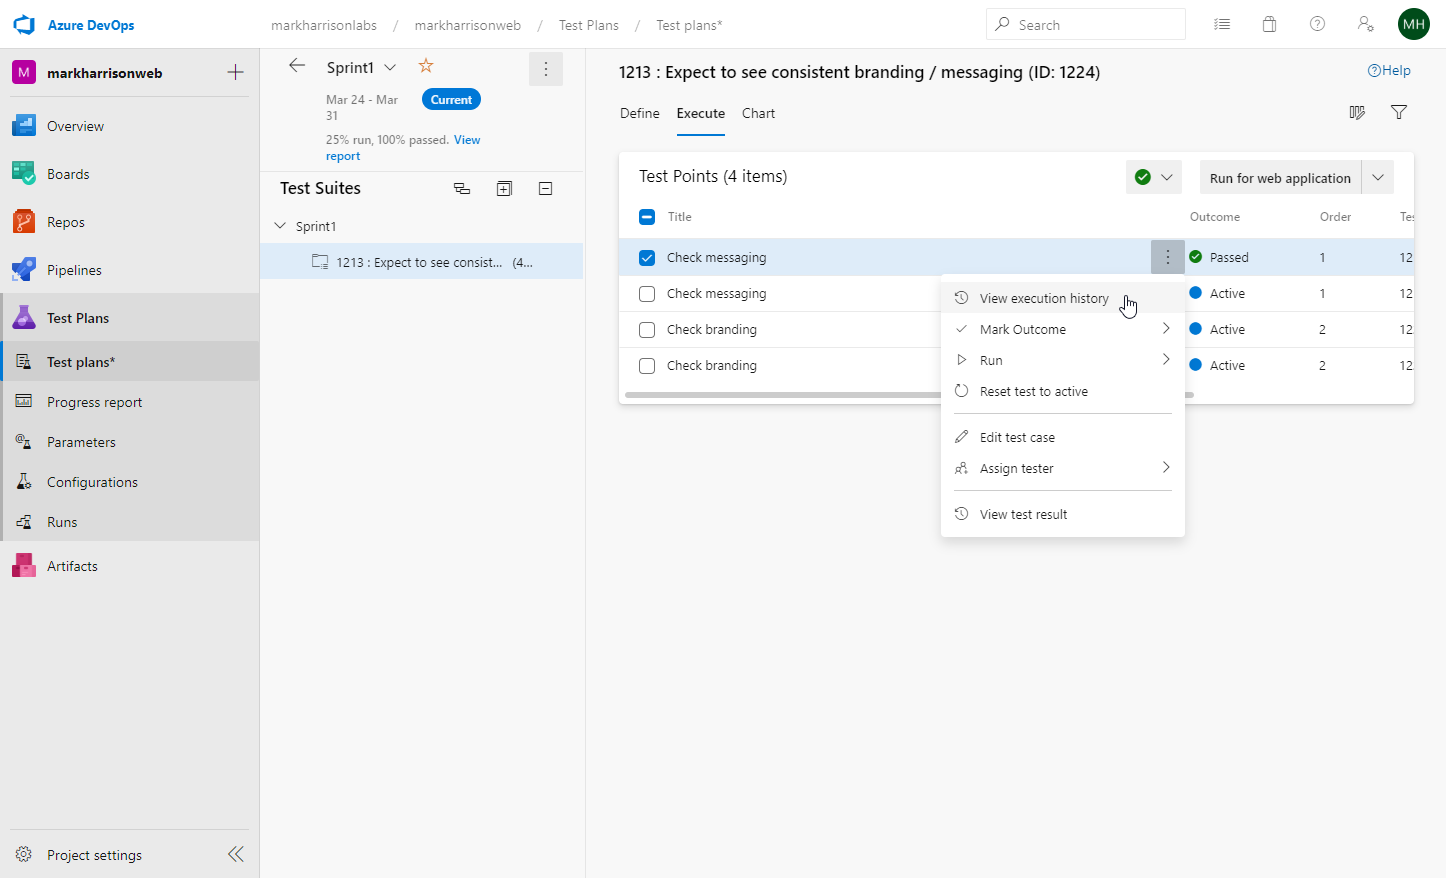
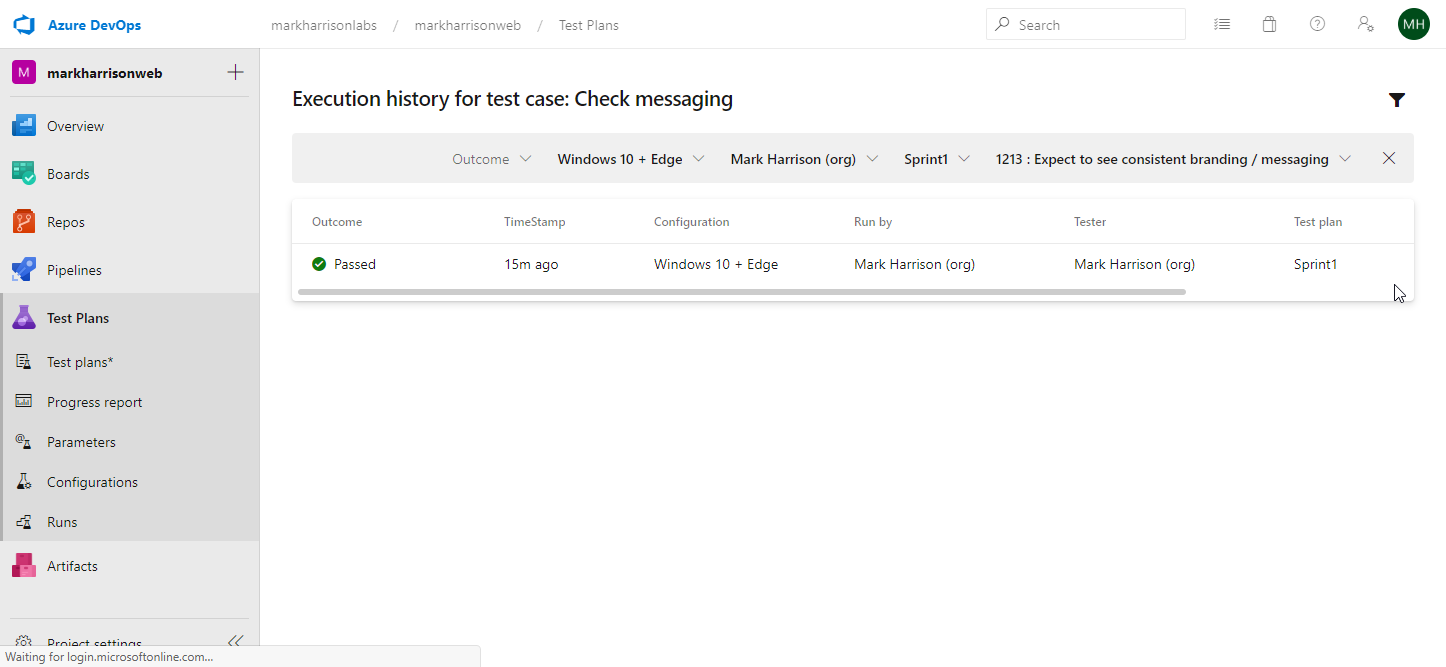
Select [View Execution History] on the completed test case
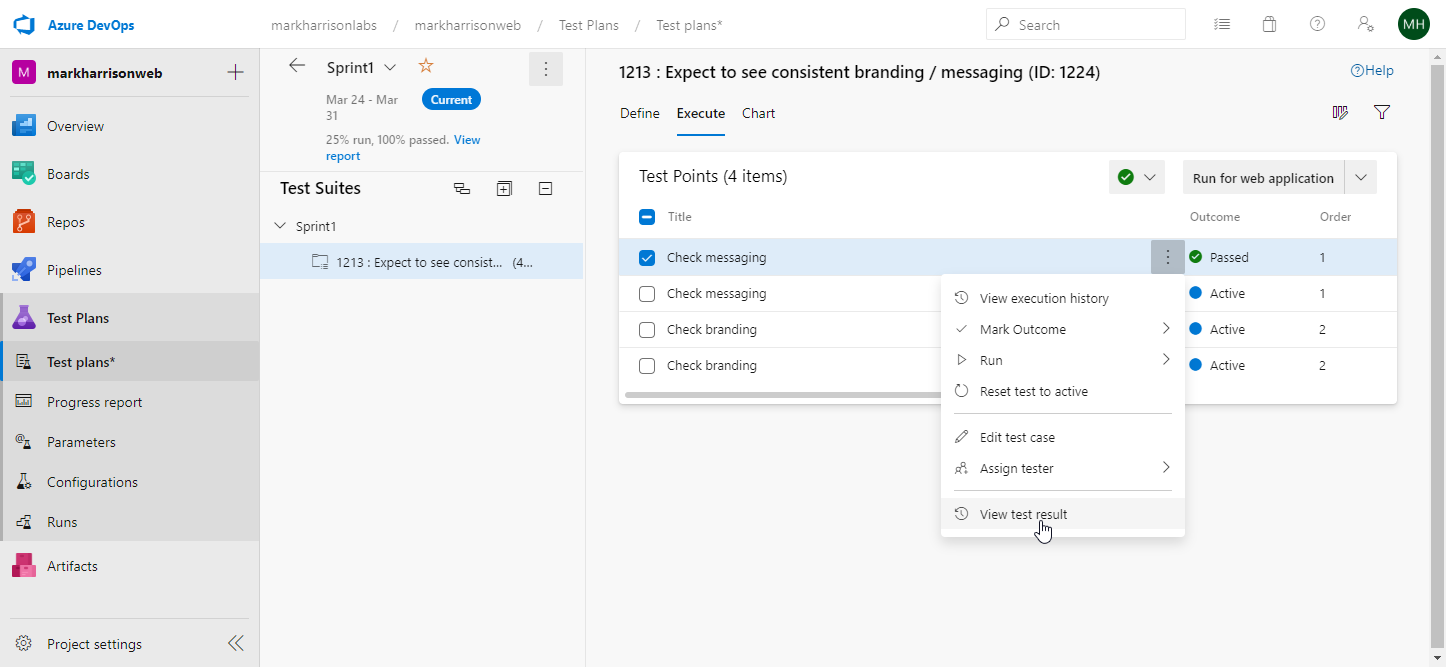
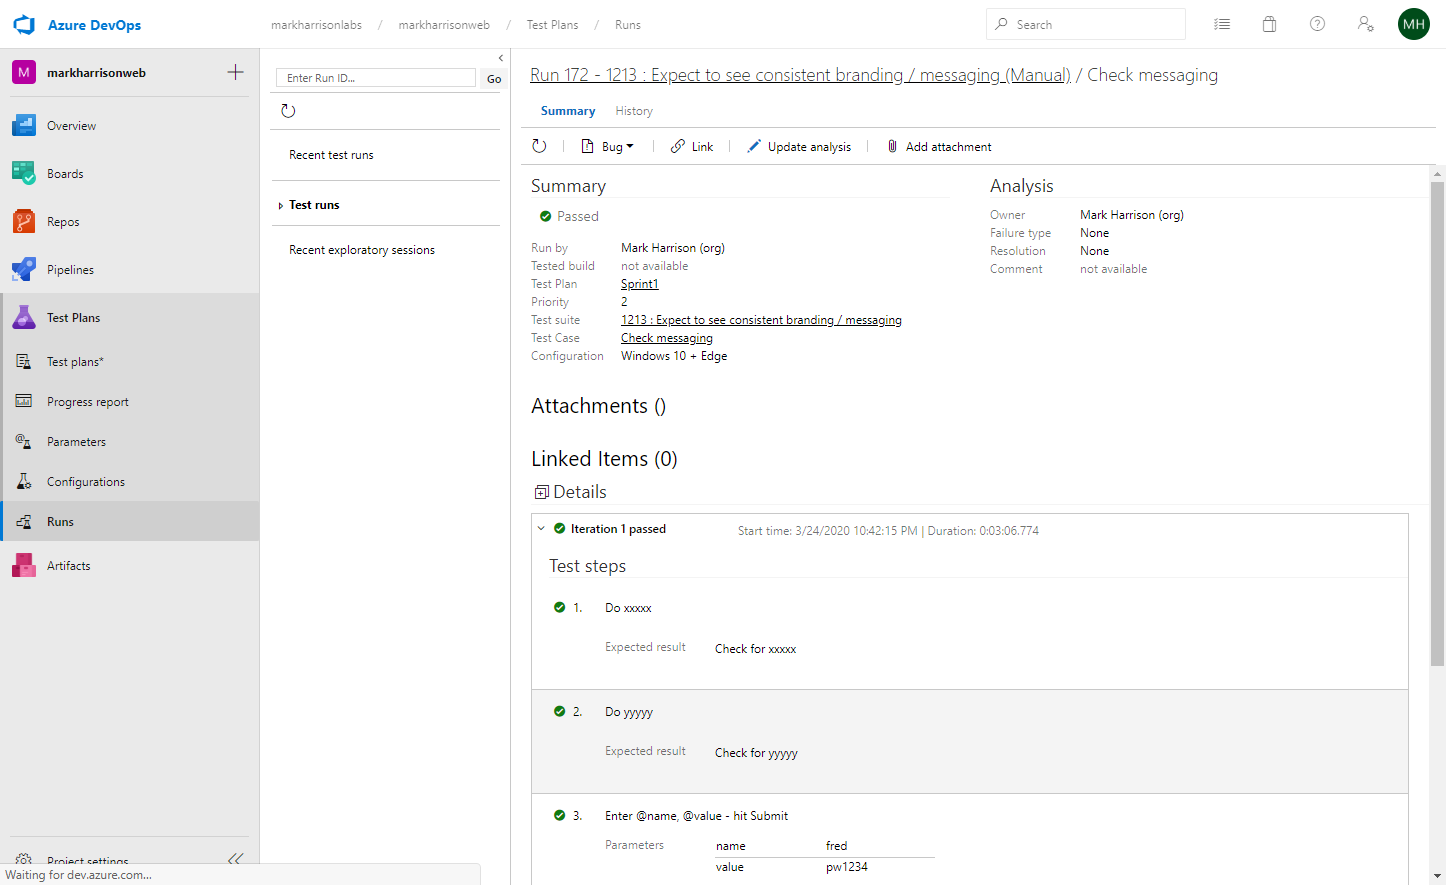
Select [View Test Result] on the completed test case
Select [Chart] and [New Test Result Chart]
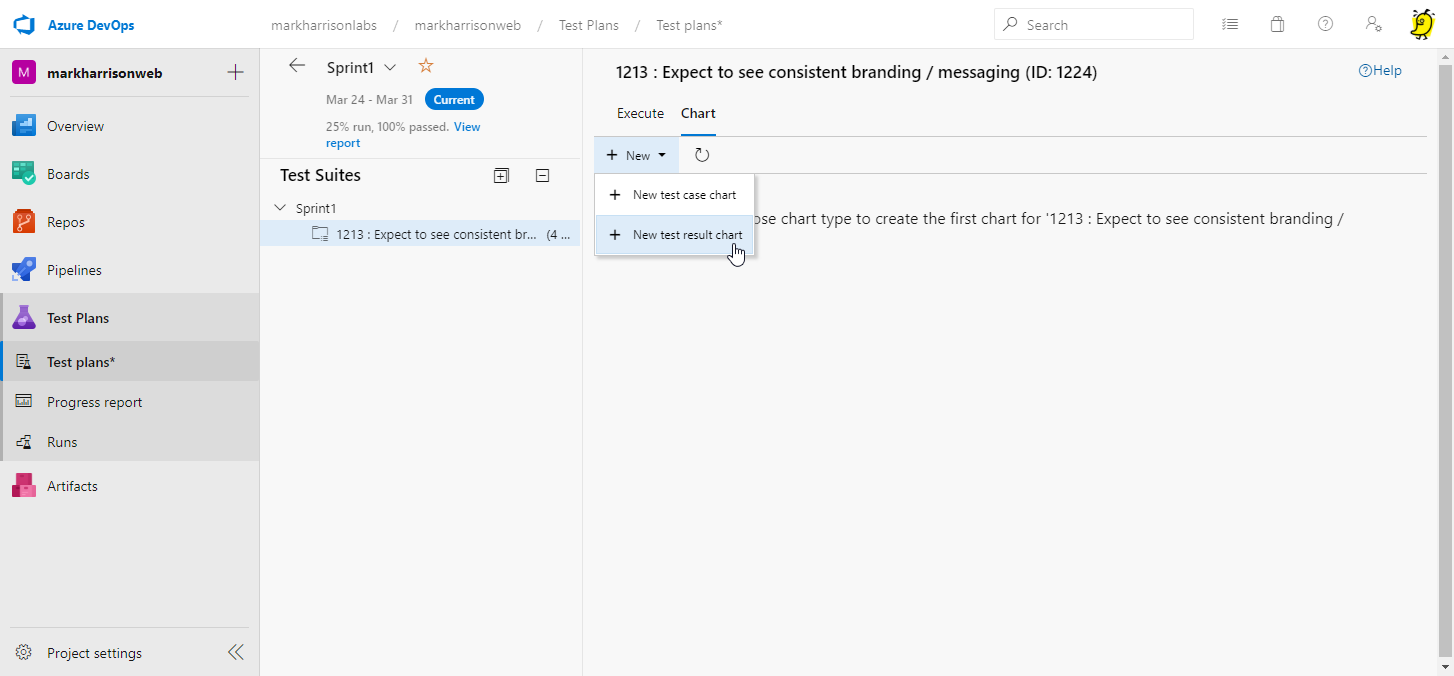
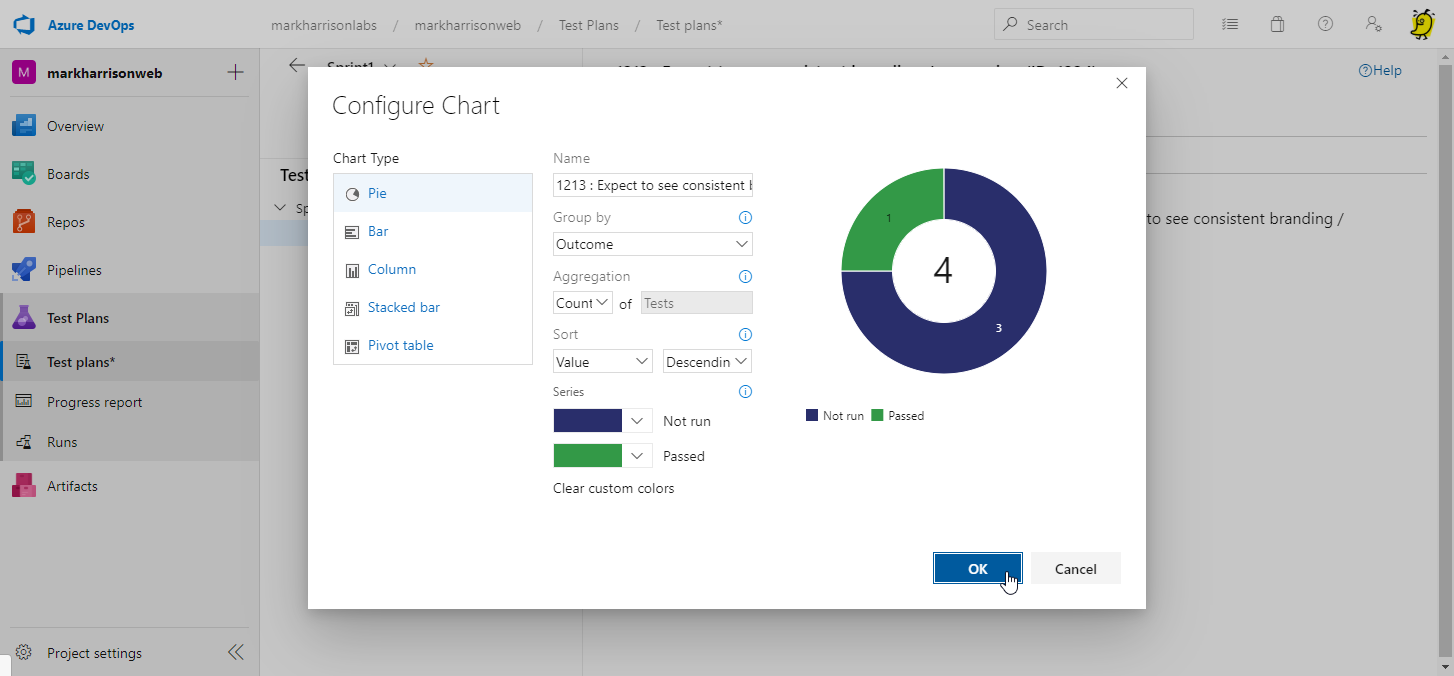
Experiment with options - for example, create a Pie chart of Outcomes.
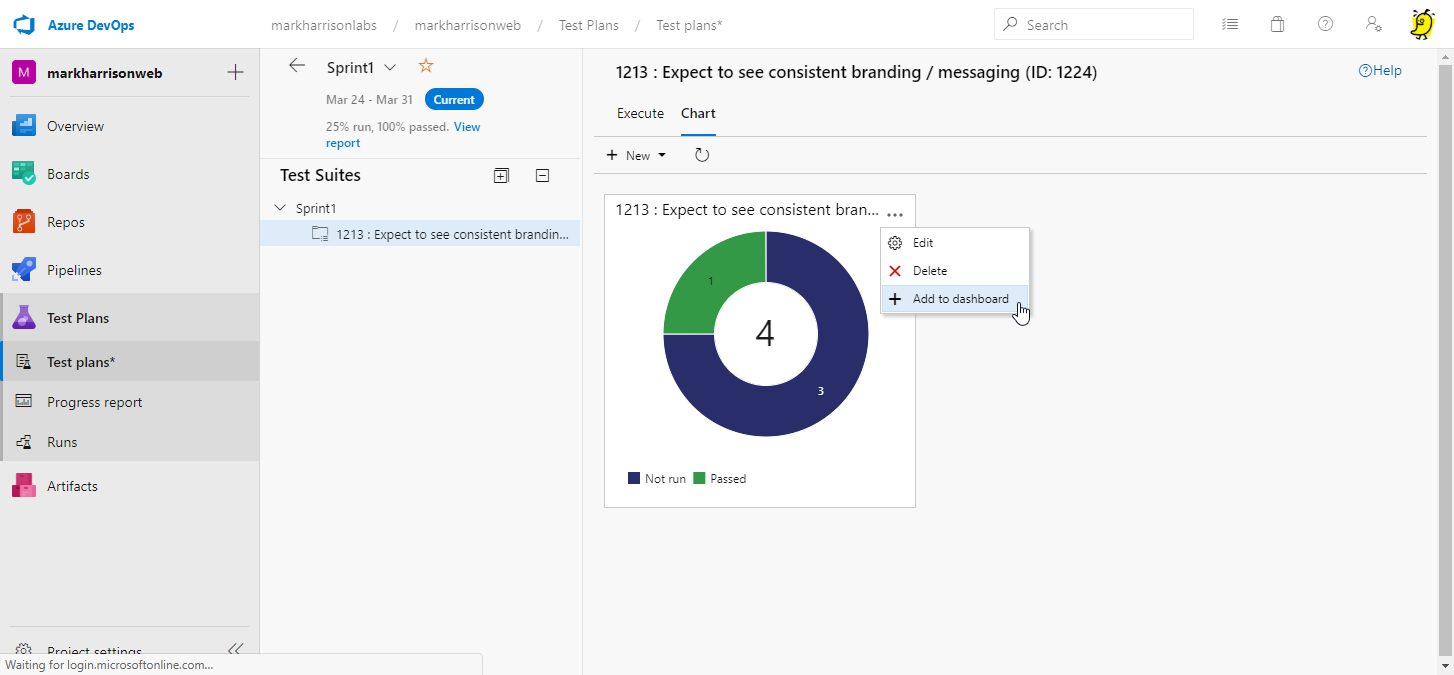
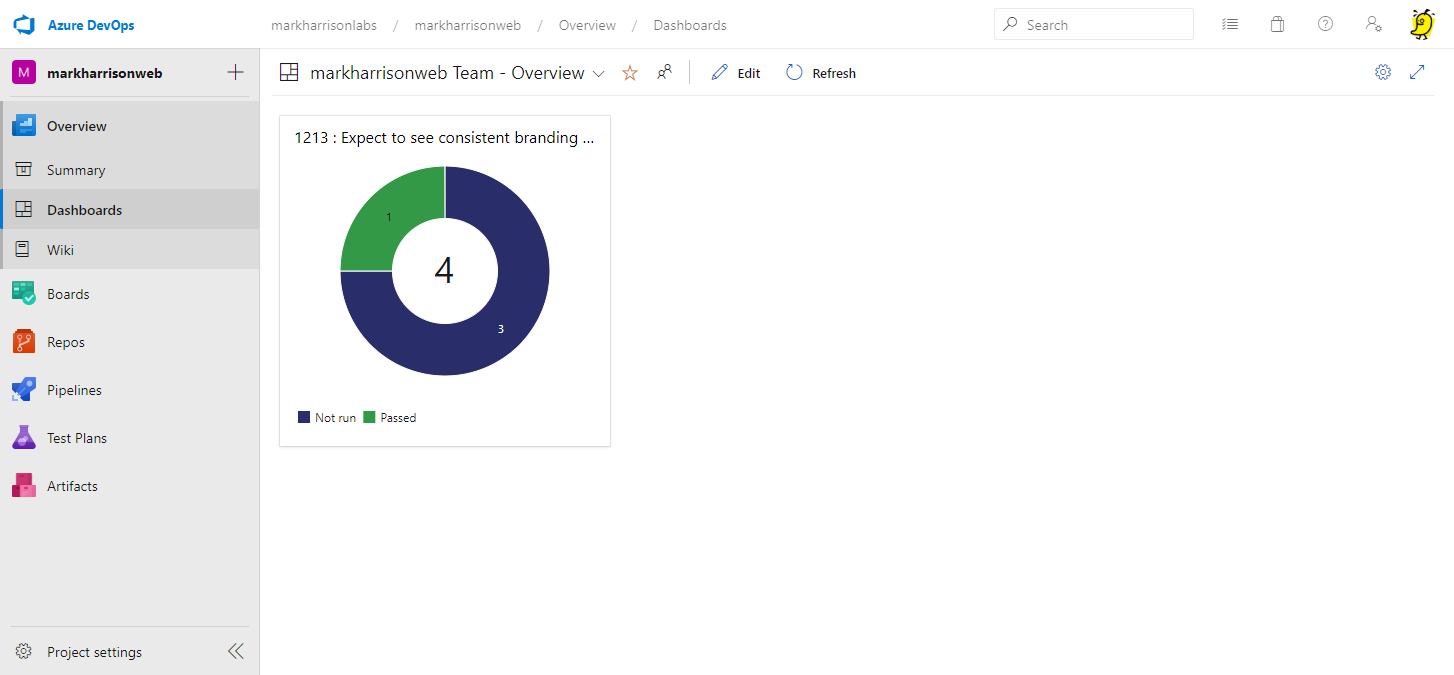
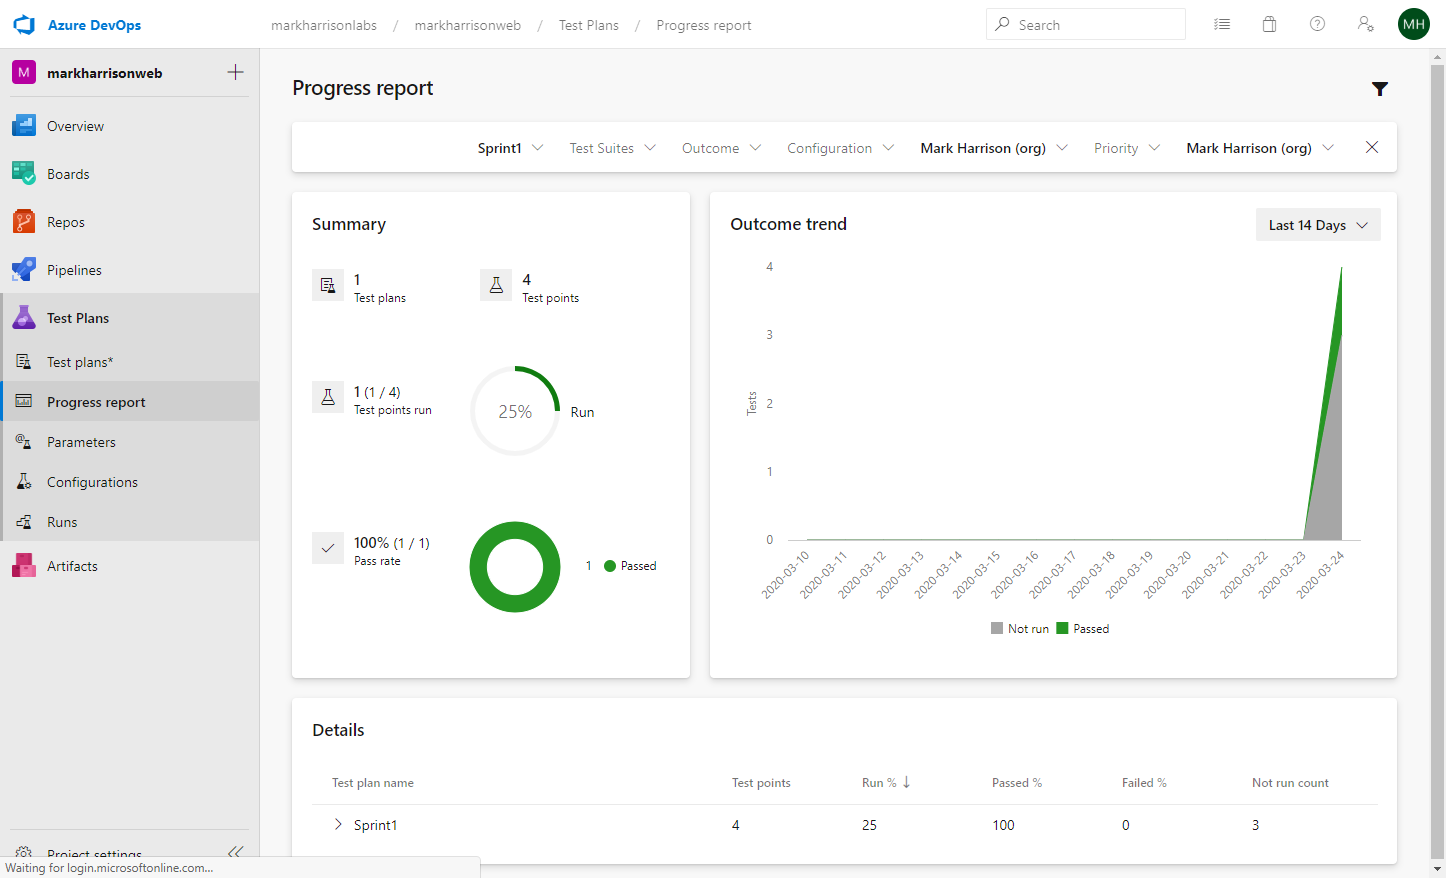
Select [Progress report] in the Test hub menu. We can see the one test successfully executed.
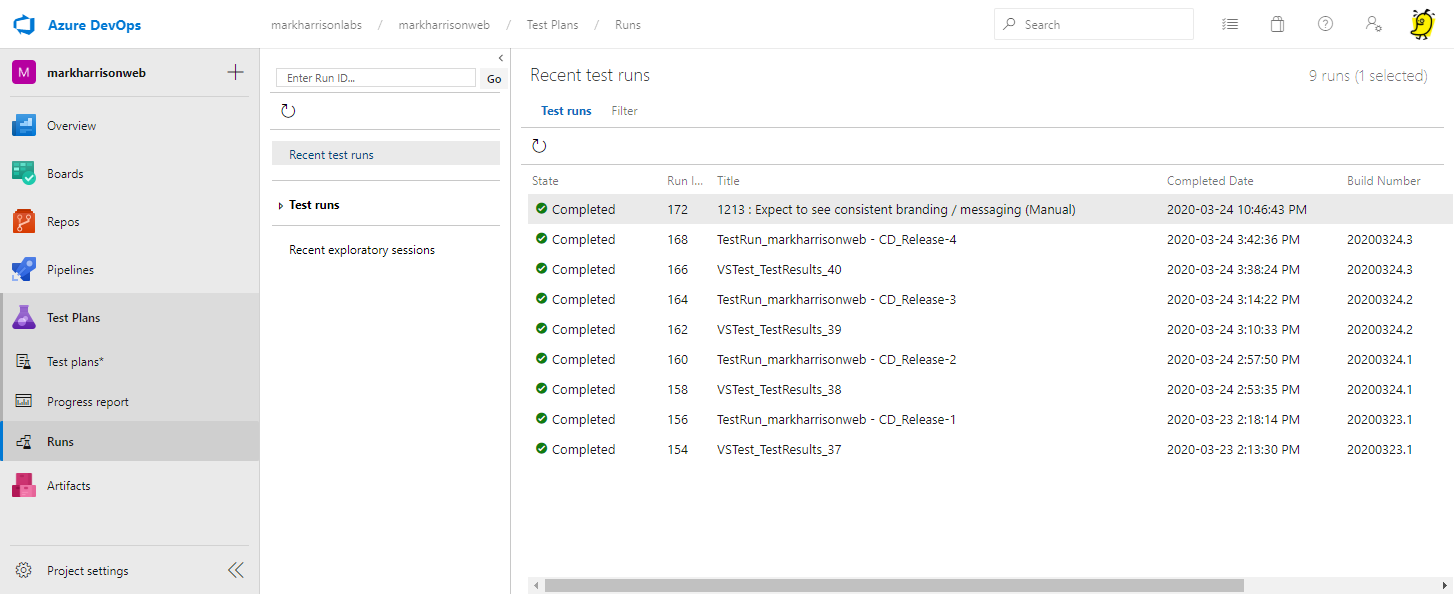
Select the [ Runs] in the Test hub menu. Again - we can see the one test execute.
Raise a bug
Do another test execution - but this time, lets raise a bug.
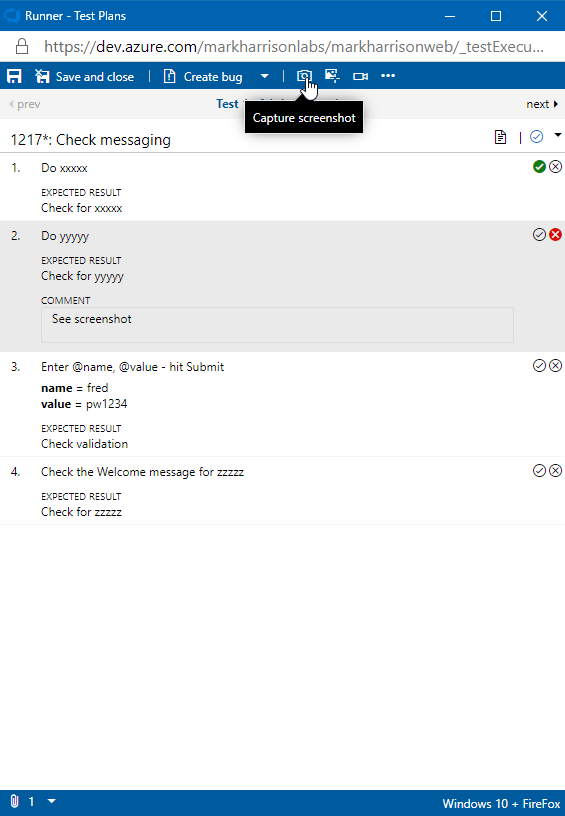
- Add a comment
- Click the camera icon to add a screenshot
- Select the area of interest
- Select the Tick to save the image
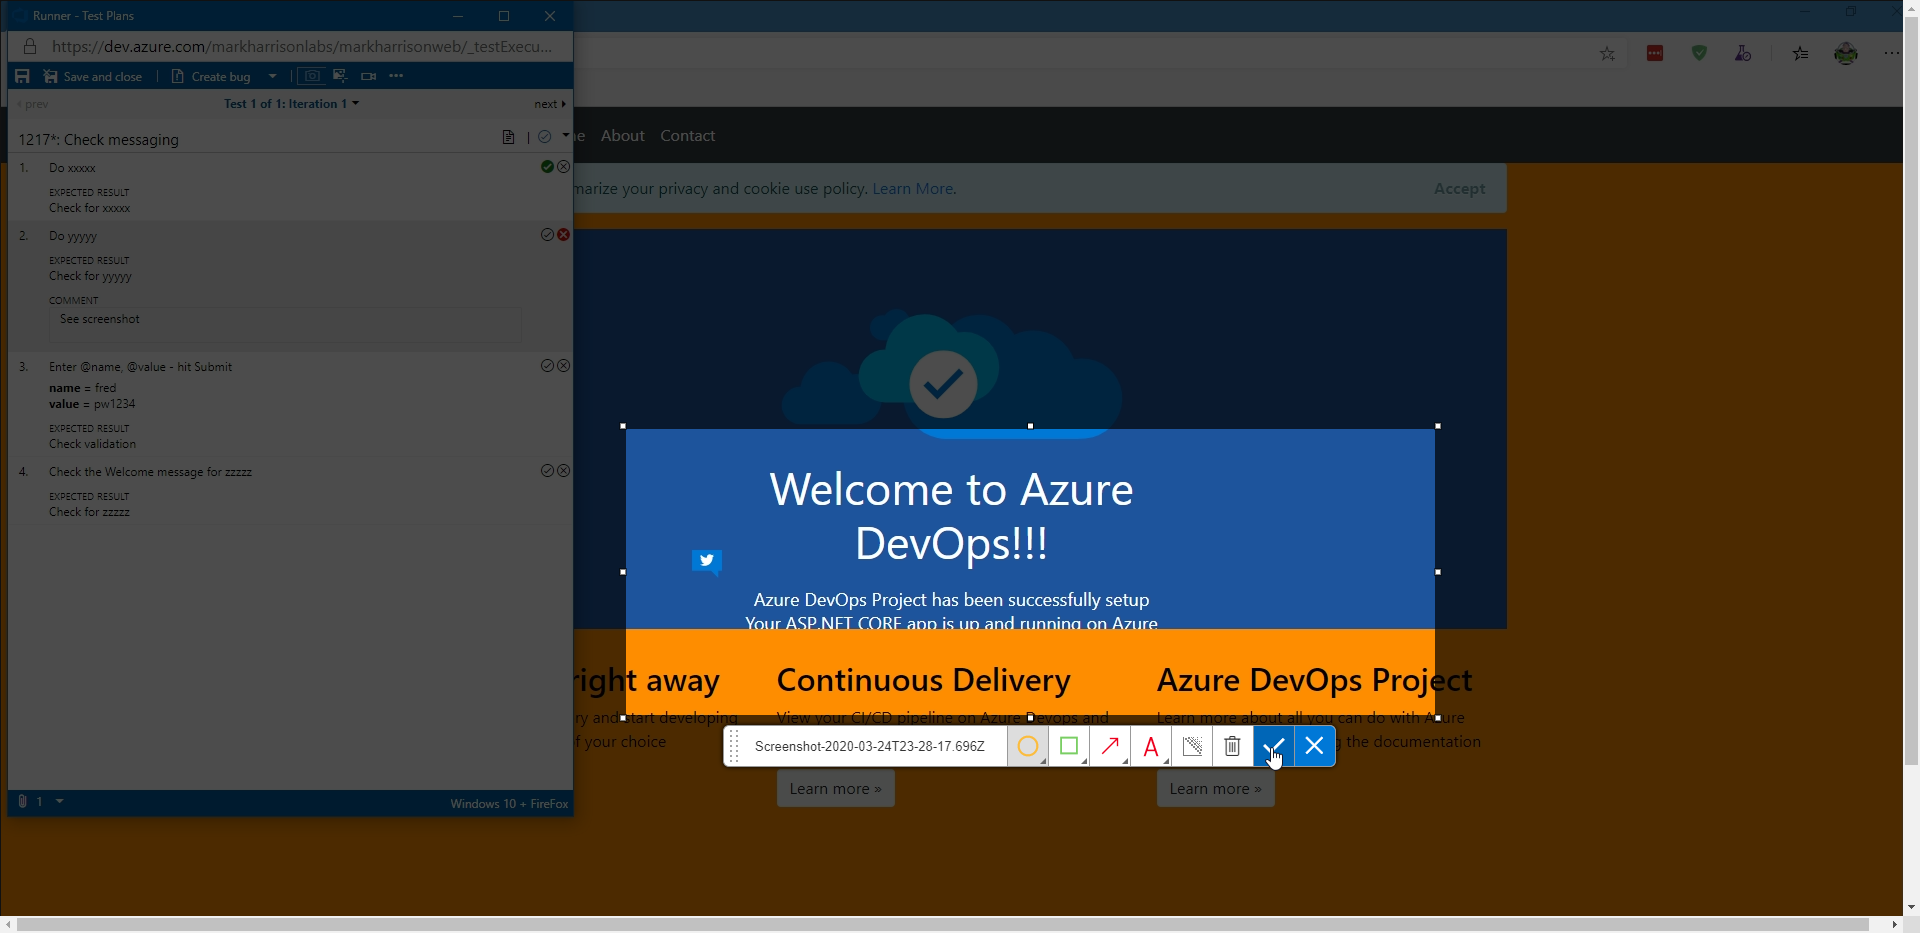
The image is incorporated in to the test execution record.
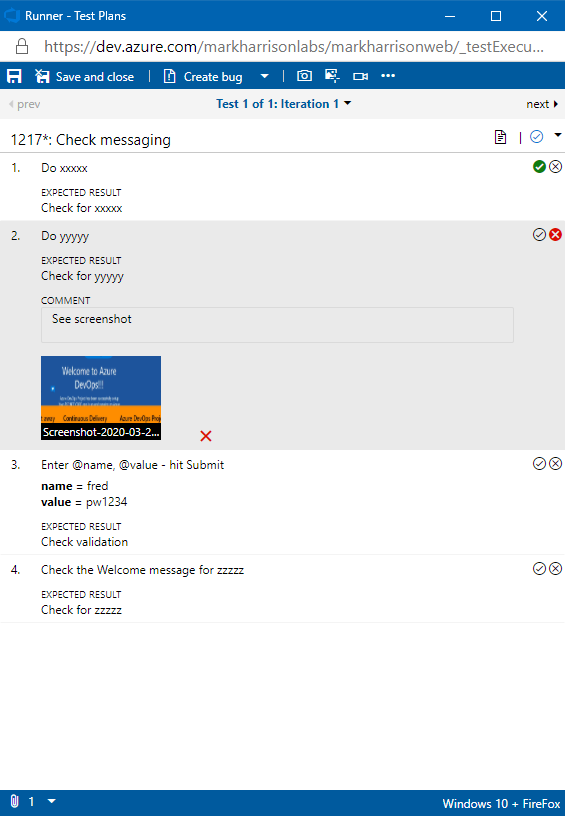
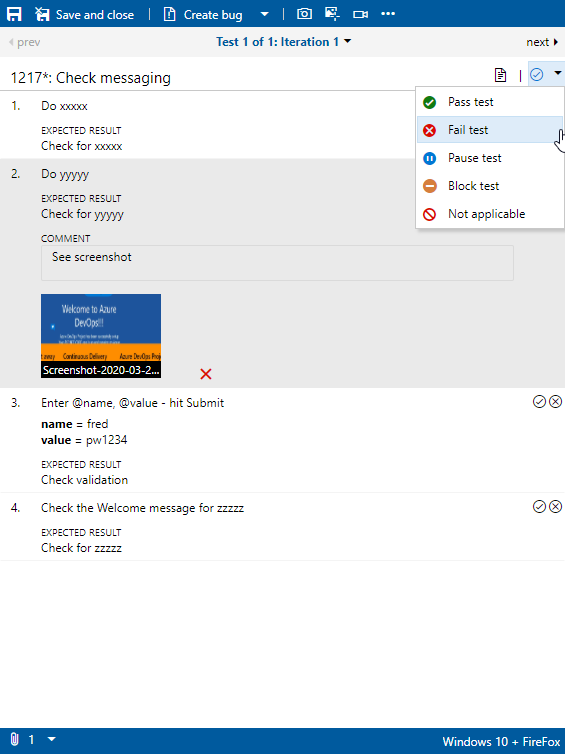
- Select the button to fail the test
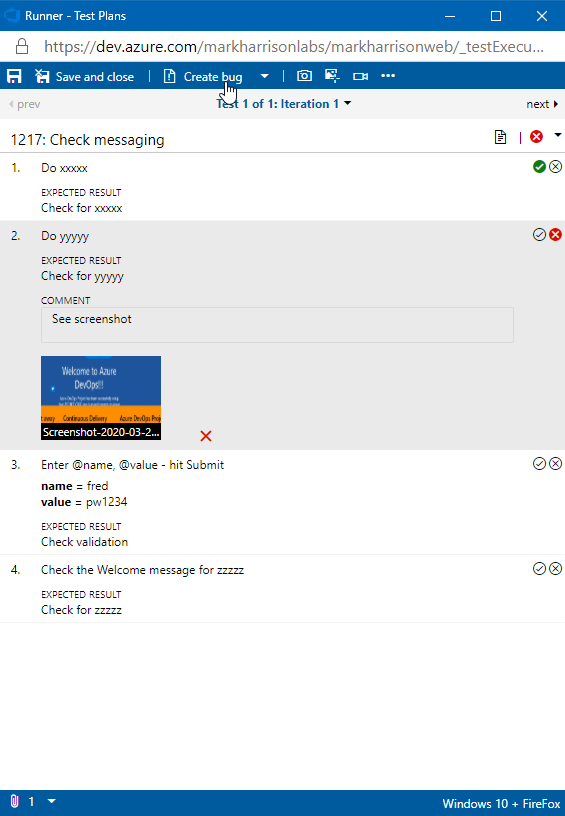
- Click [Create Bug] icon
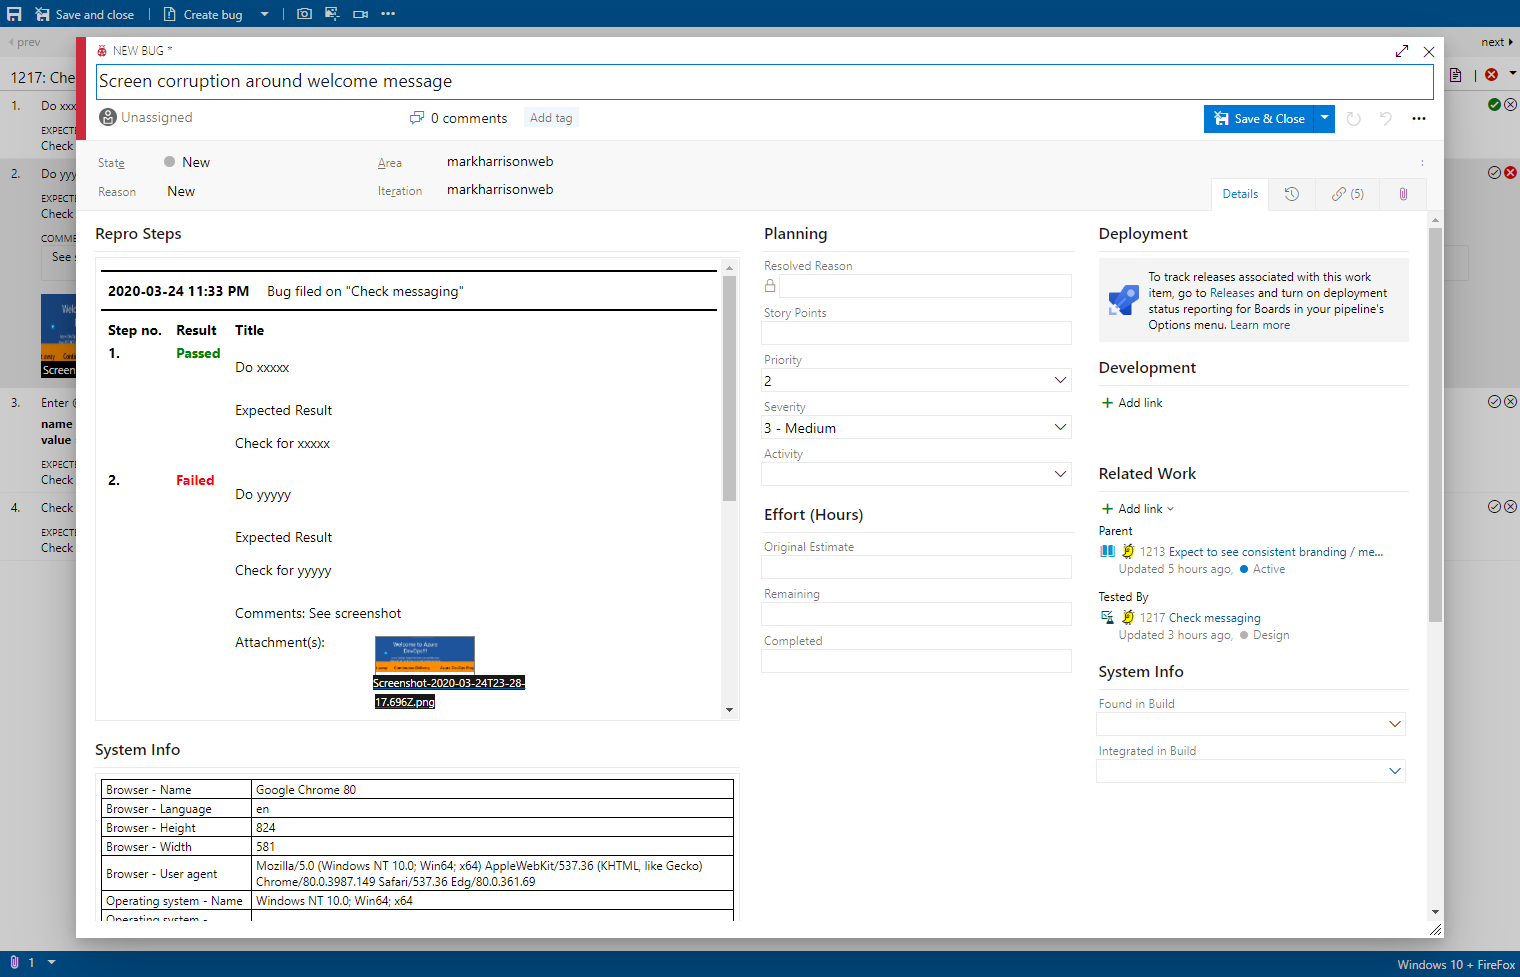
A Bug WorkItem dialog is displayed for the bug to be created. Note that the whole test excution information is included, including the screenshot and the system information.
- Enter a Bug title and [Save & Close]
- [Save & Close] the test runner
The failure is reflected in the Dashboard and Progress Report
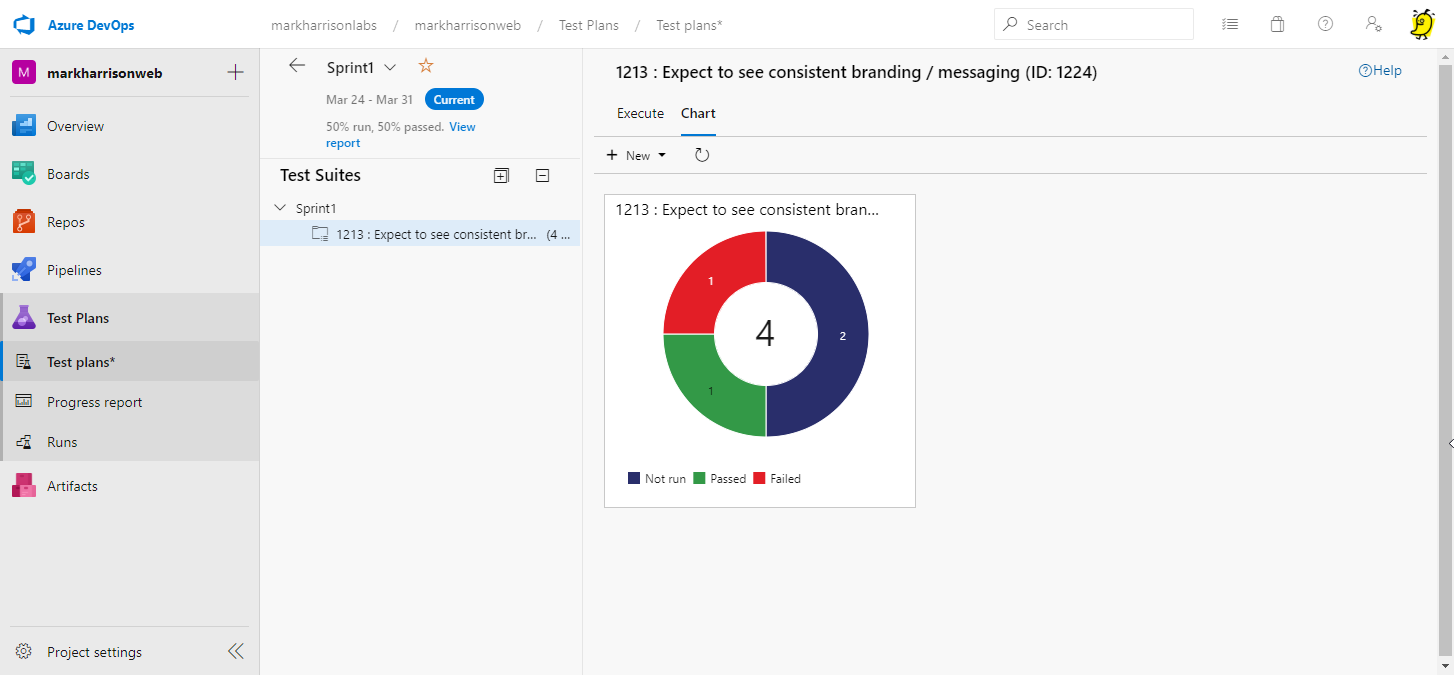
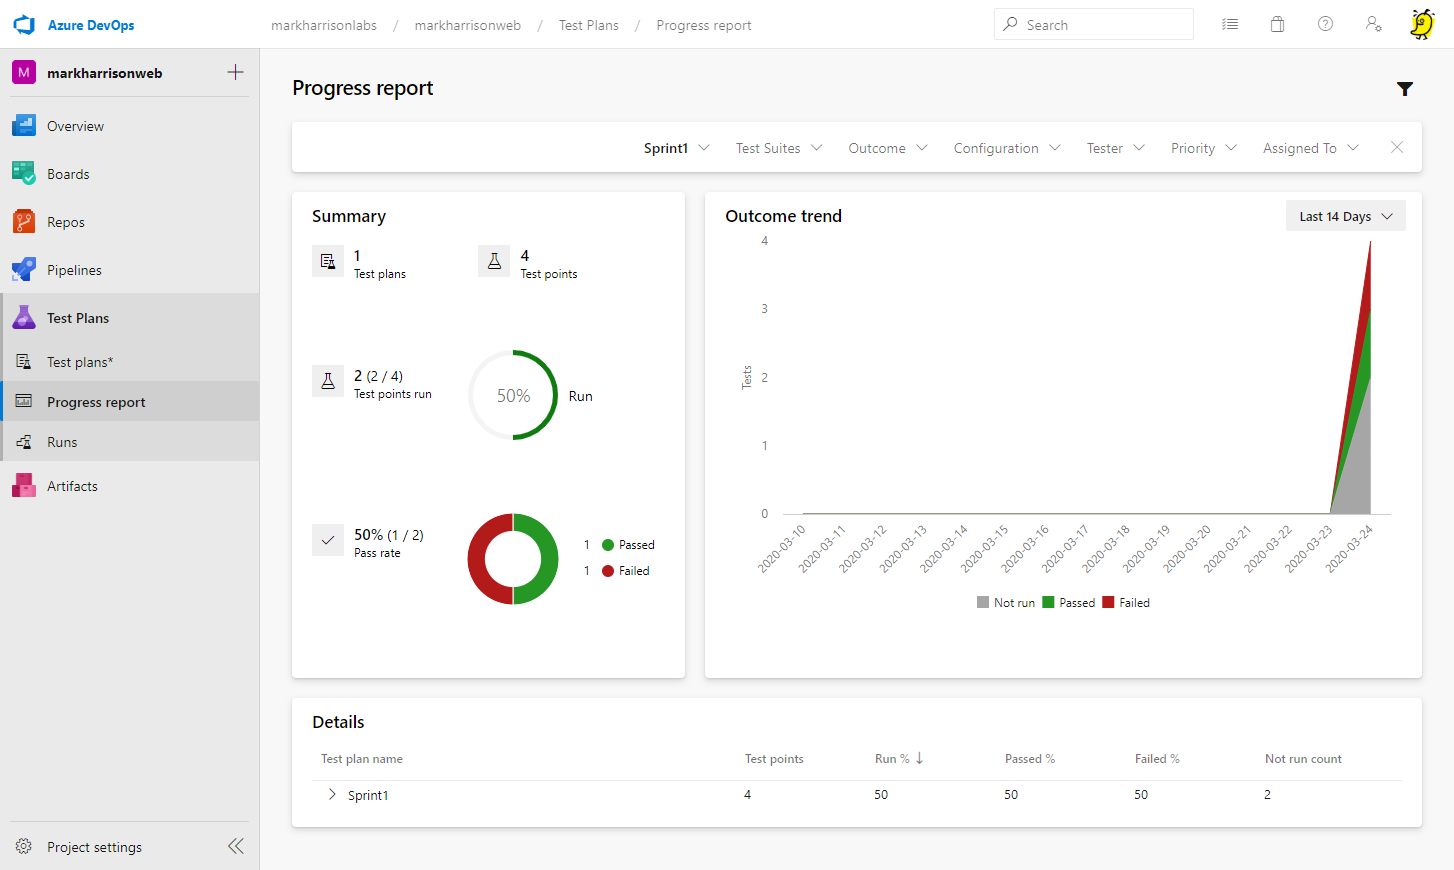
Check the Kanban board - we see the bug (associated with the Story) and the test failures
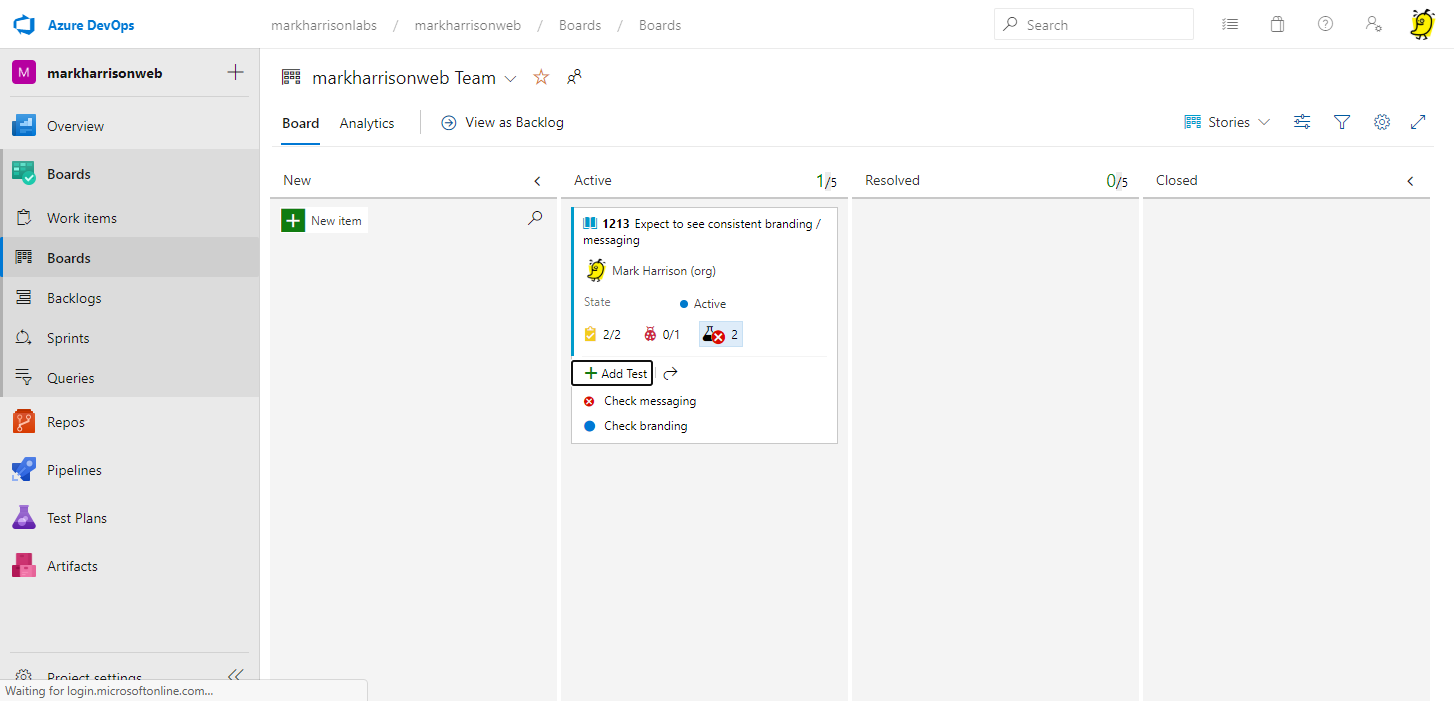
The Bug appears in the list of Work Items
