Azure DevOps
Hands-on Lab Script - Part 2
Development
In this section we will make a code change to address the task work items - this section is optional for those only interested in testing.
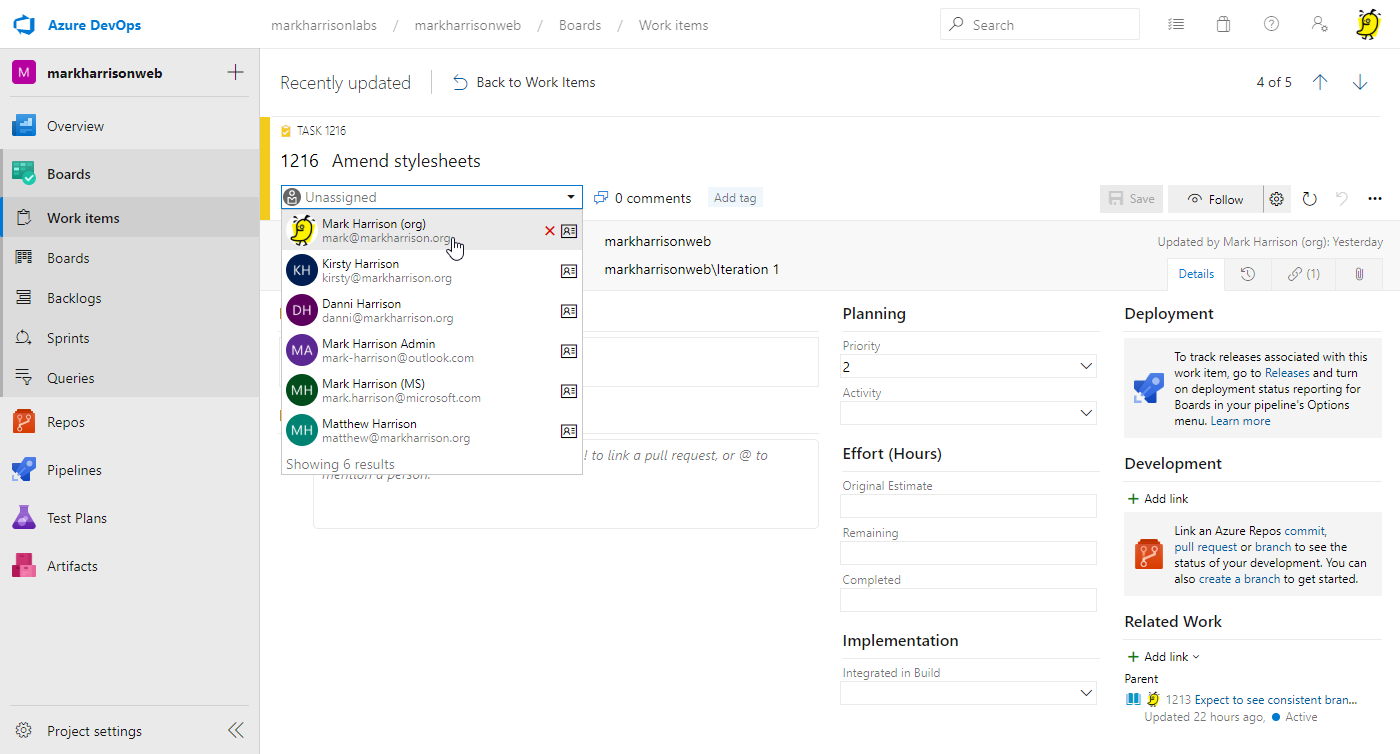
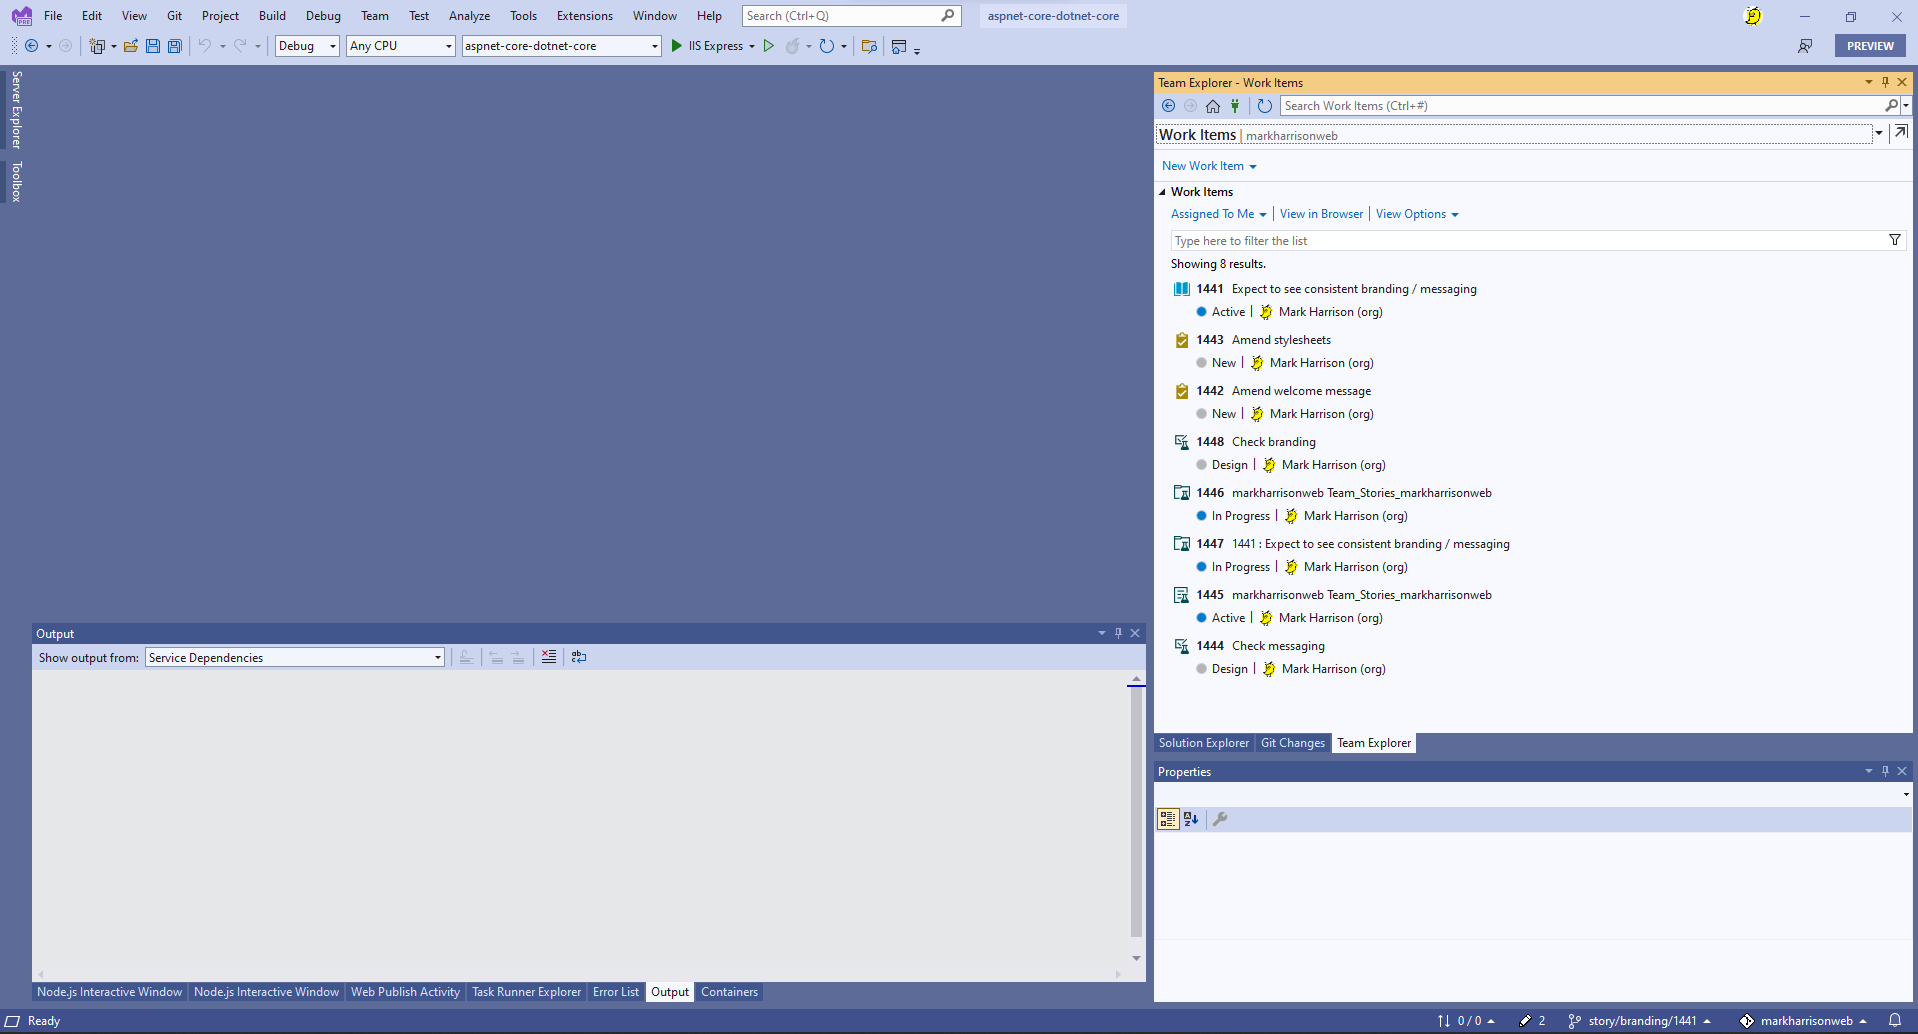
Allocate Developers
- Assign the Tasks to the Developer
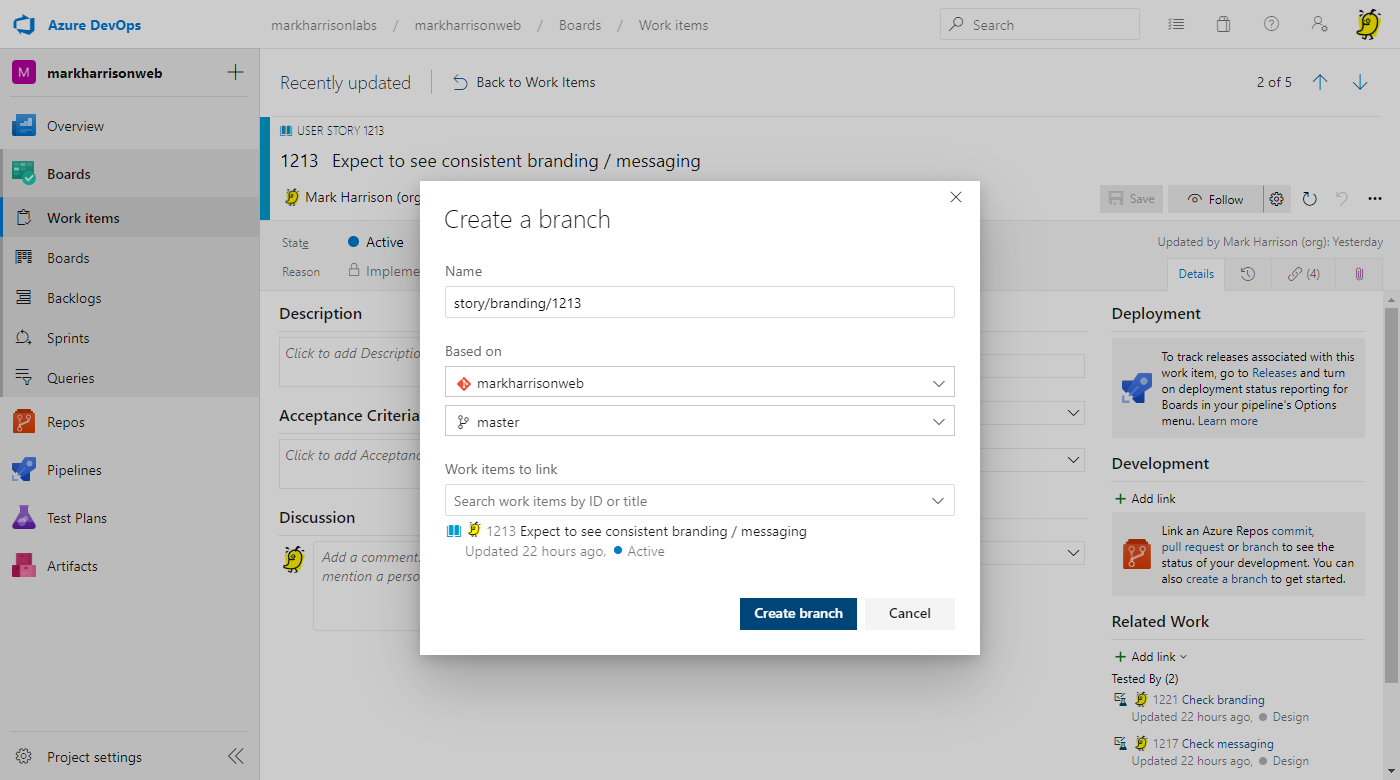
- In the User Story, create a branch for the development tasks related to this story

Visual Studio set up
Using Visual Studio
- Start Visual Studio
- Enable
Git Changespane (Ctrl 0, Ctrl G) - Select
Clone Repositorybutton
- Select
Browse a Repository|Azure DevOps - Navigate to our Azure DevOps repo - and select our project
- Note the path name where the files will be copied to - this location can be amended if required

- Select the
Clonebutton - Wait while the files are synced to desktop
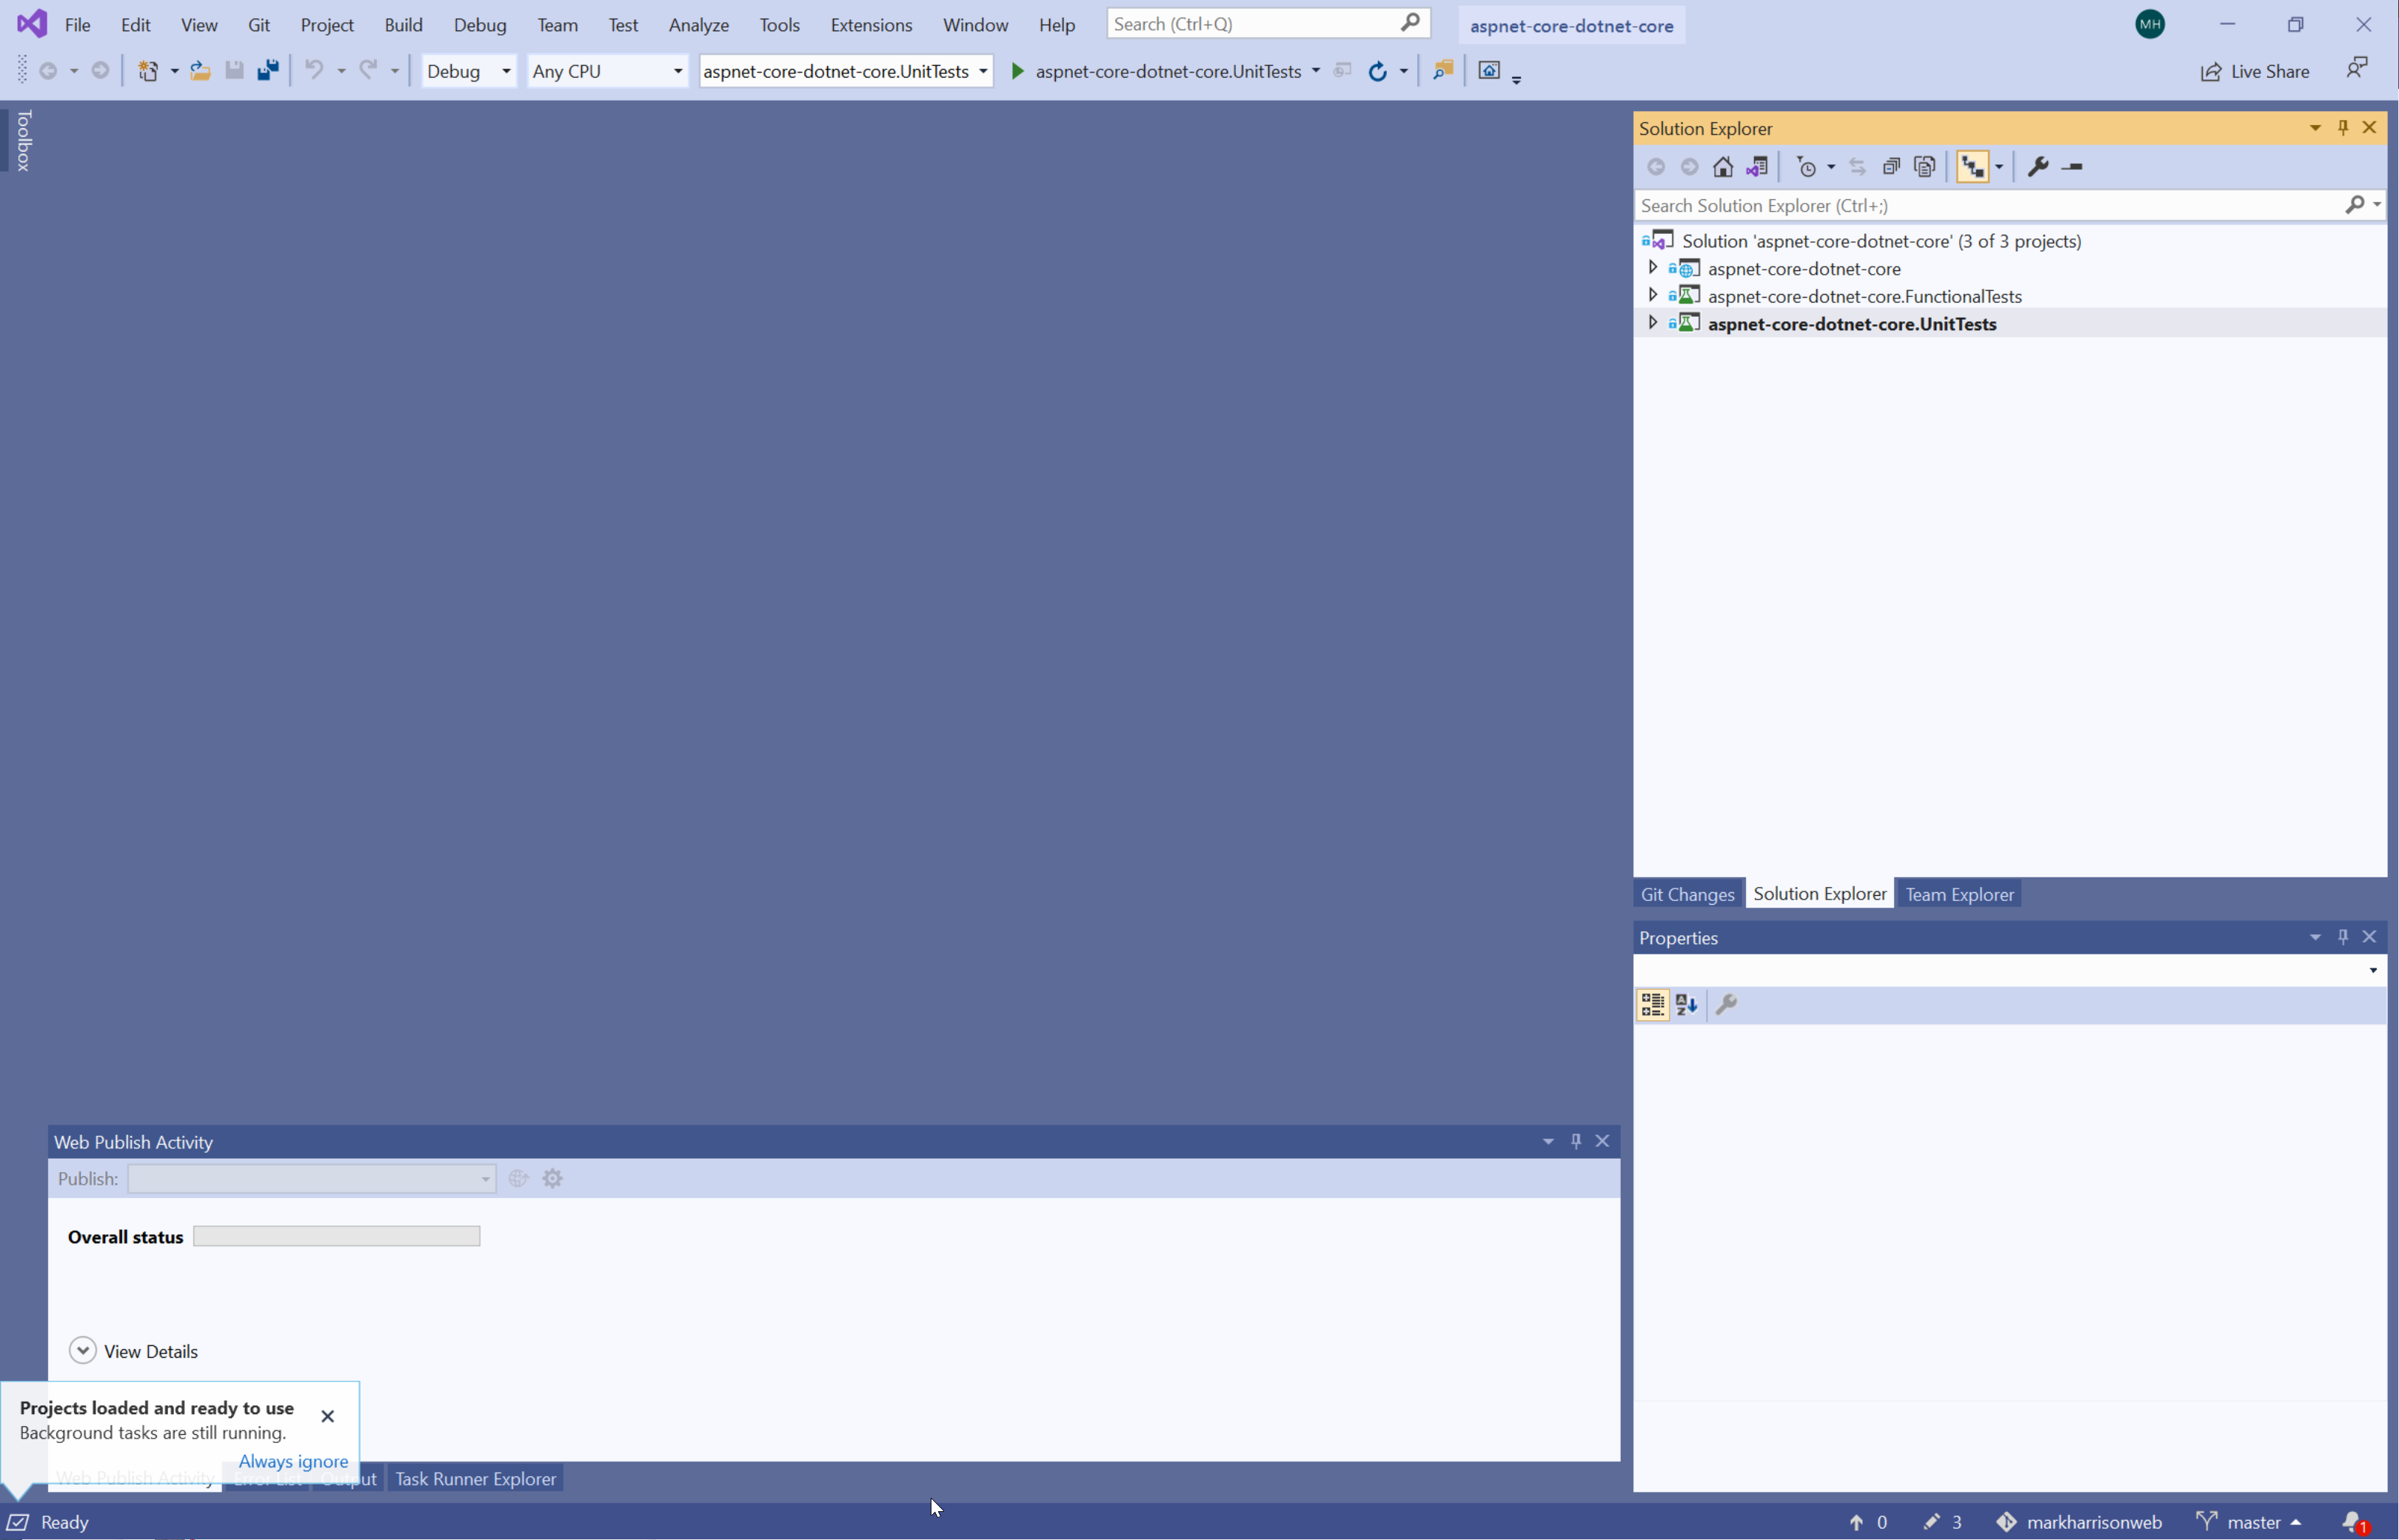
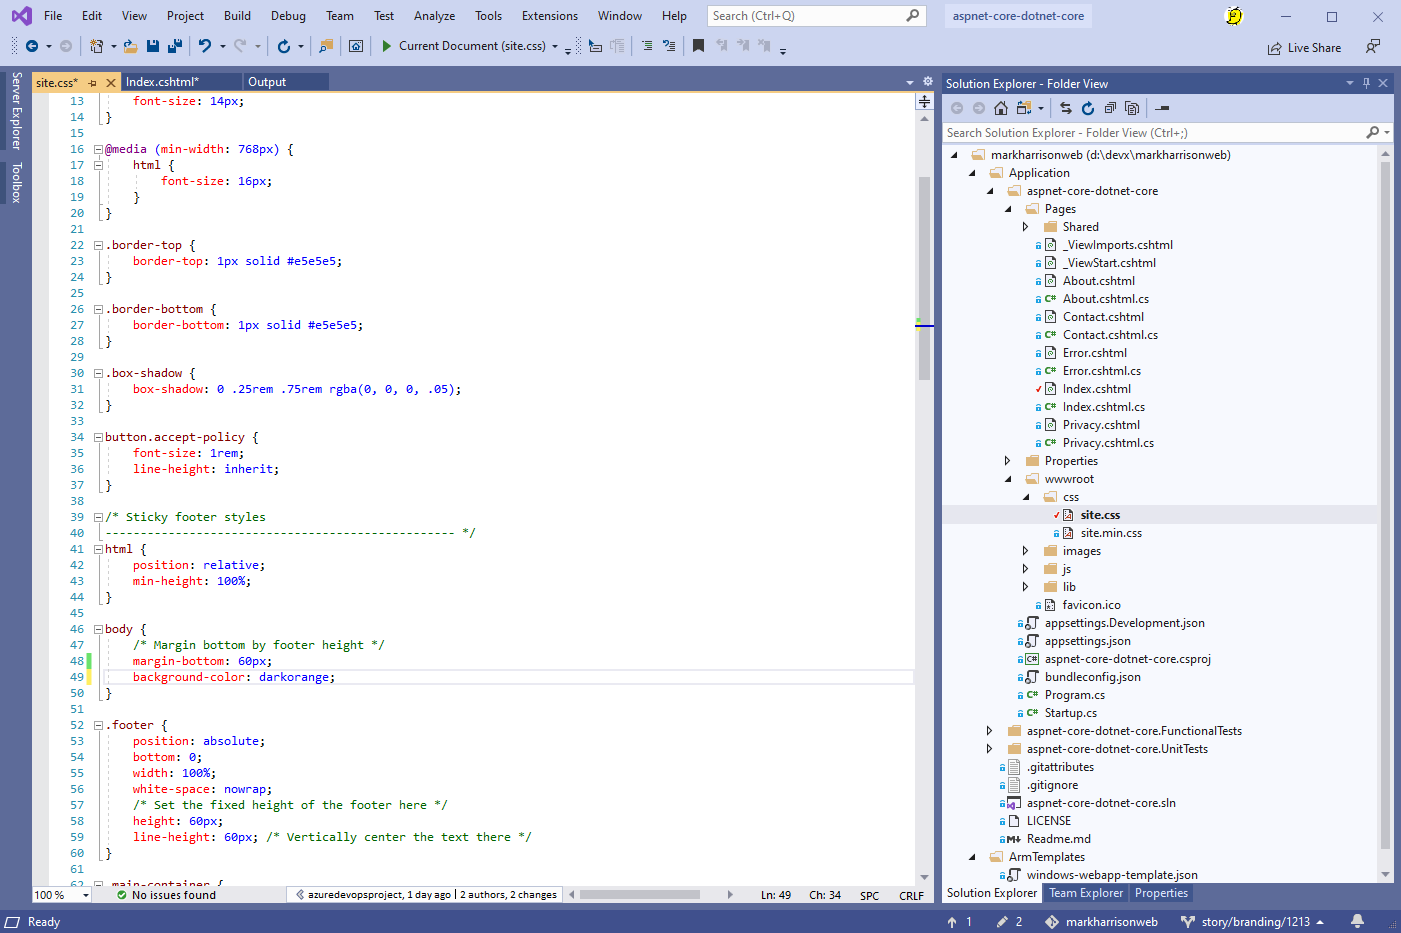
- Use the button in the toolbar "switch between solutions and available views" to see the application source files ... open the solution file
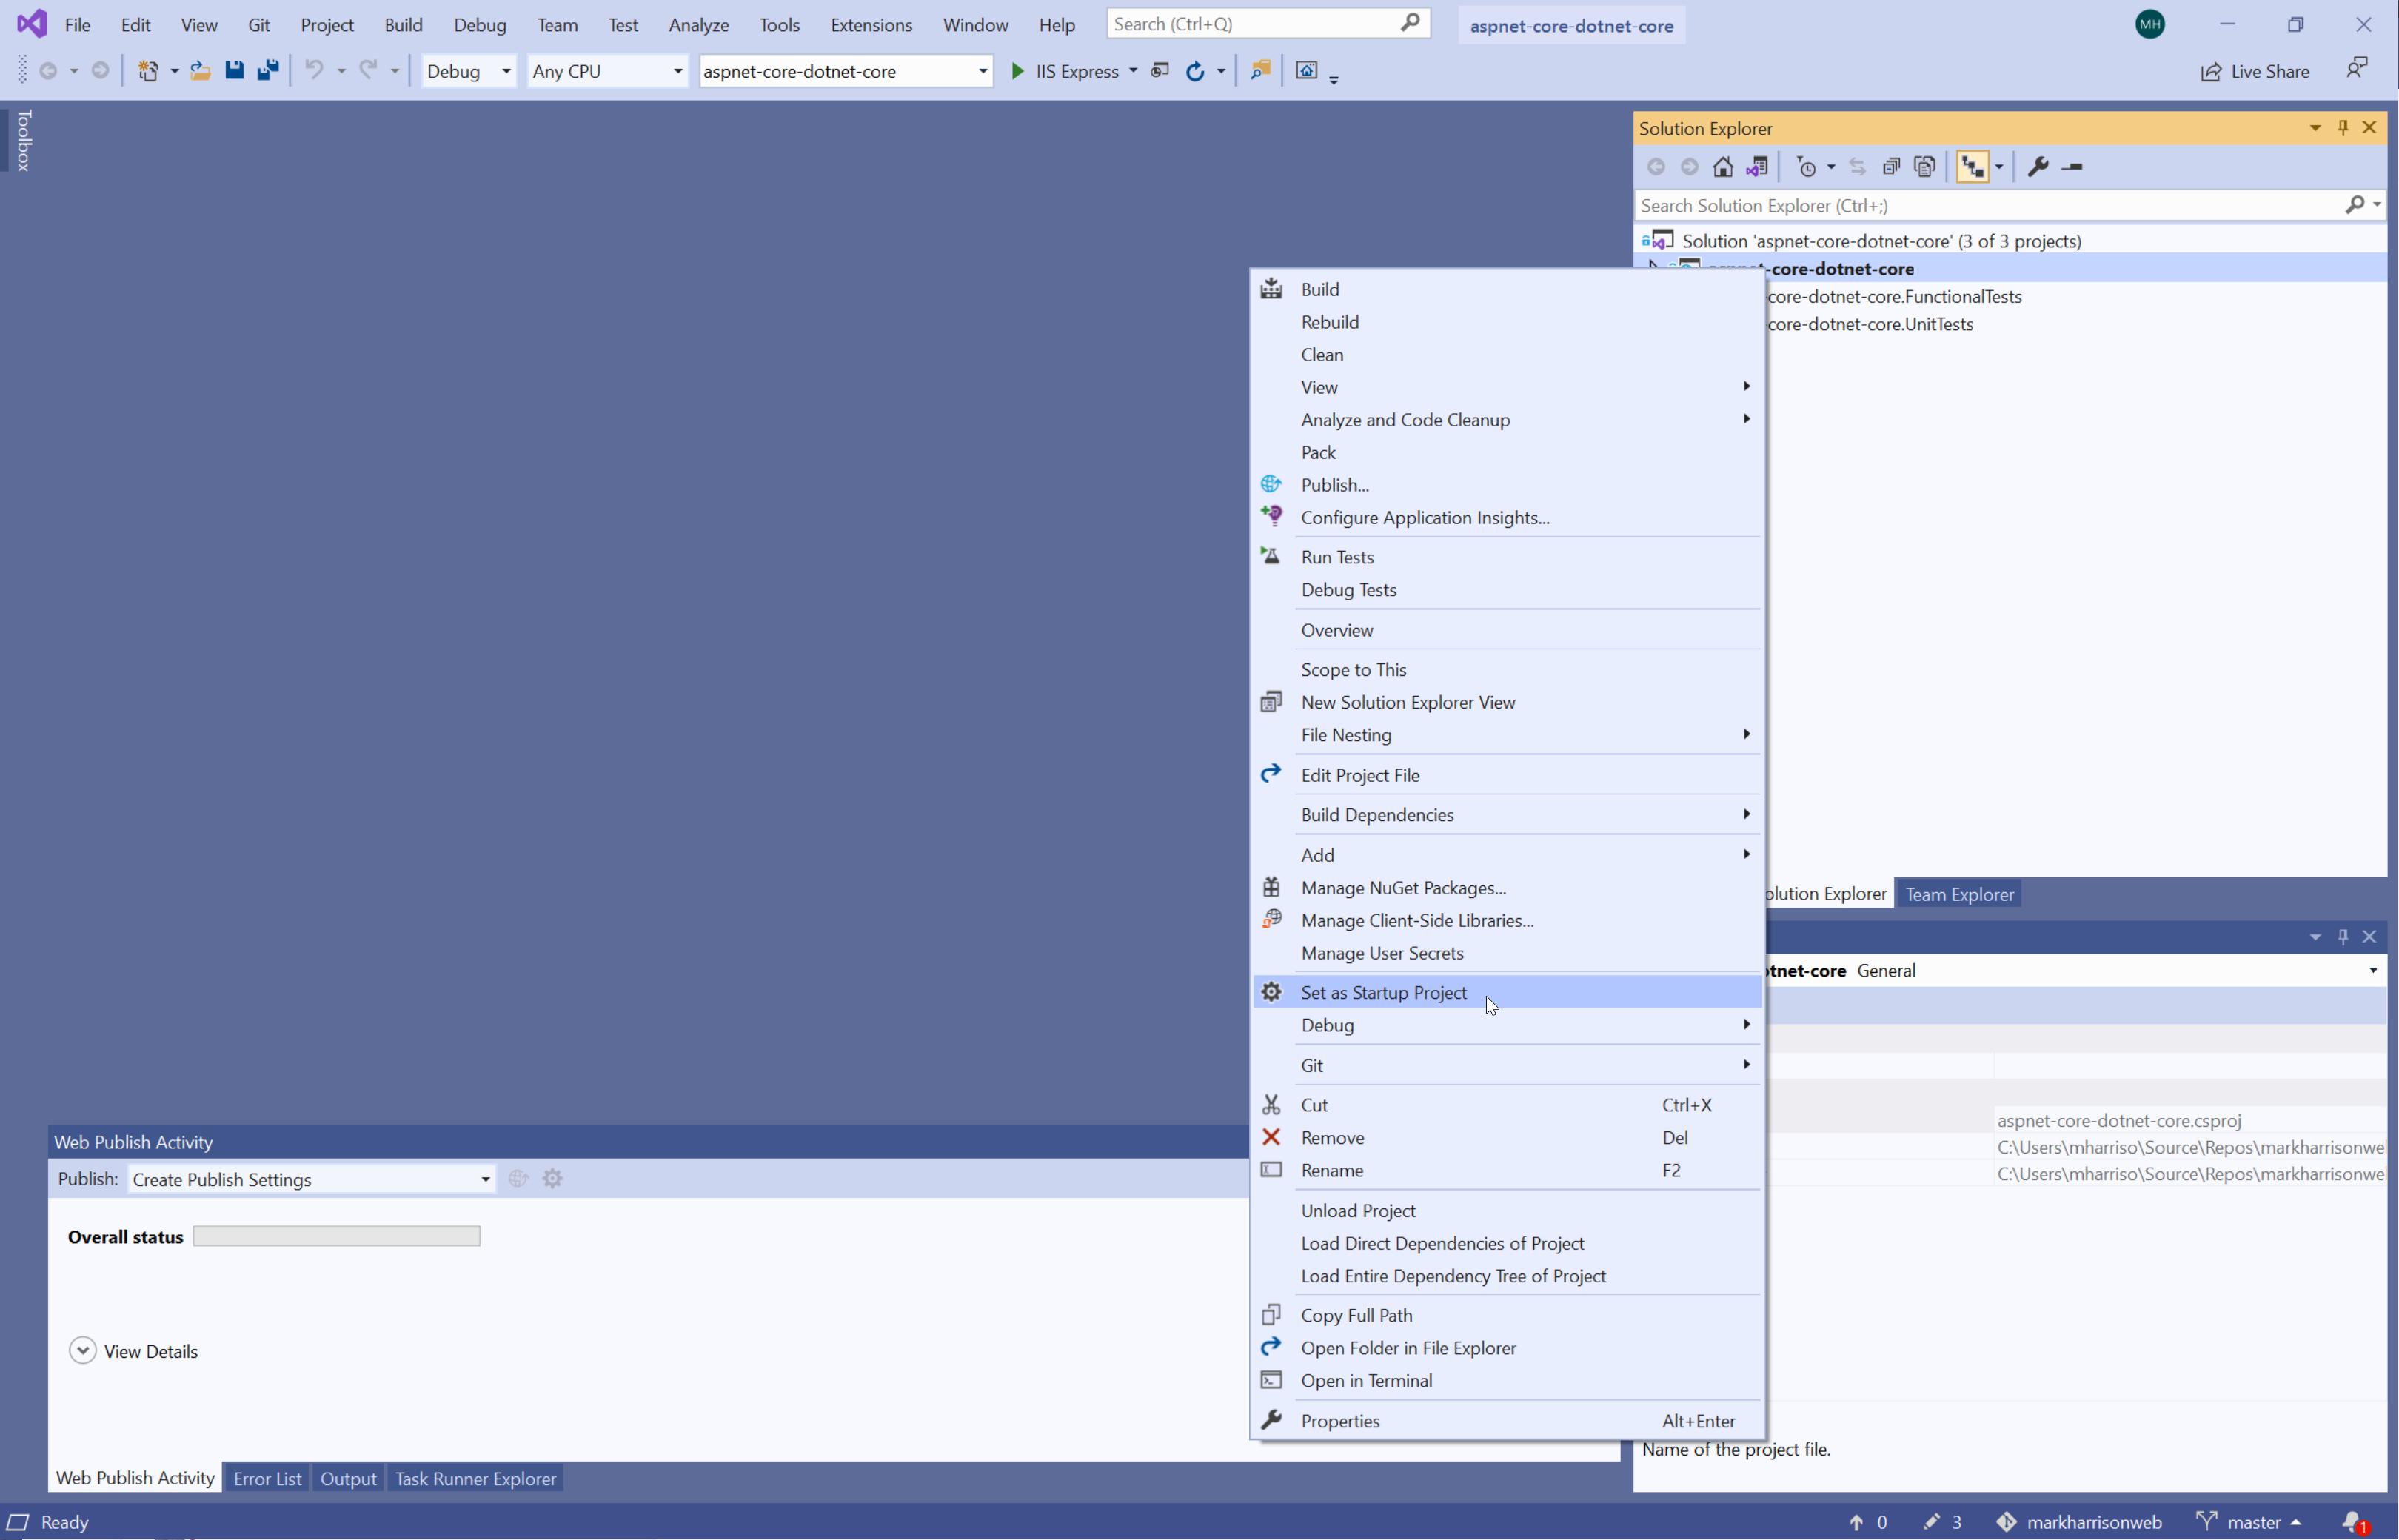
- Set the startup project to apsnet-core-dotnet-core
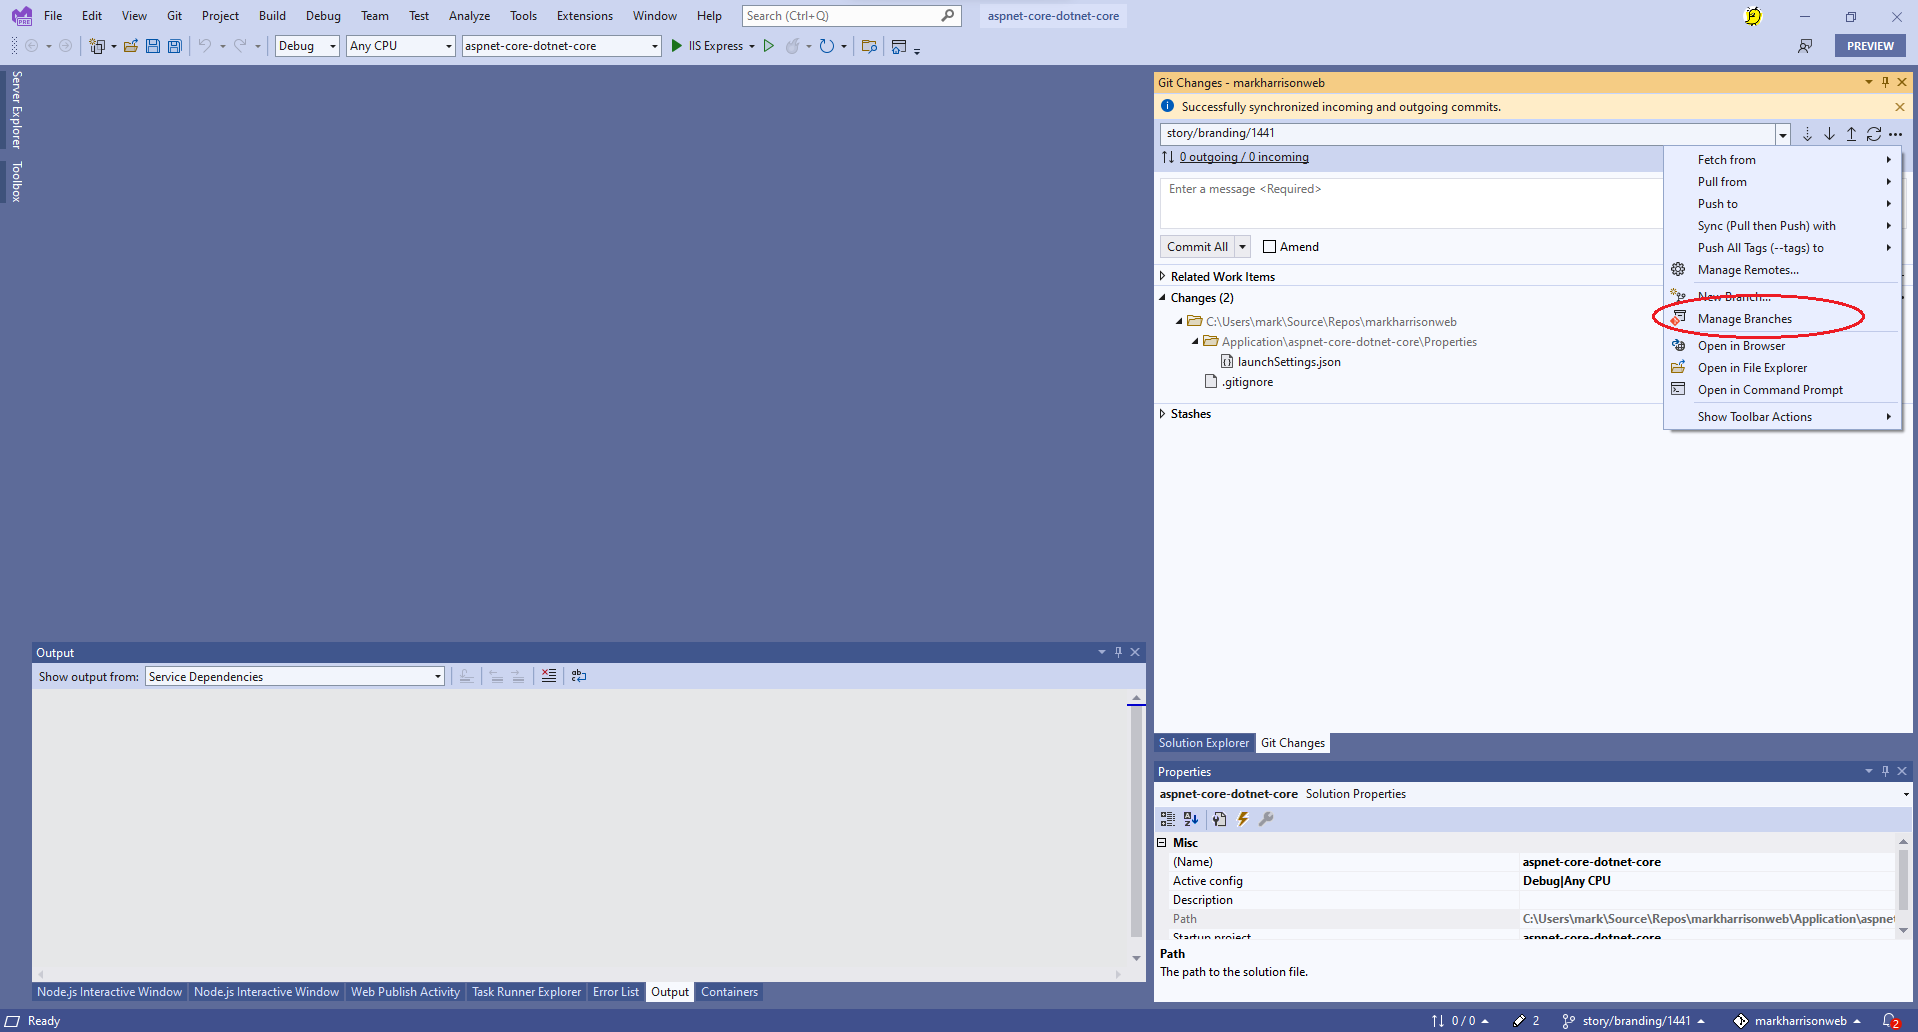
- Get the remote branch related to our story - and select
checkout
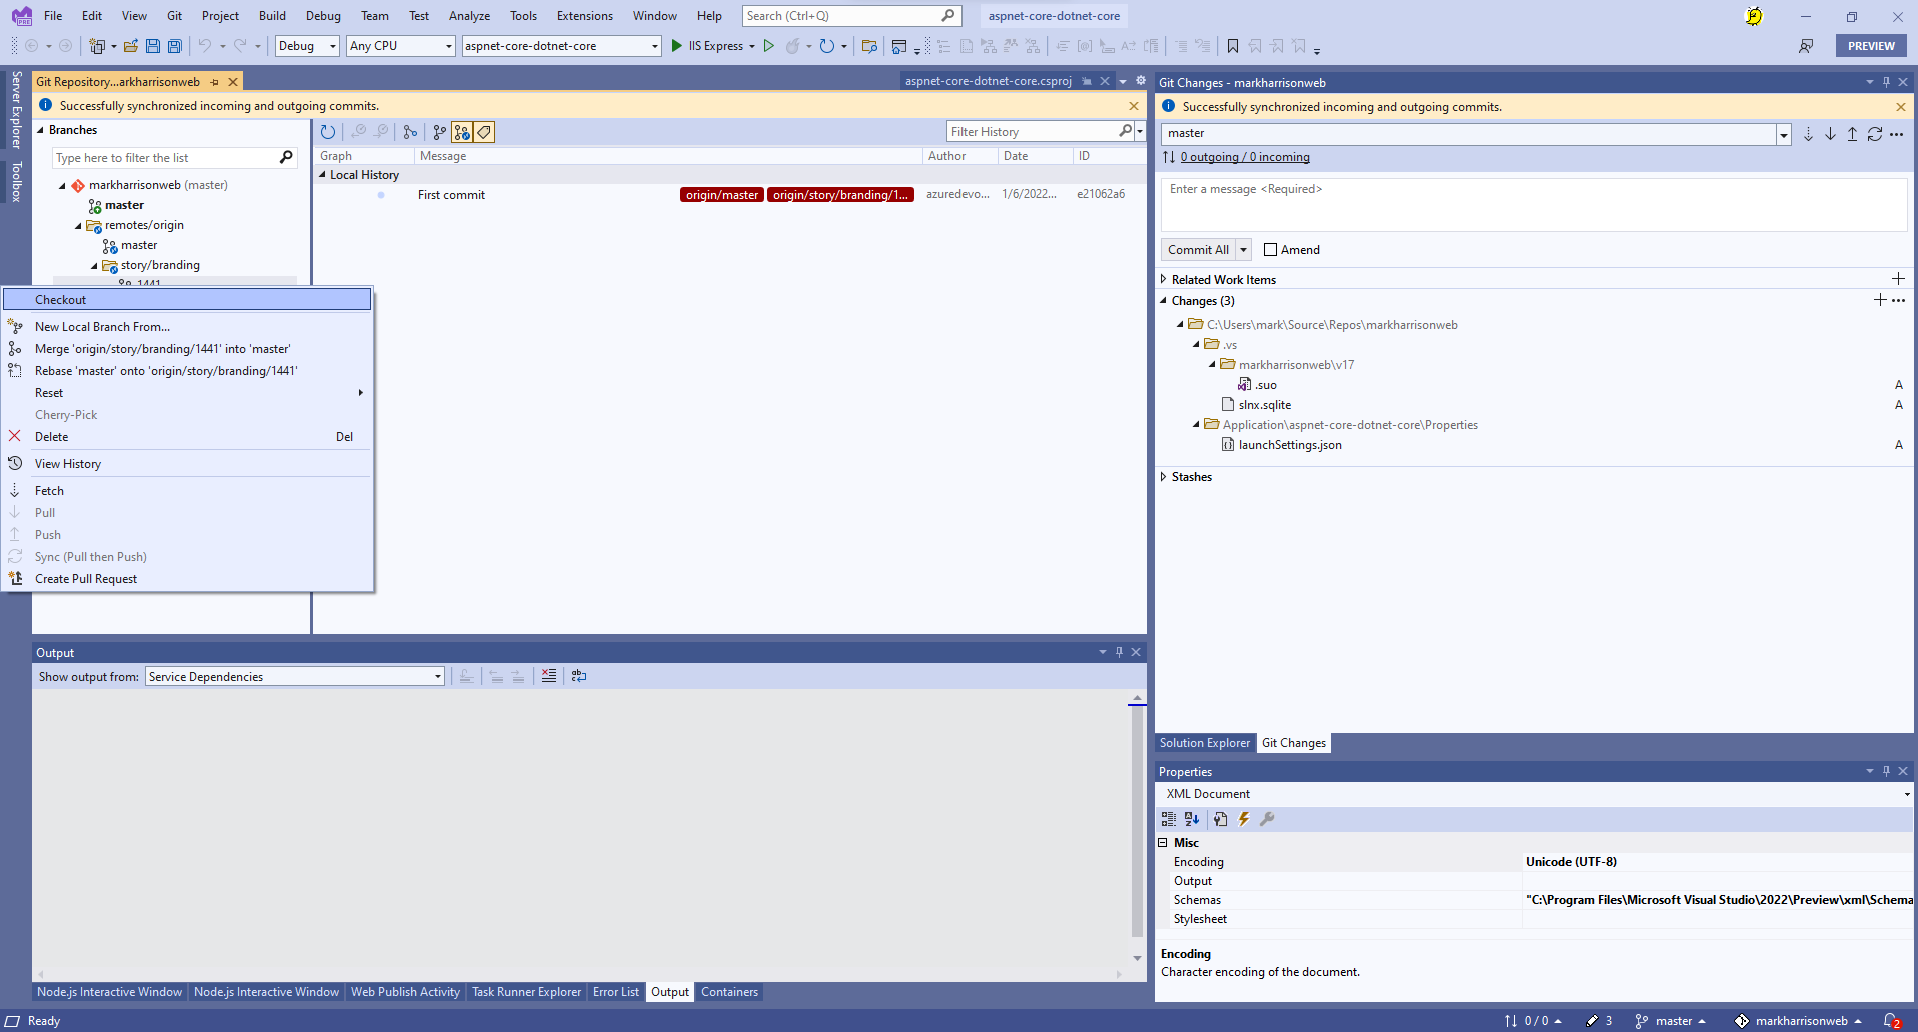
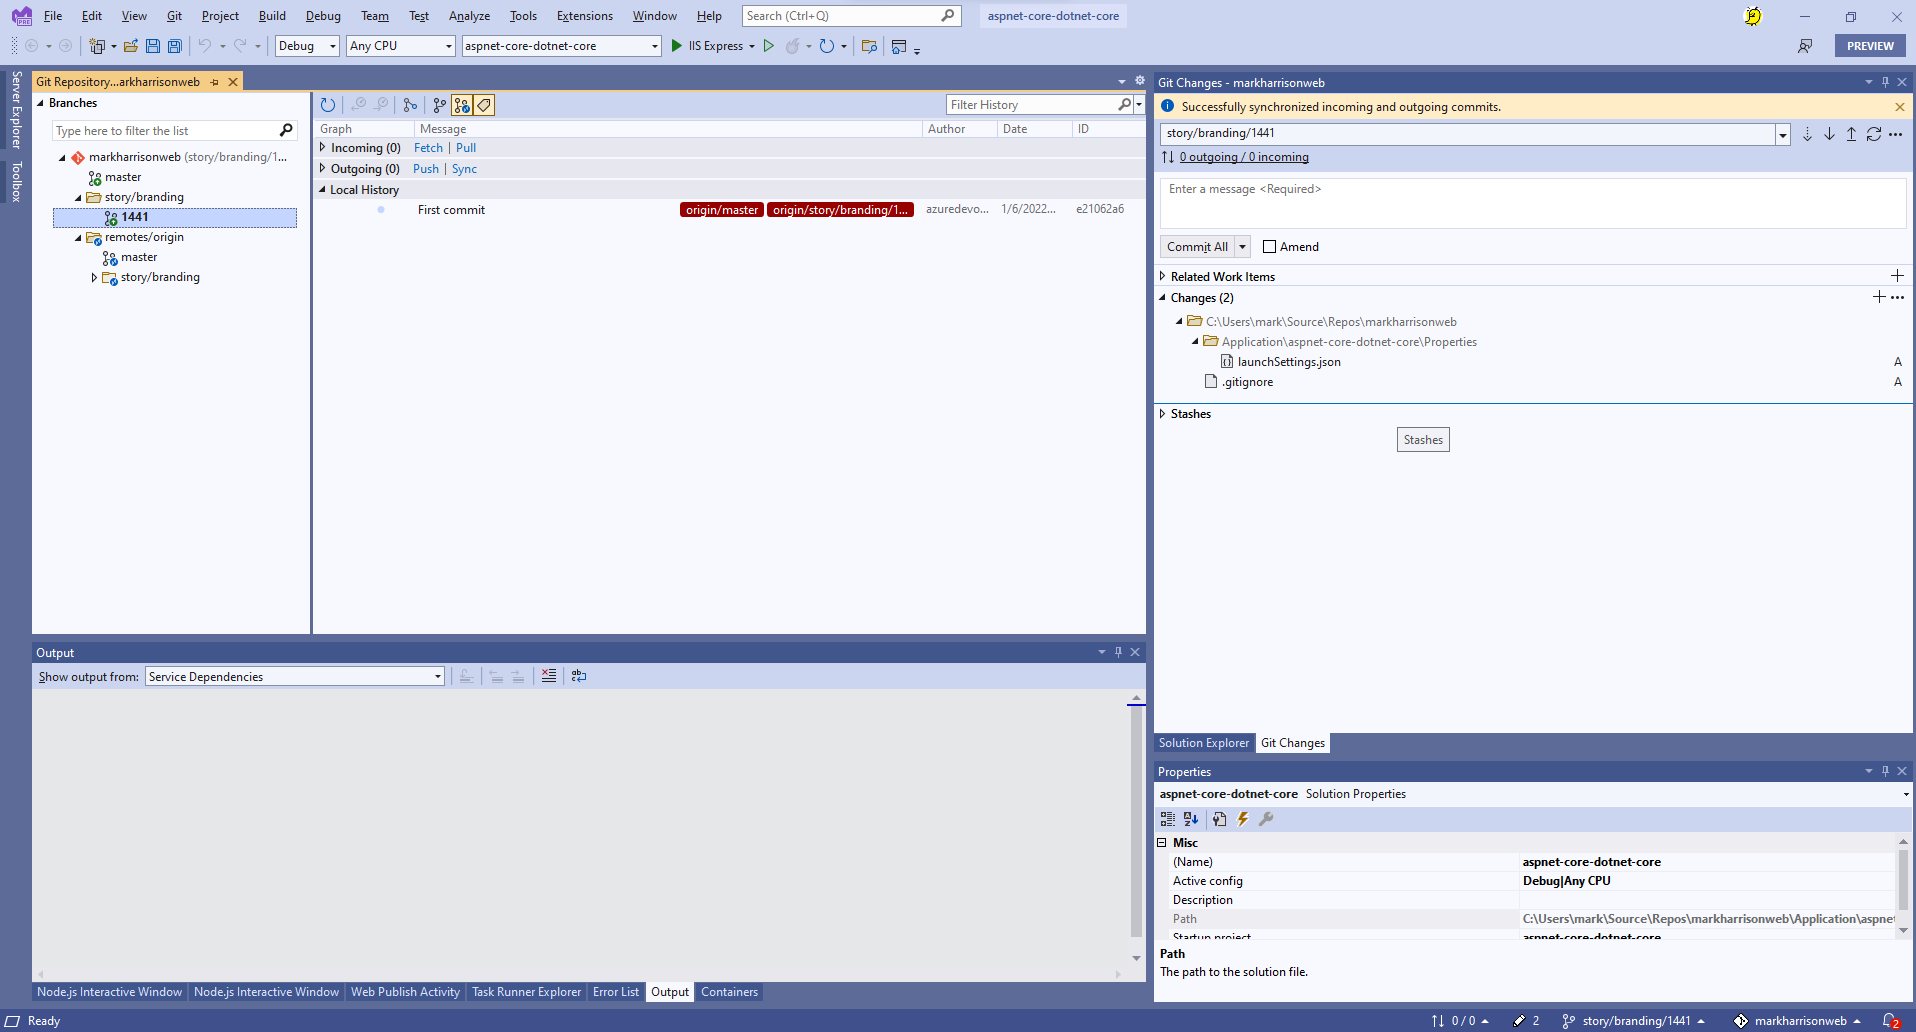
- The local story branch should now be in bold font - indicating what branch we are developing / editing against
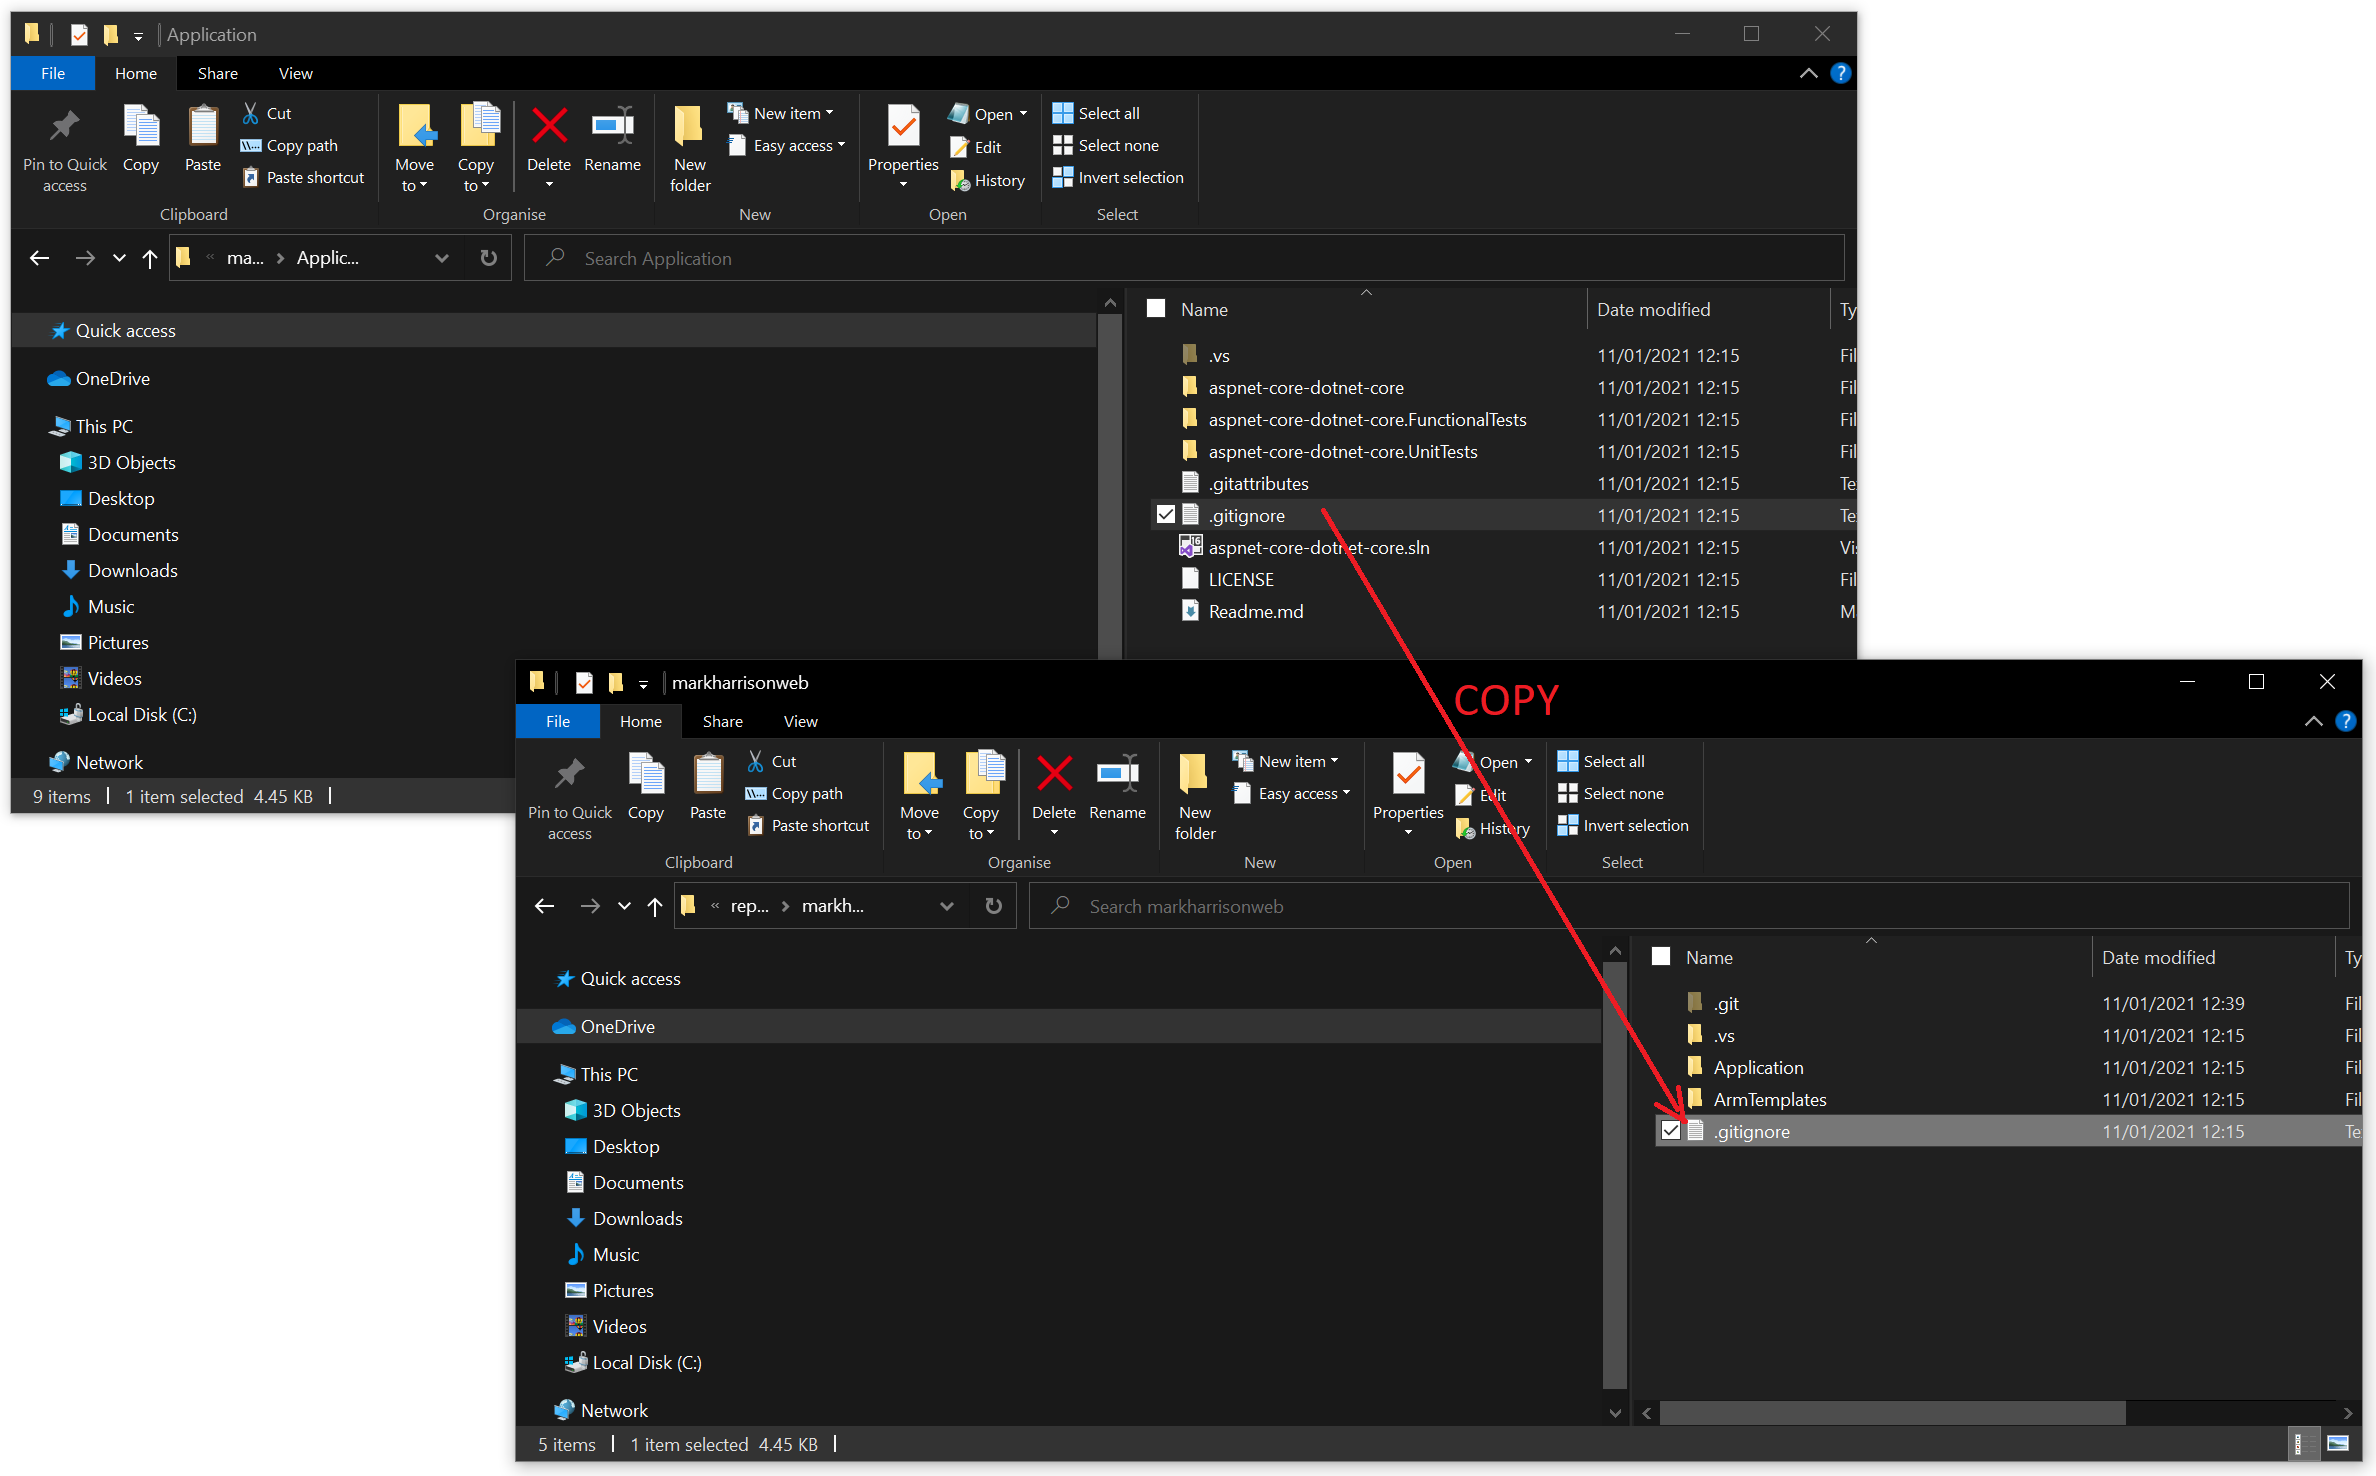
- Go to the local file repo on the desktop. Look at the Path property in the above screenshot.
- Copy the .GitIgnore file from the Application folder to the level above .. this is to stop some of the Visual Studio configuration being uploaded into the Repo
Developer Coding
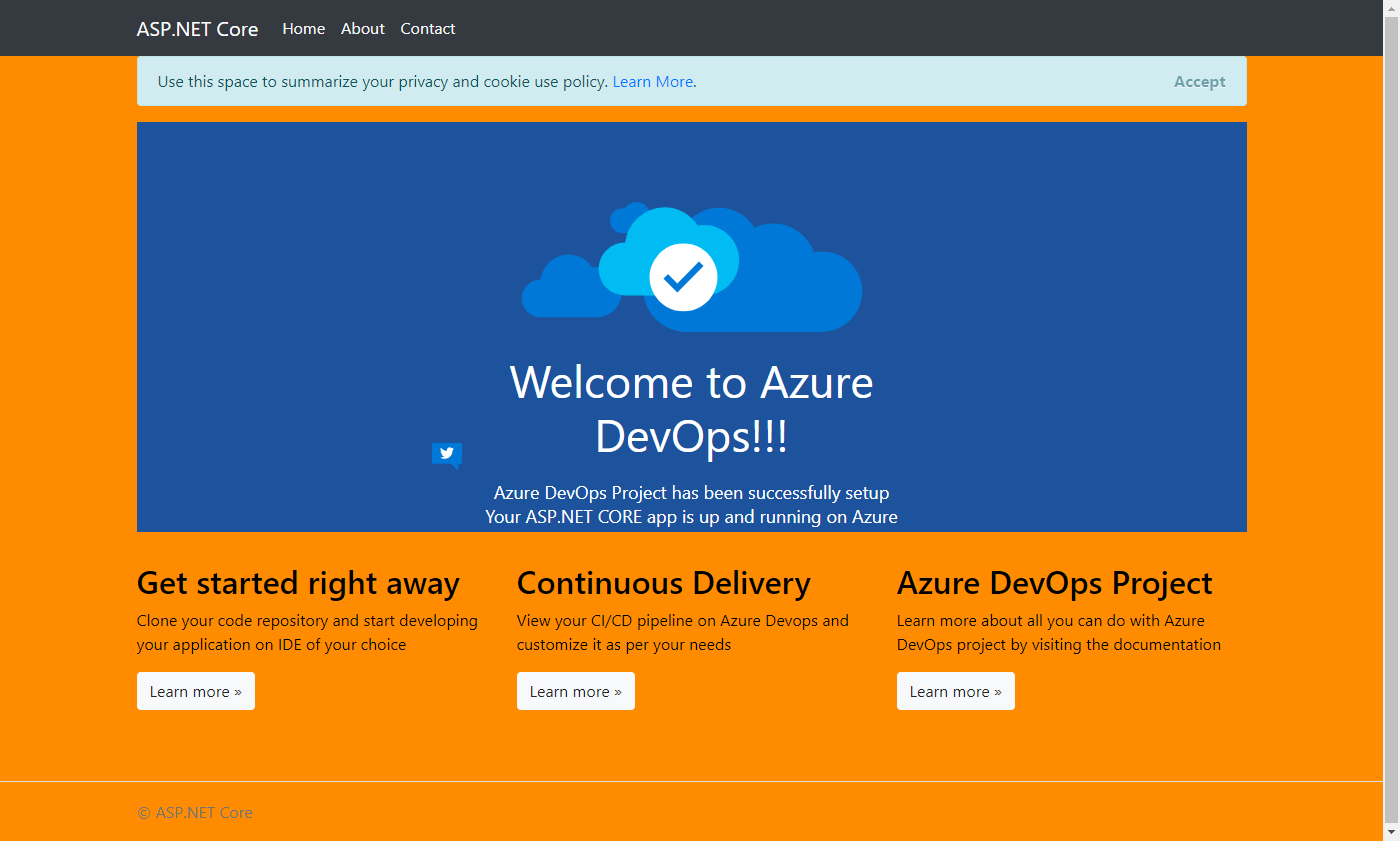
- Make a change to the home page welcome message - this is in the /Pages/Index.cshtml file

- Make a change to the stylesheet - for example, change the background color ... this file is located in /wwwroot/css/site.css
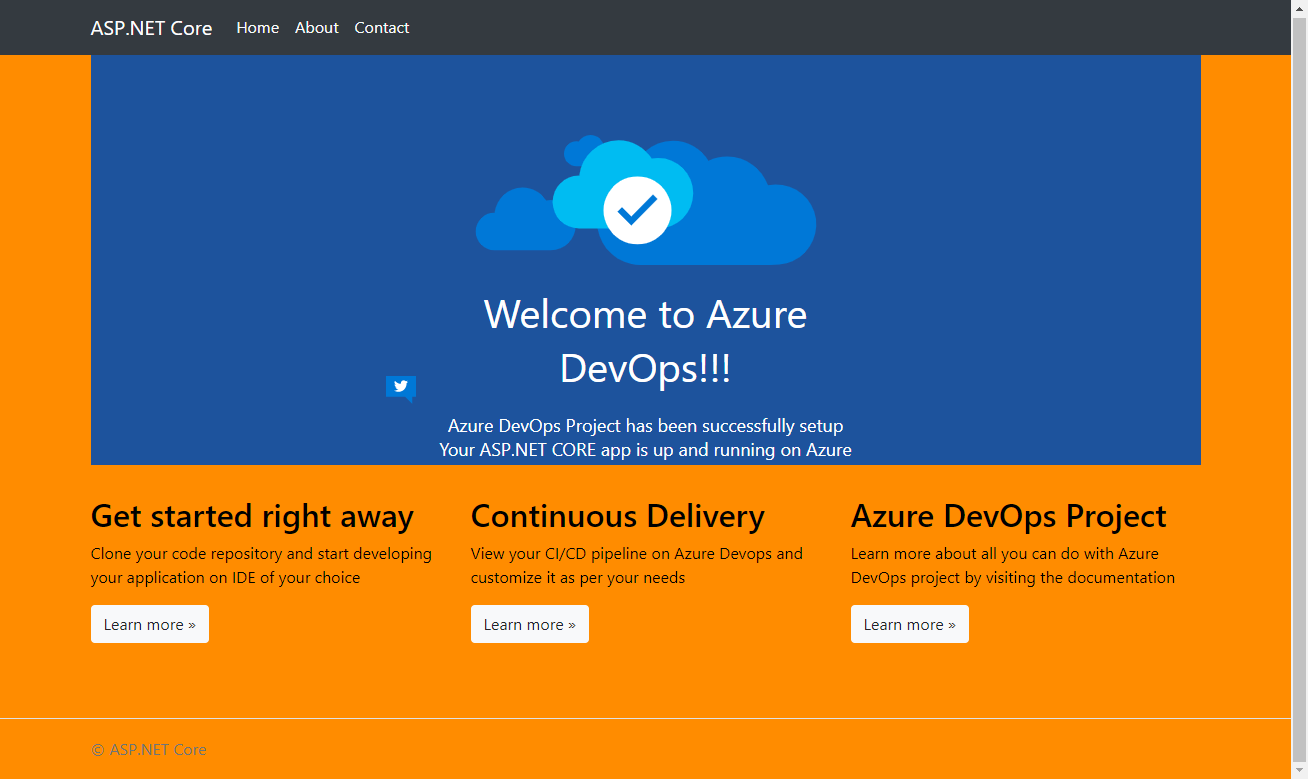
- Check locally the code works - will need to set the default startup project to be the web application
We can now upload our dev work to the central repo
Upload changes to Azure DevOps Repo
- In the
Git Changespane - note that the files amended have been detected, and are ready to be uploaded - Make sure branch is correct ... not the master
- Enter Commit message
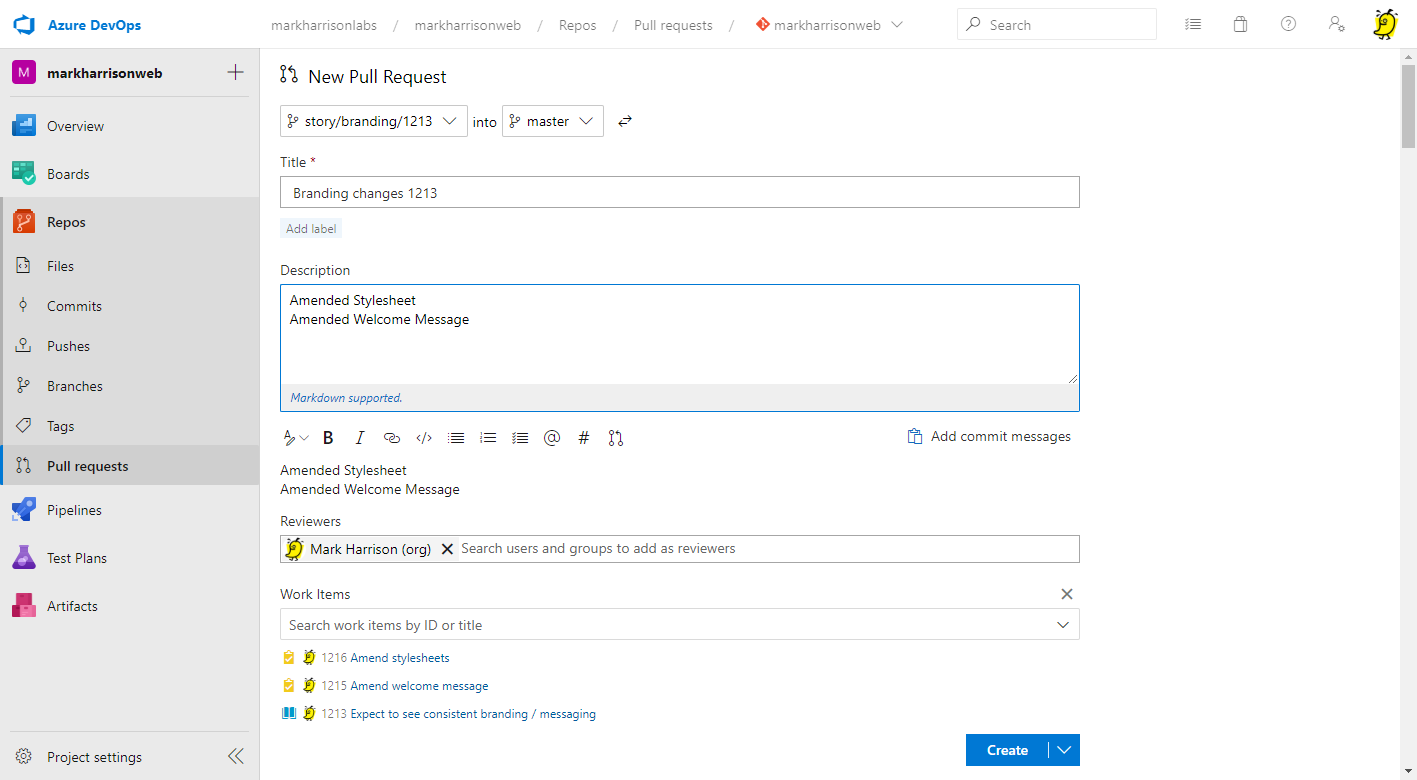
- Enter Workitem Ids for the Story and Tasks - if you type #, then a dropdown appears allowing workitems to be selected.
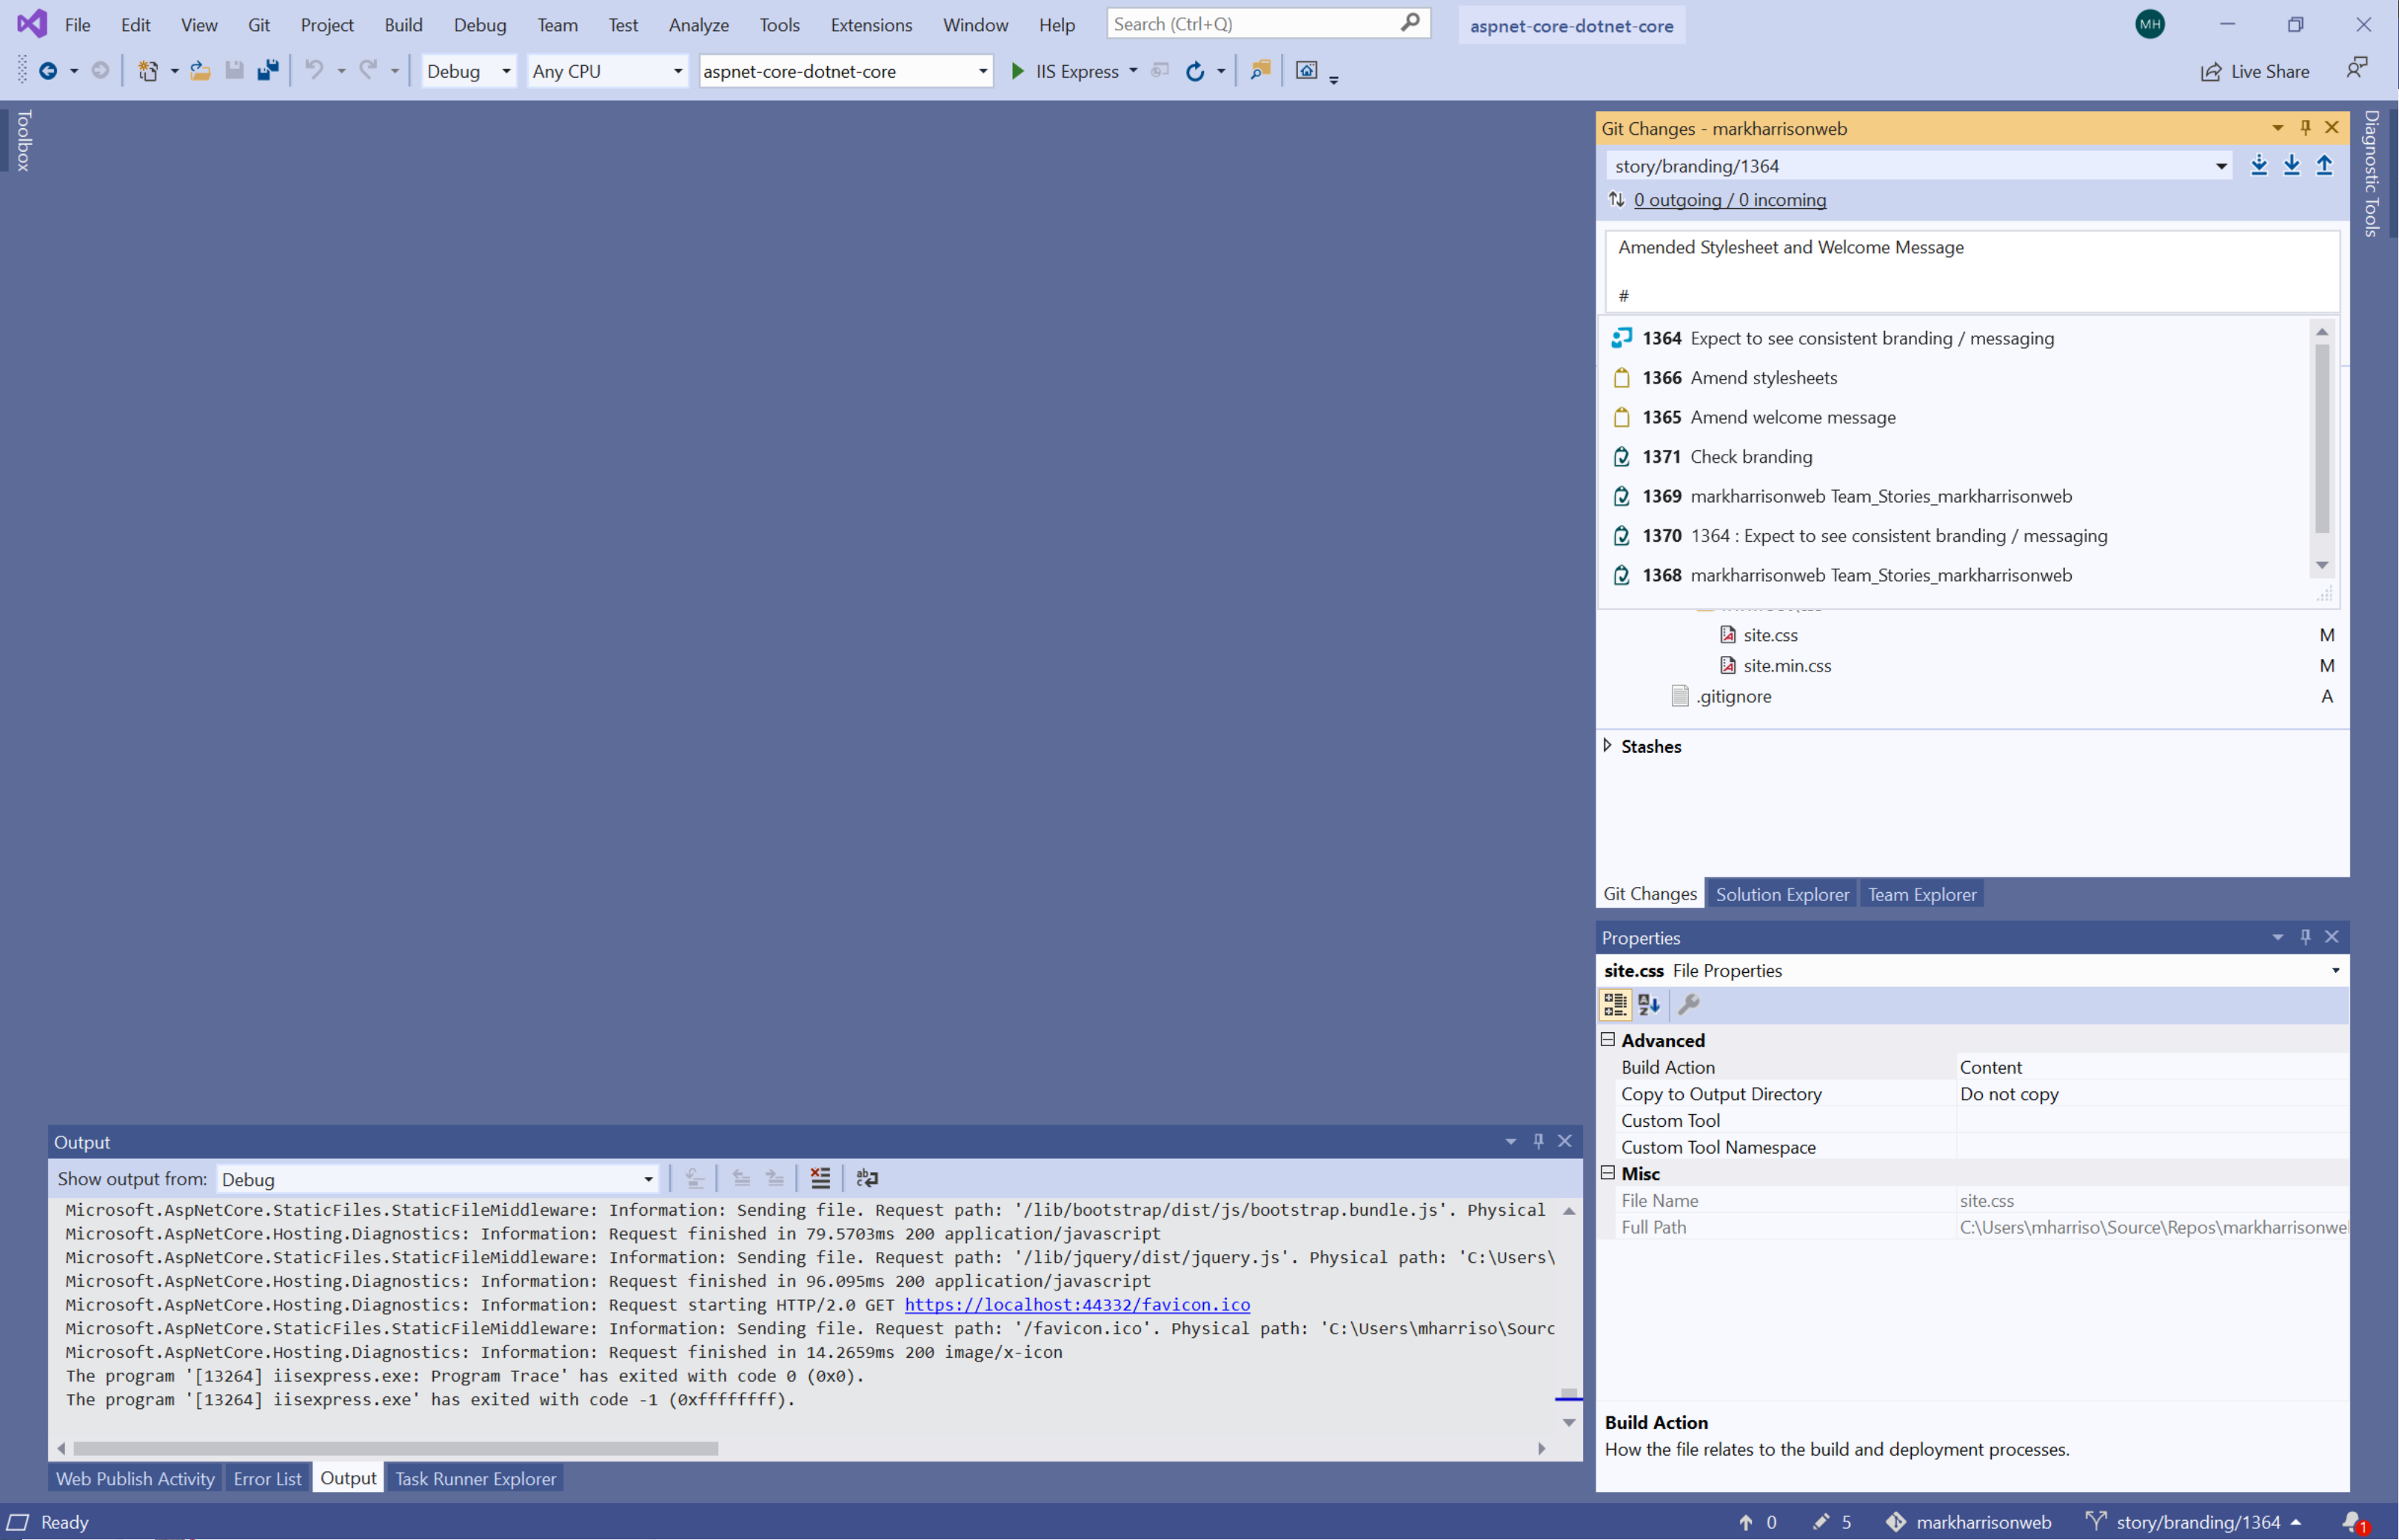
If related work items do not appear - make sure you are connected /authenticated using the Team Explorer
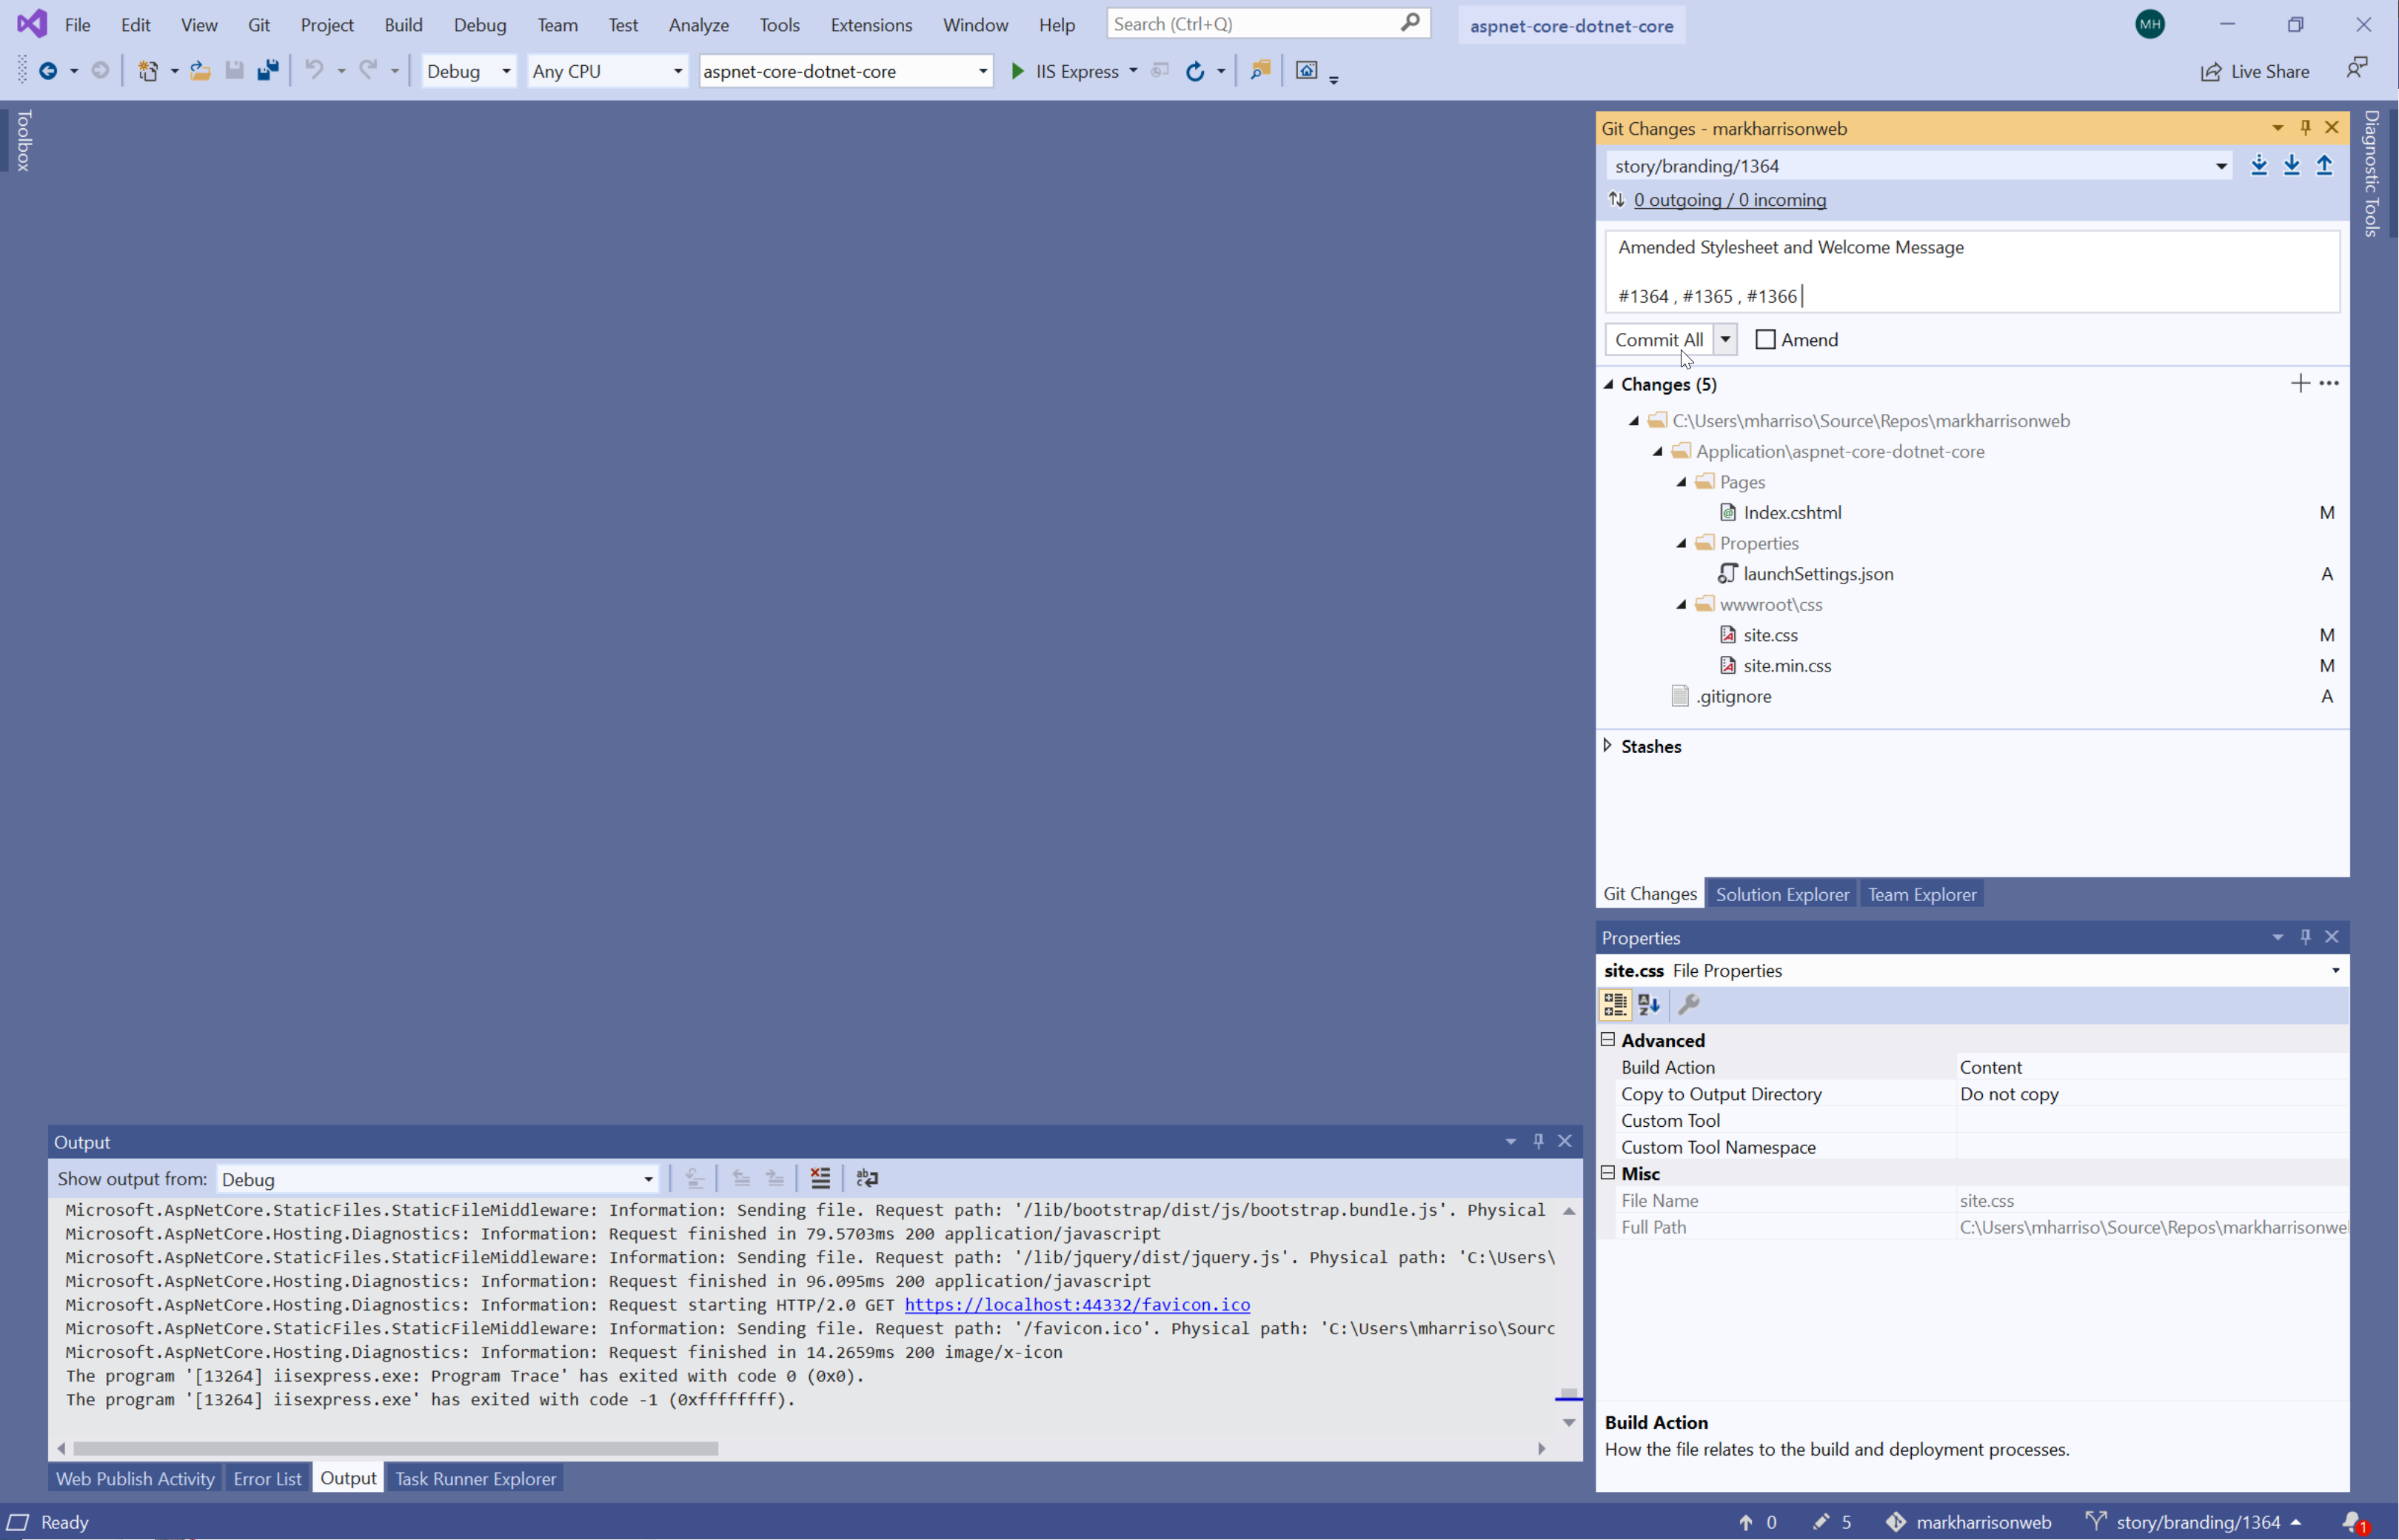
Commit allchanges

- Push to repo - using the up arrow button

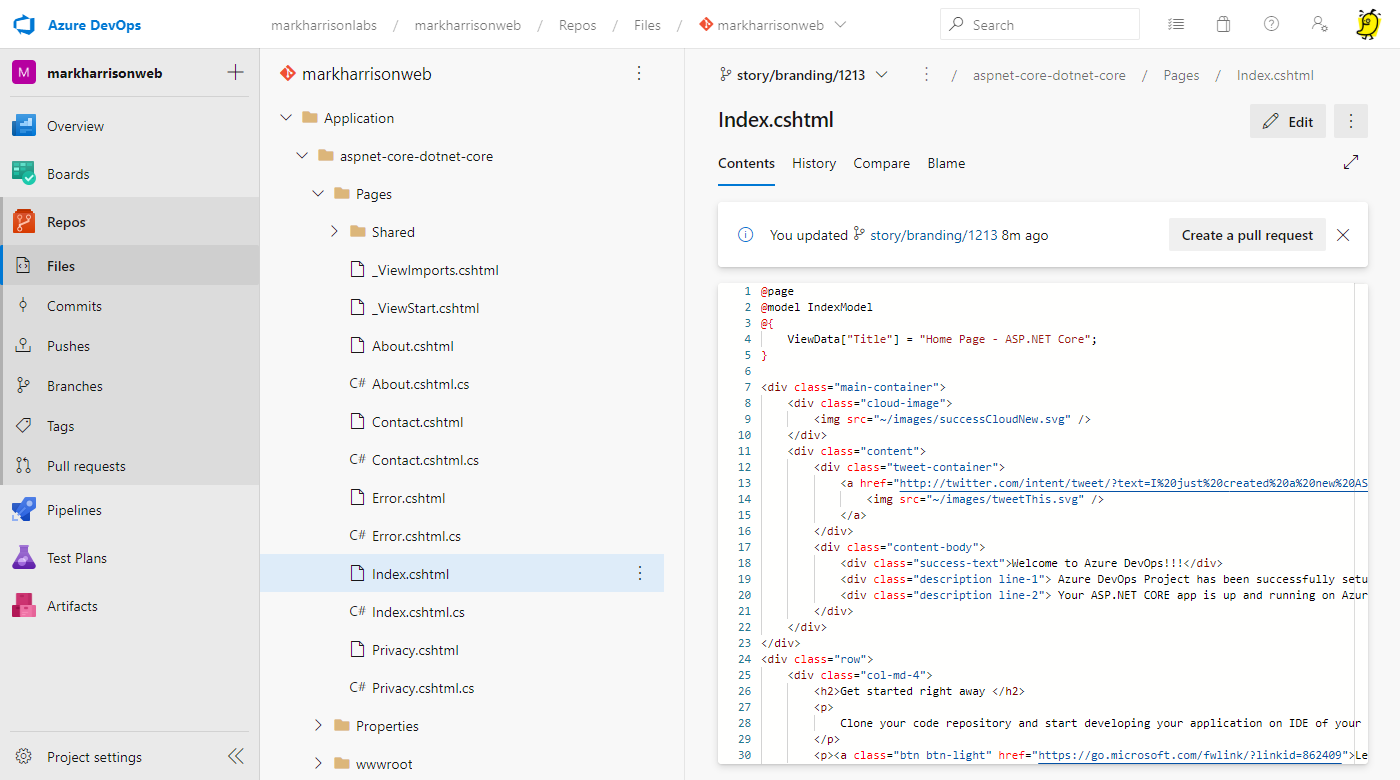
The Repo in Azure DevOps now has the code changes
Pipelines Build & Deploy
The build pipeline default configuration is set to only start when changes to the master branch are detected.
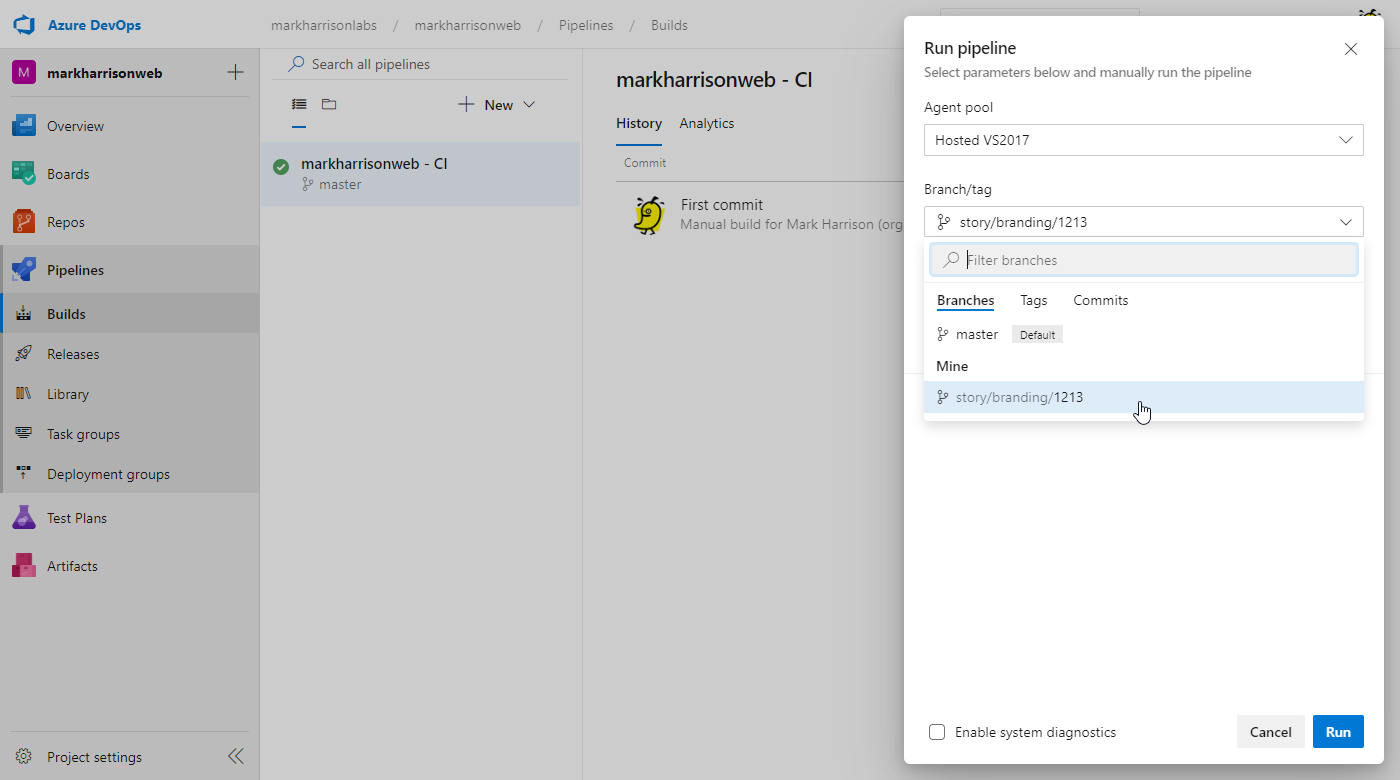
- Select [Queue] a Build
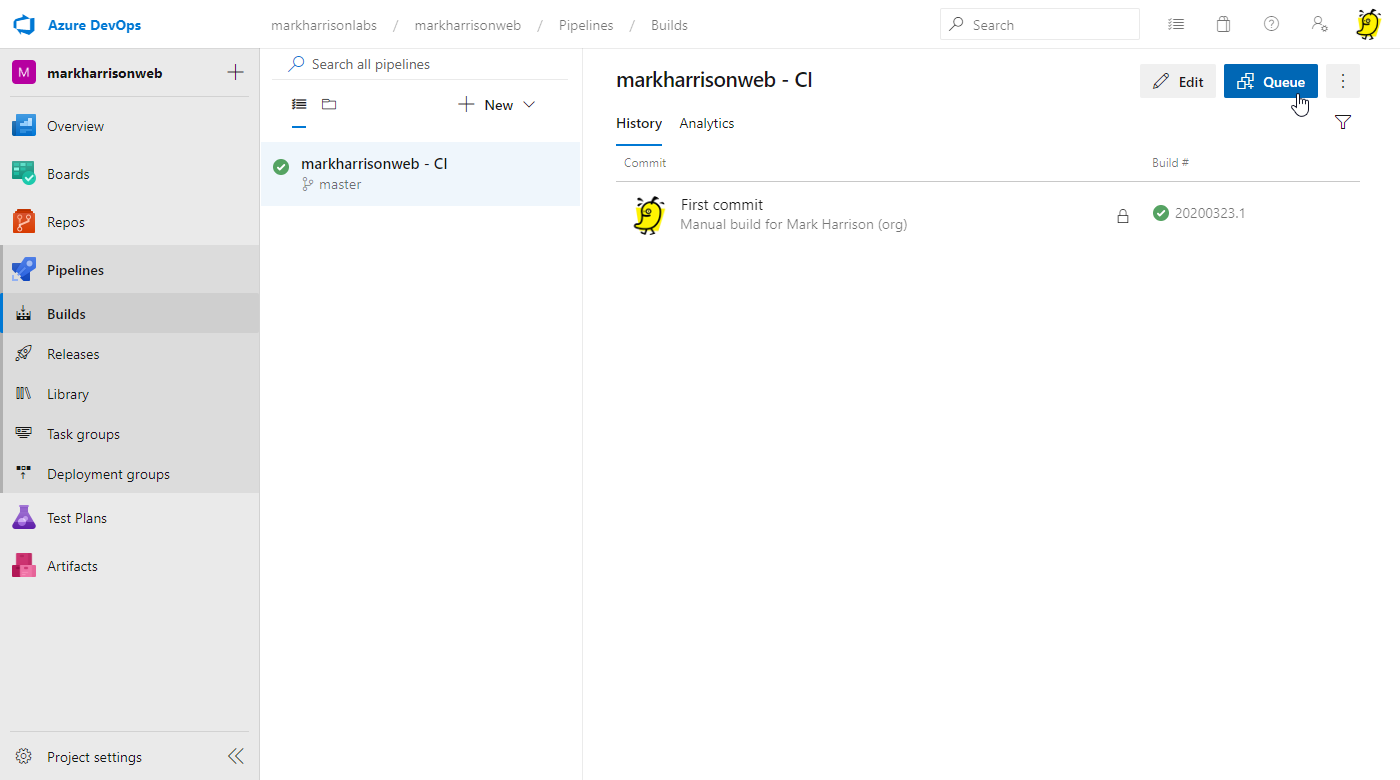
- Specify the branch for the Story that has been worked on
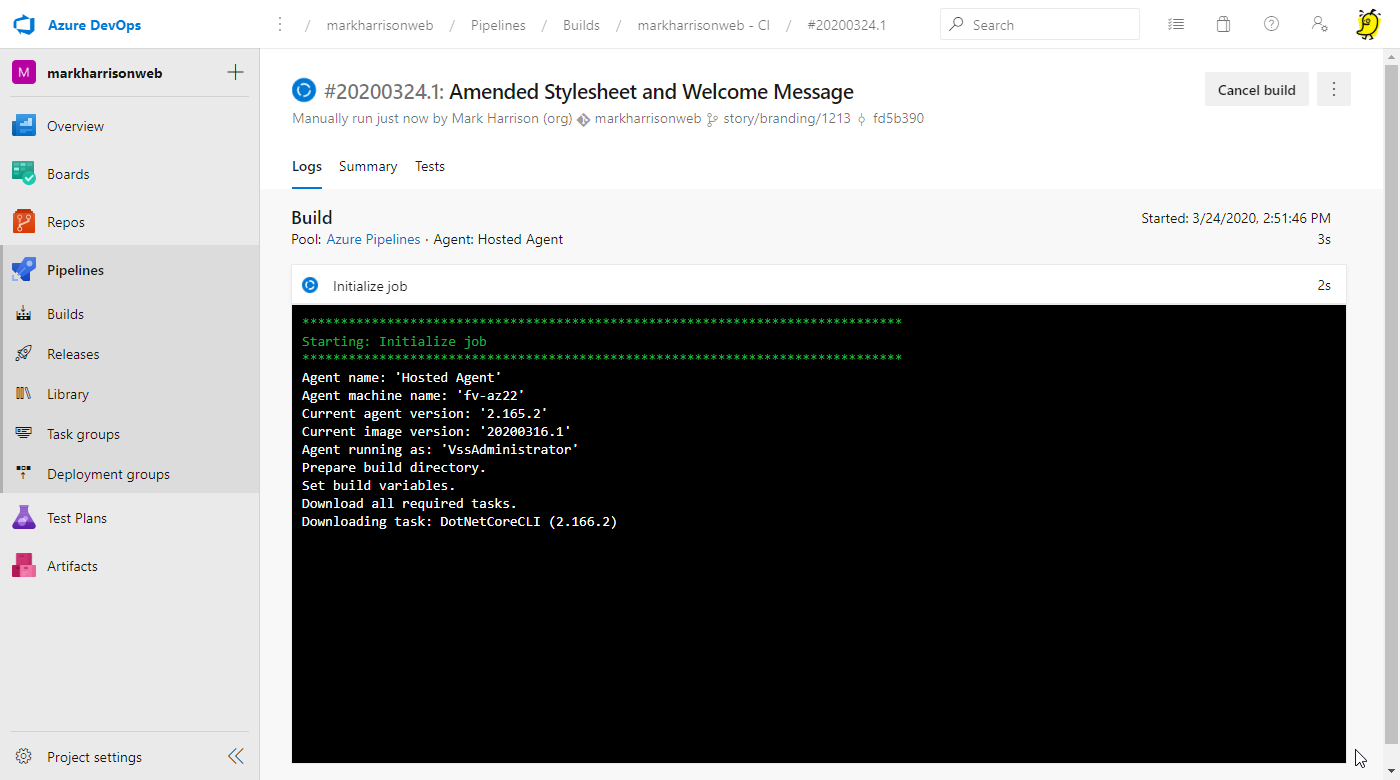
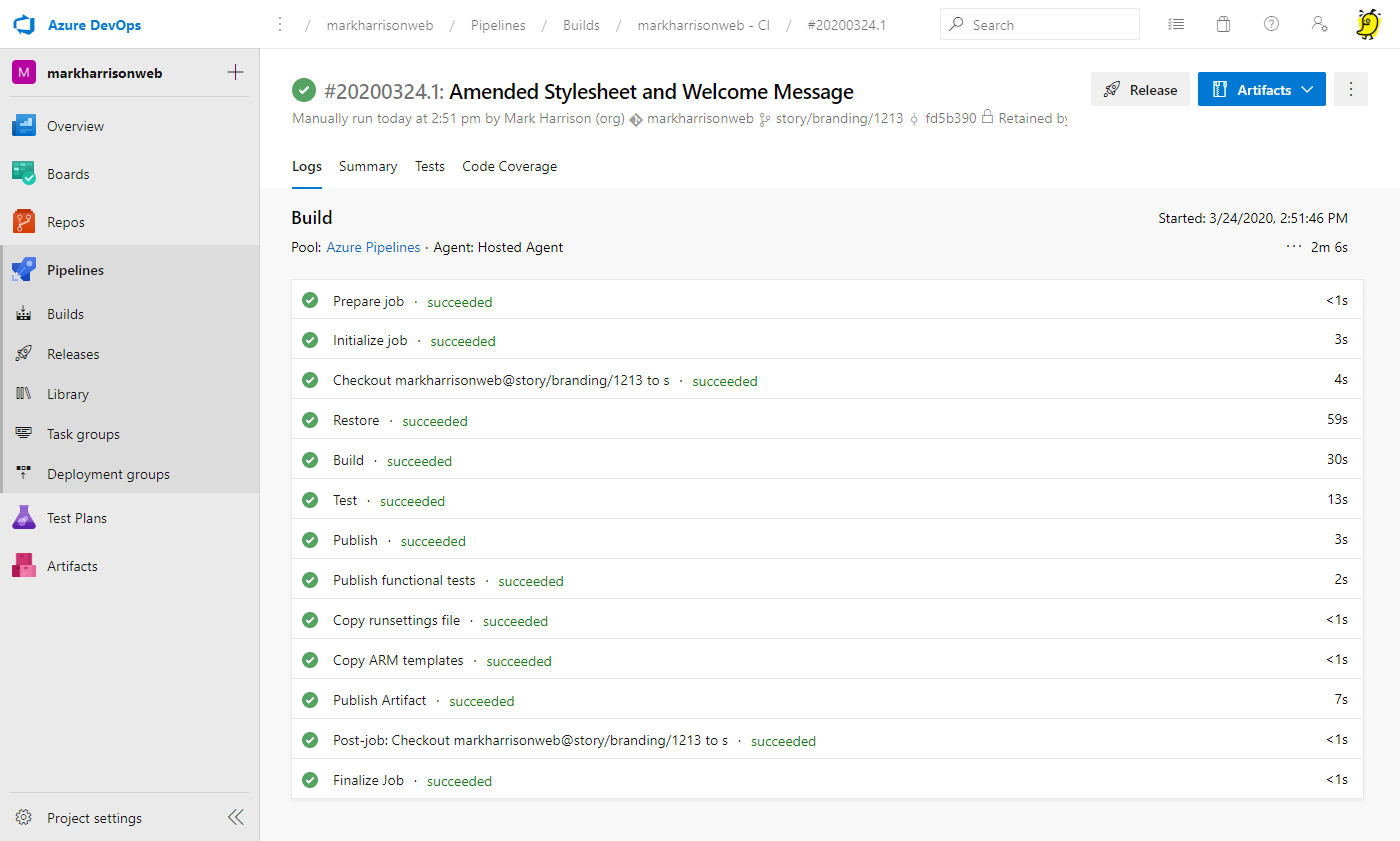
Once the Build pipeline has completed, the Release pipeline is started.
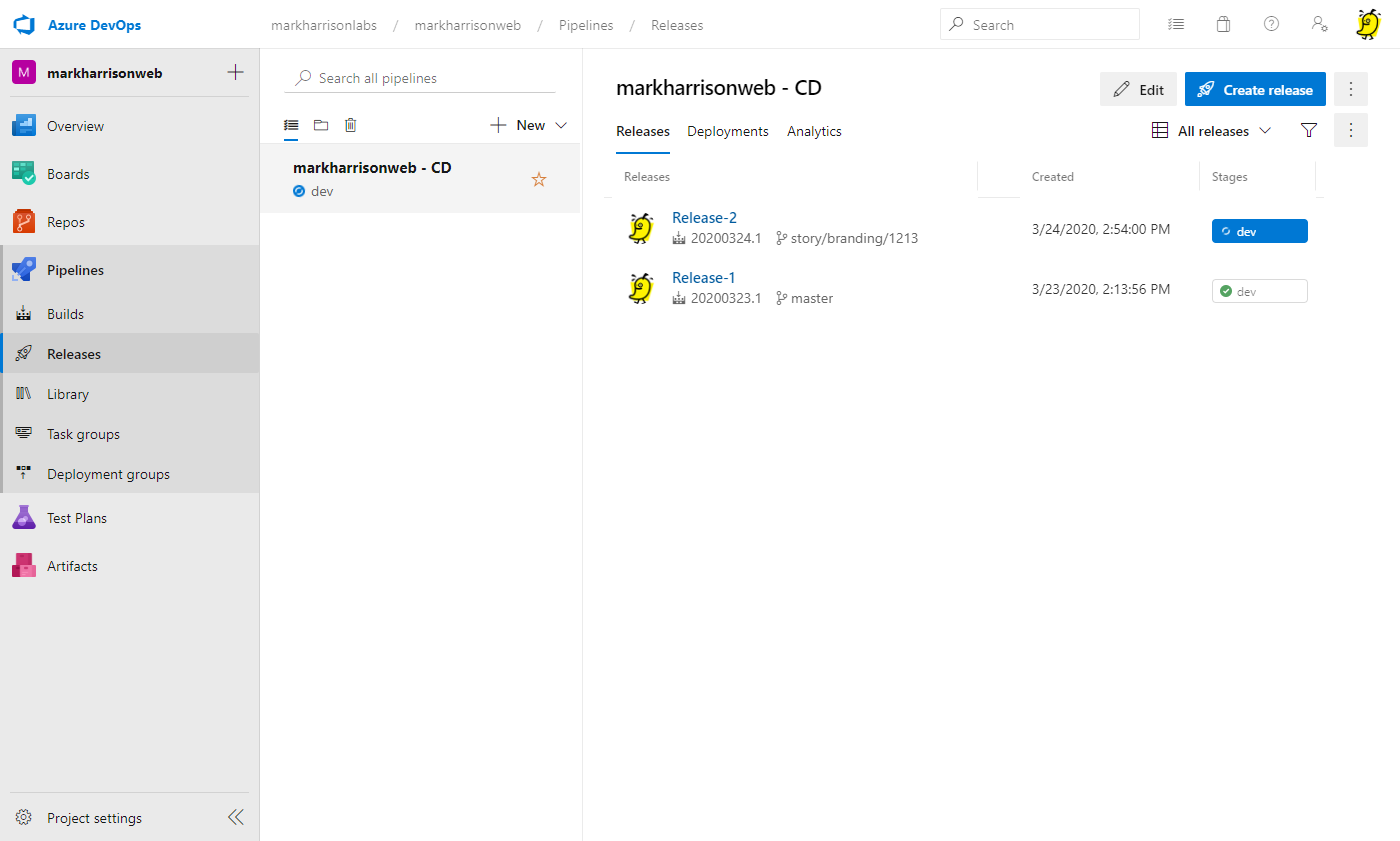
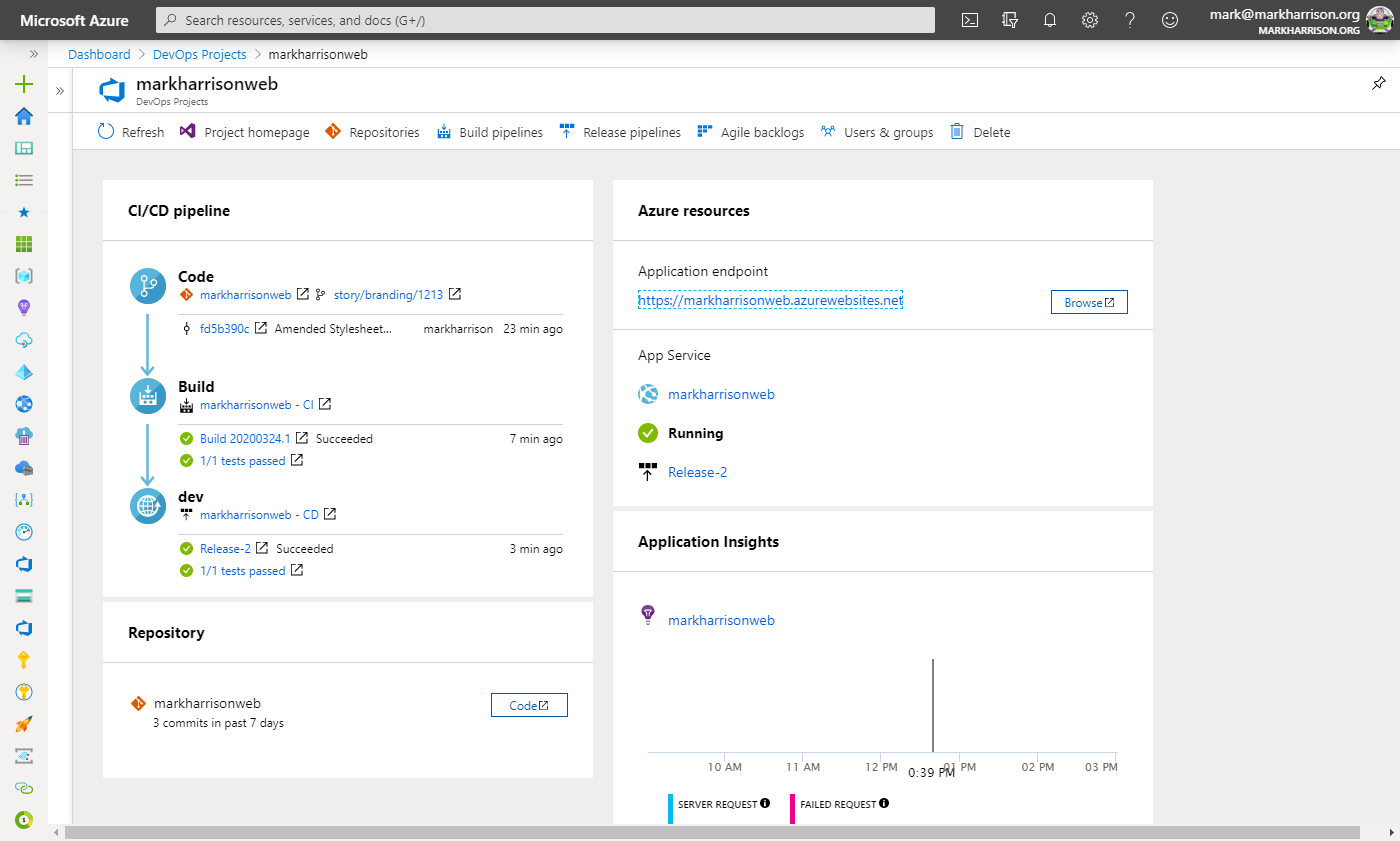
Check the updated App has been deployed to the Dev environment
Do Manual Testing
At this stage - we should do our manual testing ... see the Next part of the lab. The Branch polices should be set to send the pull request to the Testers.
This remaining section of this part of the lab assumes that testing has been completed and no issues are outstanding.
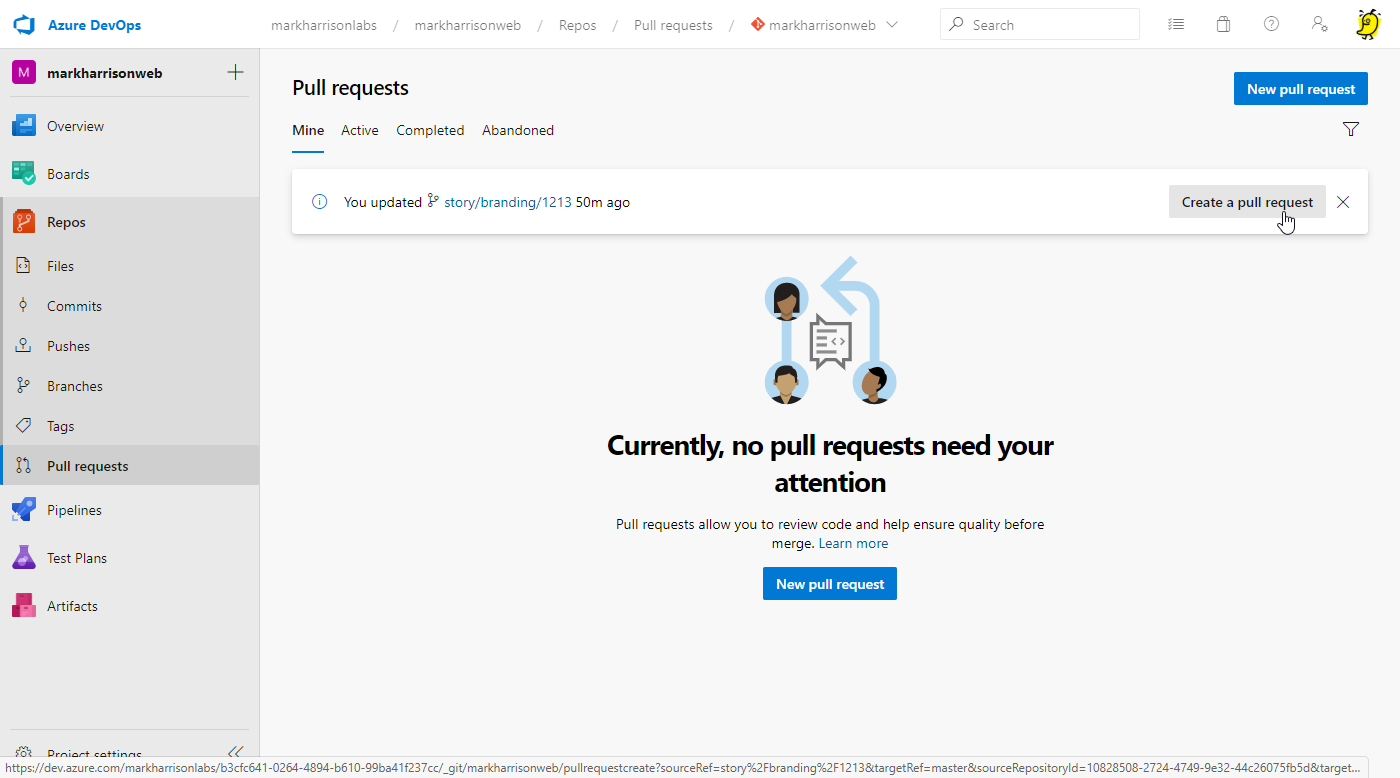
Merge Code changes to Master
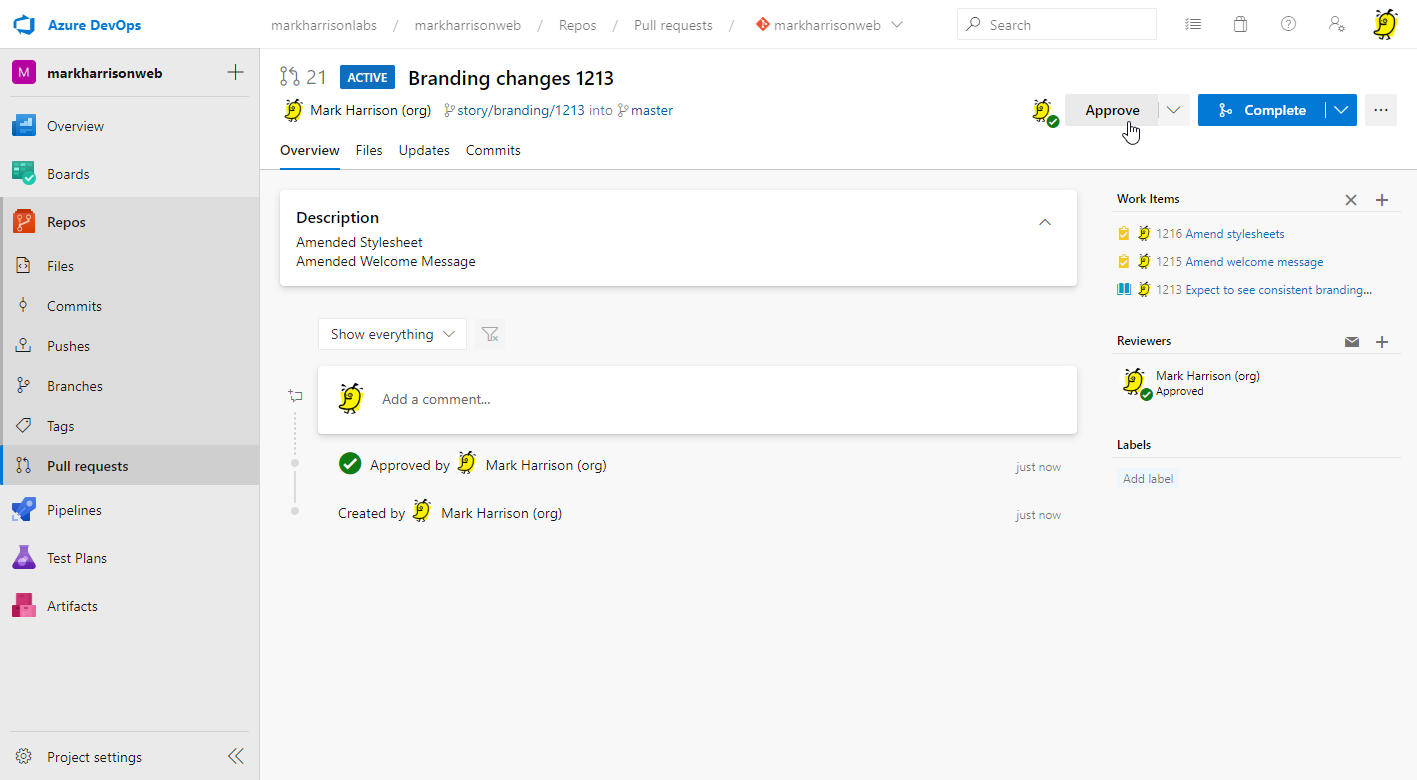
Create a Pull Request to merge the code into the master branch
- The Pull Request is now approved.
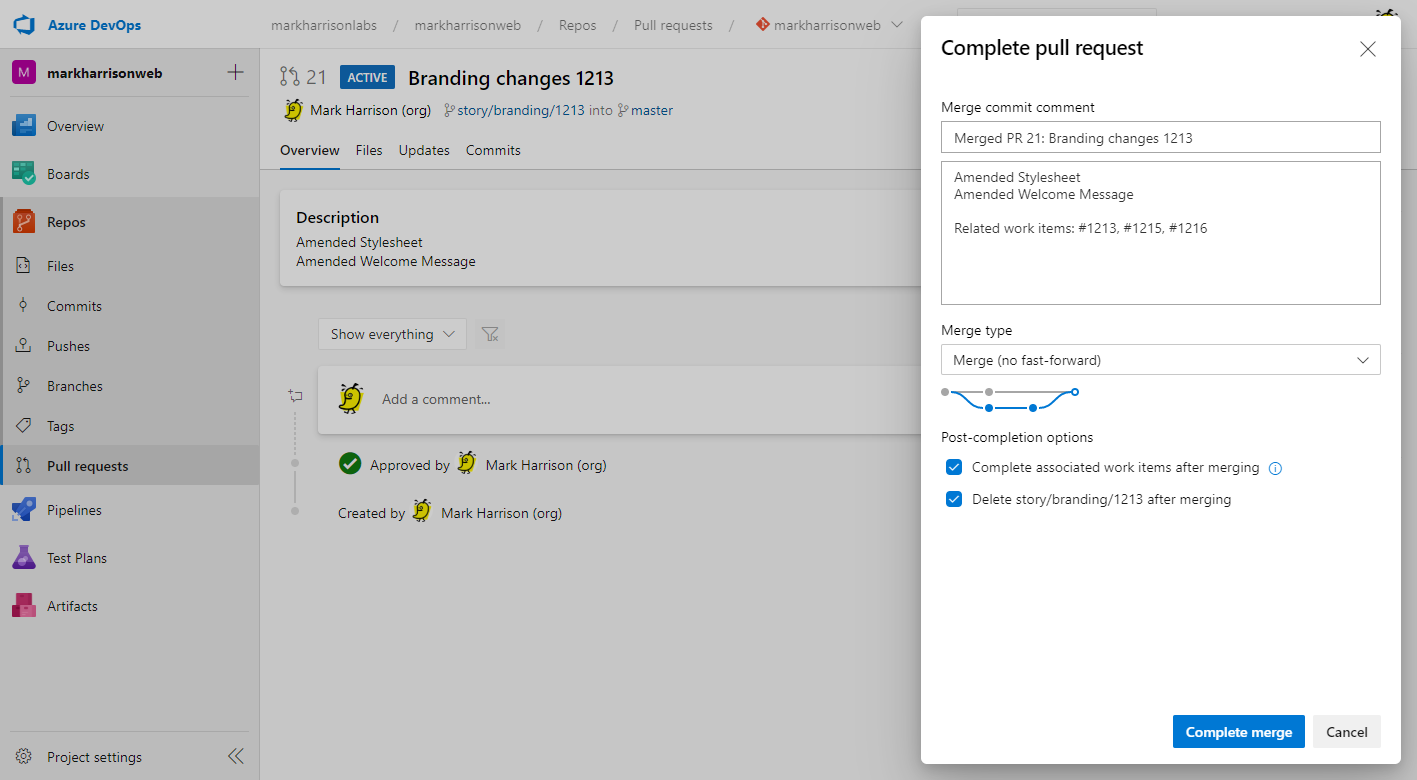
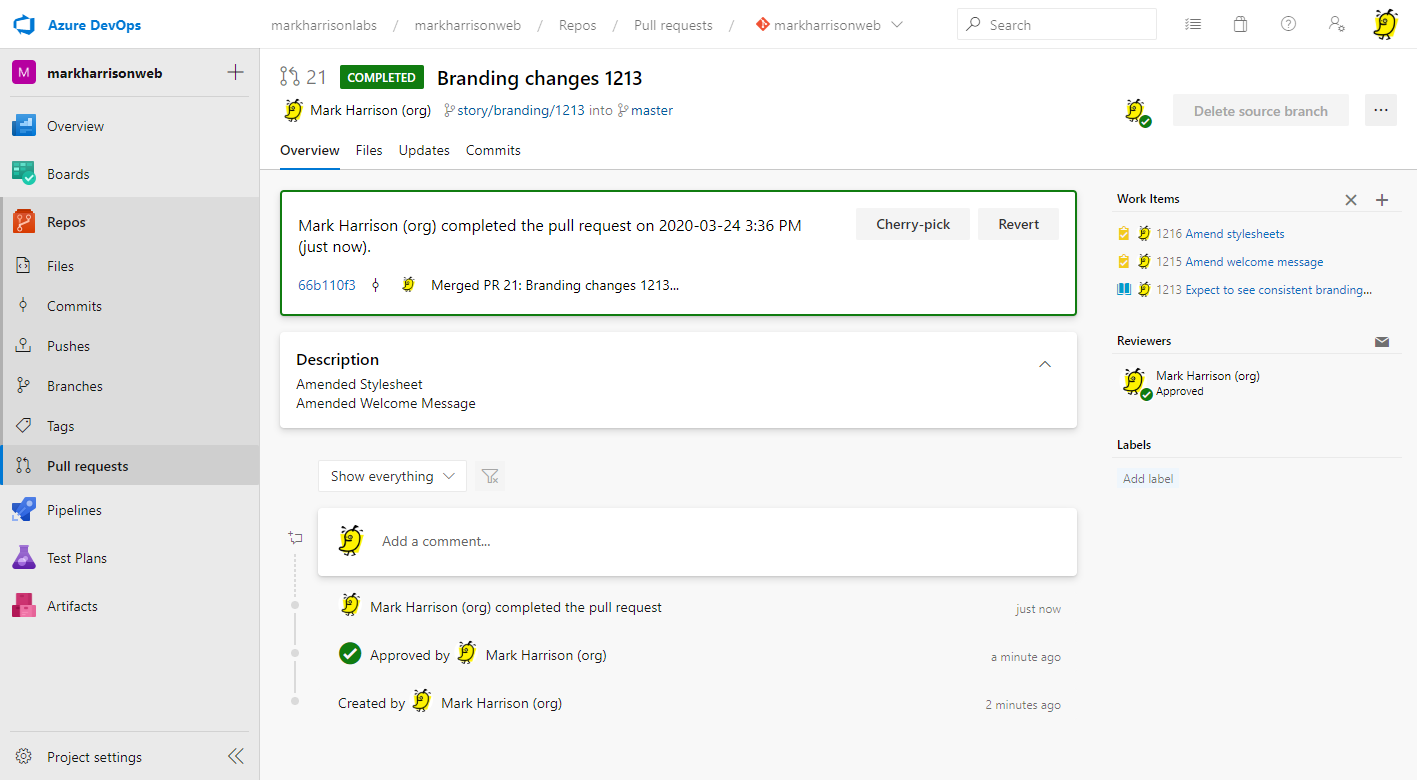
The Story branch has now been merged with the master branch - and the Story branch is then deleted.
The master branch being updated will kick off the Build and Release pipelines.
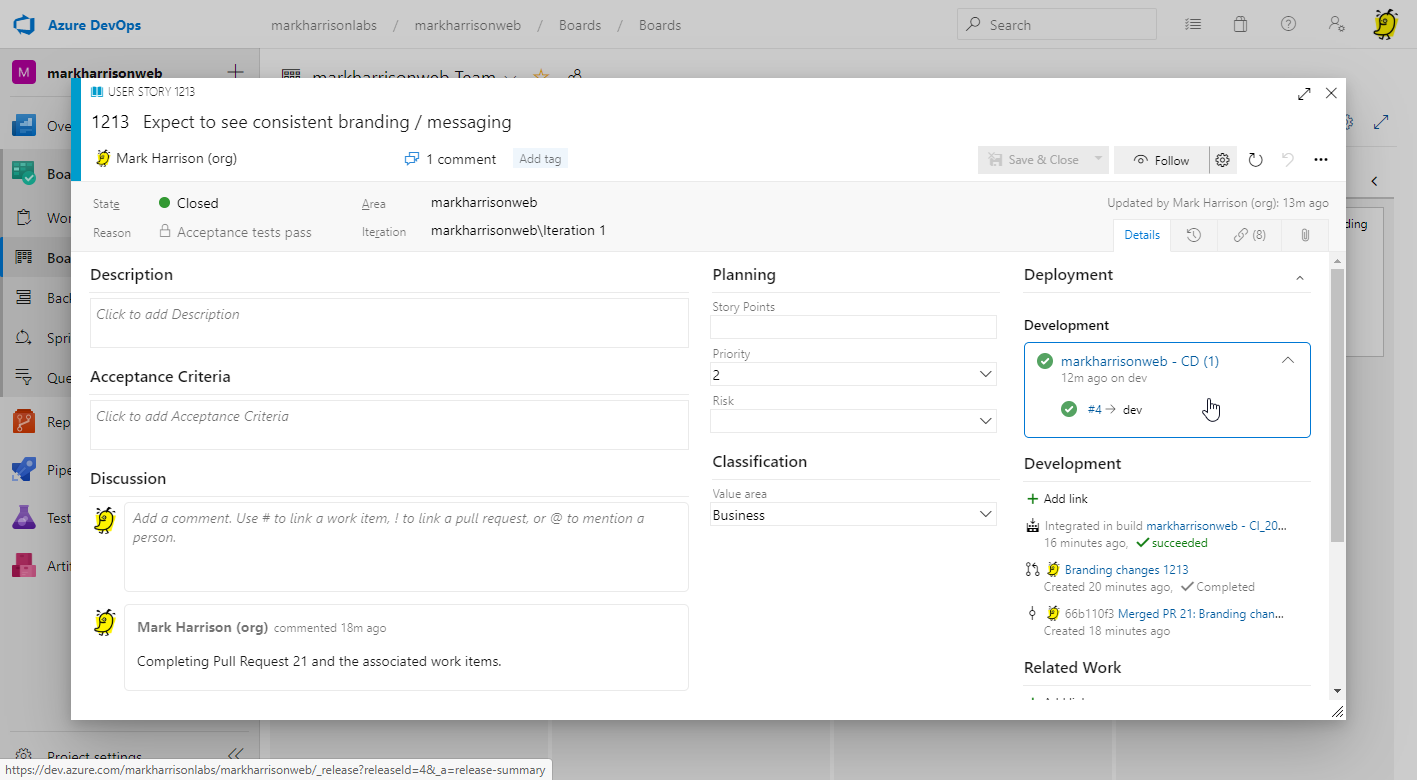
If we check in the User Story work item, we can see it has been updated with Deployment information showing was deployed to Development
Summary
In this section we made some development changes - and commited the work back to the Repos, and the application was deployed.
In the next section we shall take on the persona of a tester, and validate that the development did what was required and meets the Test Cases.